Customizing the Appearance and Behavior of a Virtual Event Experience
To configure the Appearance and Behavior settings, edit the experience and click Appearance and Behavior in the left navigation. The following settings are available:
- Header and Footer - Configure a custom header/footer for the experience
- Custom - Upload custom CSS, JavaScript and font files
- Background Image and Video - Configure a background image or video
Configuring custom header/footer HTML
Gallery provides the option of using a custom header and/or footer for the site. This provides the ability to customize a Virtual Event Experience so it more closely matches the look and feel of your corporate sites. A custom header/footer can also be configured at the account level. For information on configuring a custom header/footer at the account level, see Configuring Gallery Settings.
To configure a Virtual Event Experience to use a custom header or footer, follow these steps.
- Design the header/footer to use for your site. The header/footer can contain any valid HTML, JavaScript or CSS code.
- Click on the experience Title to open the Gallery Site Editor.
- In the left navigation, click Appearance and Behavior > Header and Footer.
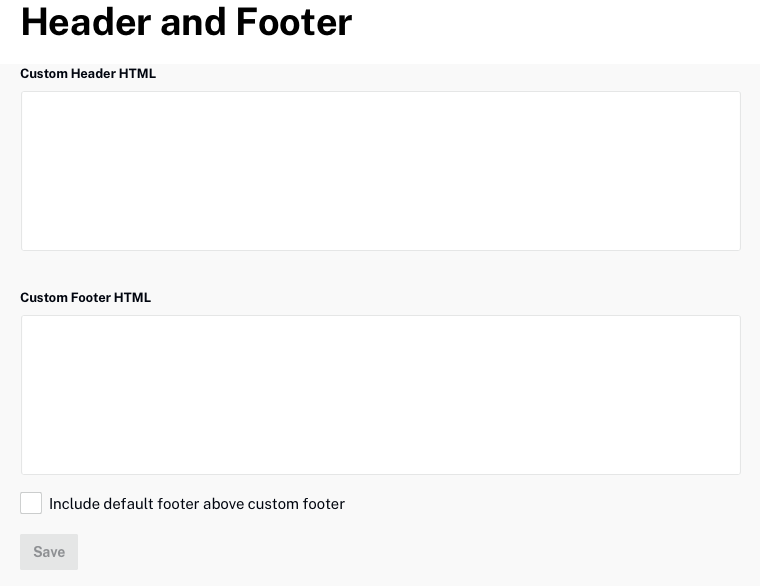
- Paste the header HTML into the Custom Header HTML field.
- Select the Include default header below custom header option to display the default template header below your custom header.
- Paste the footer HTML into the Custom Footer HTML field.
- Select the Include default footer below custom footer option to display the default template footer below your custom footer.
- Click .
Notes on using custom headers and footers
- Gallery doesn't do any validation on the HTML that is supplied for the header/footer
- There is no explicit character limit on the header and footer HTML
- External CSS and JavaScript files are supported
- The code should follow responsive design principles so it will scale properly across devices
- We have seen CSS conflicts when sites use Bootstrap (Gallery uses Bootstrap as well); make sure you check for and resolve any conflicts
Configuring custom settings
The custom settings provide the ability to customize the look and feel of the site. To configure the custom settings, click Appearance and Behavior > Custom in the left navigation.
The following settings are available:
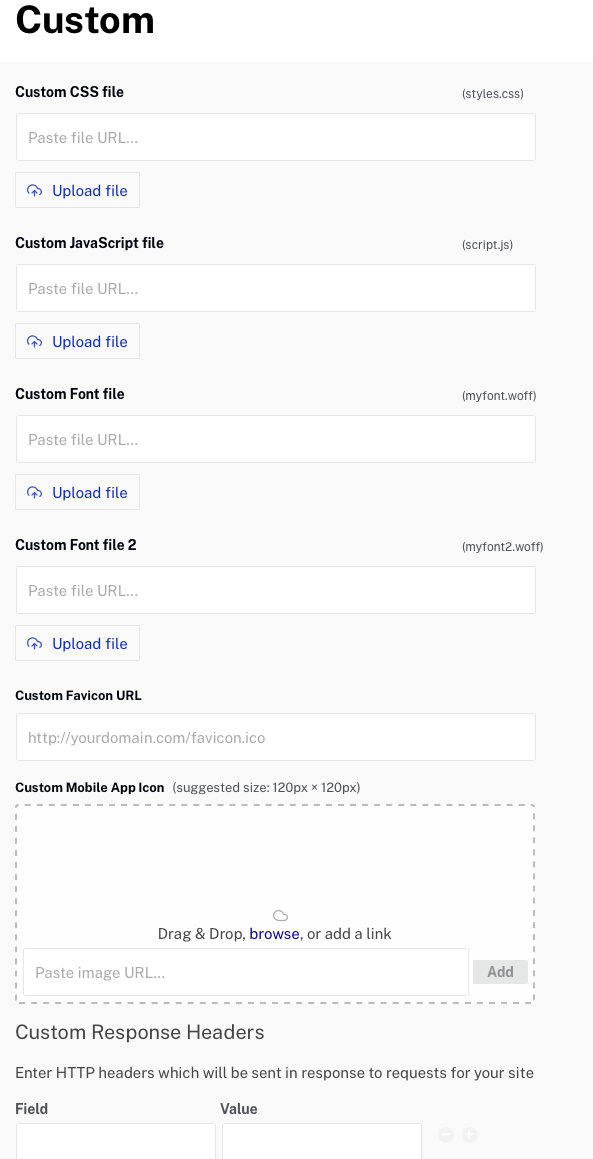
- Custom CSS file - Click Upload file to upload a custom CSS file. This can be used to customize the style.
- Custom JavaScript file - Click Upload file to upload a custom JavaScript file. This can be used to customize the style and/or behavior of the site.
- Custom Font file - Click Upload file to upload a custom font file. This font will appear as Custom Font in the Style > Fonts > Primary list.
- Custom Font file 2 - Click Upload file to upload a custom font file. This font will appear as Custom Font in the Style > Fonts > Secondary list.
- Custom Favicon URL - Used to specify the location of the favicon to use for the site. Browsers that provide favicon support typically display the favicon on page's browser tab and next to the page's name in a list of bookmarks.
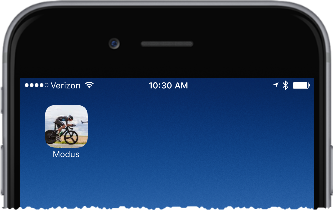
- Custom Mobile App Icon - Used to select an image that will be used as a home screen icon when the site is saved to your device home screen. Brightcove recommends that you upload a high resolution (we recommend 1024 px x 1024 px), square image and Gallery will scale the image and use a version best suited to your device.
- Custom Response Headers - Enter HTTP headers which will be sent in response to requests to the portal. For example, headers might be added to add a Content Security Policy (CSP) or HTTP-Strict-Transport-Security (HSTS).
Configuring a background image or video
Gallery provides the option of displaying a custom background image or video for the site. To configure a background image or video, click Appearance and Behavior > Background Image and Video in the left navigation.
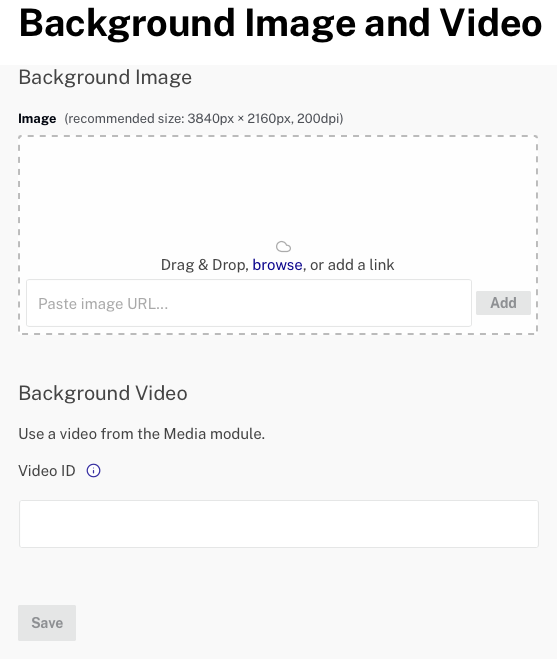
Adding a background image
- To specify an image, you can:
- Drag an image from the file system and then drop it on the drop area
- Click browse and select an image from the file system
- Enter the URL to a remote image file
- Click .
Click to remove the image.
Adding a background video
A Video Cloud video can also be used as a background video. Paste a Video Cloud video ID in the Video ID field and click .