Adding Pigeonhole Q&A to a Live Event In-Page Experience

In this topic you will learn how to add Q&A capabilities to a Live Event In-Page Experience.

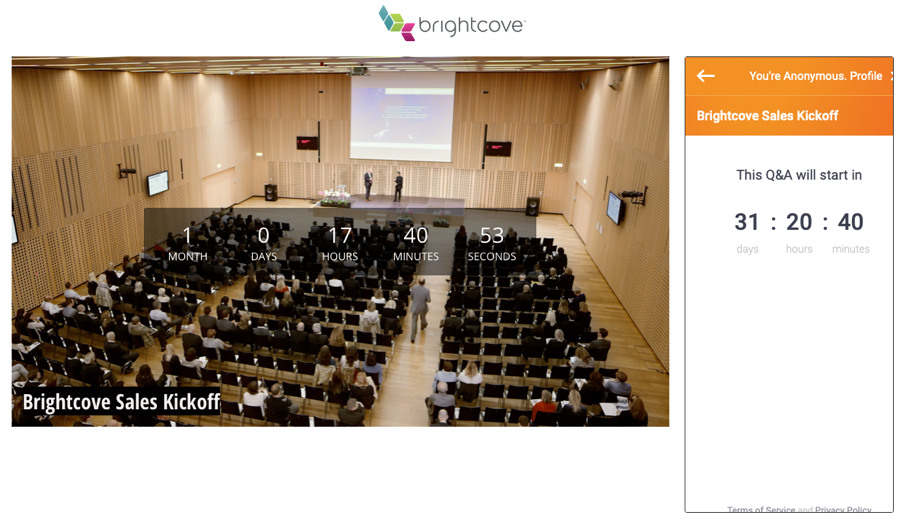
Pigeonhole can be used to easily add event based interactivity (live Q&A, polls, surveys, etc.) to a Live Event In-Page Experience. Typically, a new Pigeonhole is created for the event and then sessions are created for the live events. Once the session is created, Pigeonhole embed code is pasted into the Live Event In-Page template. The embed code will cause the Pigeonhole Q&A pod to display next to the live event player.

Creating a Pigeonhole event and session

You should create a new Pigeonhole for your live event and then add sessions for each video that will have Q&A enabled.

  1. Login to your Pigeonhole account.
  2. Click + Add Pigeonhole and click the account to use.
  3. Enter an Event name and Passcode.
  4. Enter Start and End dates for the event. These dates control how long the Pigeonhole will be active.
  5. Select a Timezone and Custom Branding option (if applicable).
  6. Click Continue.
  7. Now that the event is created, the Agenda item will be selected in the left navigation. Click Add session > Create new.
  8. Select a Session Type of Q&A.
  9. Enter a Session name.
  10. Enter Start and End dates and times.
  11. Configure the Q&A Settings as appropriate.
  12. Click Add Q&A. Confirm the session was created.

Generating the Pigeonhole embed code

In order for the Pigeonhole to display in the experience, the following code will be added using a custom component on the experience. The format of the code will be:

<iframe src="https://pigeonhole.at/event passcode/i/session ID" style="border:1px #333333 solid;border-radius:3px" name="Pigeonhole Live" scrolling="yes" frameborder="1" marginheight="0px" marginwidth="0px" height="600" width="100%" allowfullscreen></iframe>

To get the values for the event passcode and session ID, follow these steps.

  1. In Pigeonhole, click Agenda in the left navigation.
  2. On the Sessions tab, click the dropdown arrow next to the event. The Session ID will be displayed.
  3. To get the event passcode, locate the event name in the header. The event passcode is displayed below the event name.

The above code with your event passcode and session ID will be used in your experience.

Defaulting Pigeonhole to display the agenda

The embed code can be edited to display the Pigeonhole agenda. Modify the src parameter to remove the session id:

<iframe src="https://pigeonhole.at/event passcode" style="border:1px #333333 solid;border-radius:3px" name="Pigeonhole Live" scrolling="no" frameborder="1" marginheight="0px" marginwidth="0px" height="600" width="100%" allowfullscreen></iframe>

This will cause the agenda to be displayed in the experience.

Adding a Pigeonhole to an experience

Brightcove recommends adding the Pigeonhole to the right side of your Live Event In-Page experience. Currently, the Pigeonhole plugin specifically targets the right side.

Adding a Pigeonhole to a Live Event In-Page experience is done by using a Custom component. To add a Pigeonhole, follow these steps.

  1. Open the Gallery module.
  2. Click on the Live Event In-Page Experience to edit.
  3. Click the plus icon () on the right side of the experience.
  4. Click Custom on the component picker.
  5. Enter a Name for the HTML component.
  6. Paste in the Pigeonhole HTML from the previous section into the Custom HTML Code field.
  7. Select when the HTML should be displayed.
  8. Click Save. The HTML will be rendered on the experience.
  9. In the left navigation click Settings > Advanced.
  10. Paste the following code into the JavaScript URL field.
    https://static.pigeonhole.at/brightcove-plugin/phl-brightcove-gallery-inpage.js
  11. Click Save.
  12. Publish the changes to the experience.

When you preview the experience, the Pigeonhole should display.

How attendees are tracked

Attendees are tracked using browser sessions, which means an attendee is identified and accounted for (tracked) each time they generate a new session (either by using multiple browsers or devices, or if they clean cookies and reenter the experience).

Sessions start when the Pigeonhole widget is loaded, whether the viewer has signed in as anonymous or using a name. Session info is stored in cookies. Viewers can enter the experience multiple times using the same browser session and a single viewer will be registered. If the viewer enters the experience using a different browser or device, a new user session will be created (causing a duplicate attendee/session). Duplicate sessions may also happen if two or more experiences with a widget are embedded in the same page or if the session cookie expires or gets deleted.

To avoid duplicate sessions, ensure that only one Pigeonhole widget is loaded per page and avoid having viewers use other devices or browsers.

Limitations

Pigeonhole widget/custom HTML is "called" or included in an unassigned event state.