Adding Videos to a Website Experience
Using the Gallery Collection Editor, you can select the videos to display on Website Experiences. With Website Experiences, videos are organized into collections. Collections can contain videos from a Video Cloud account or from a YouTube channel.
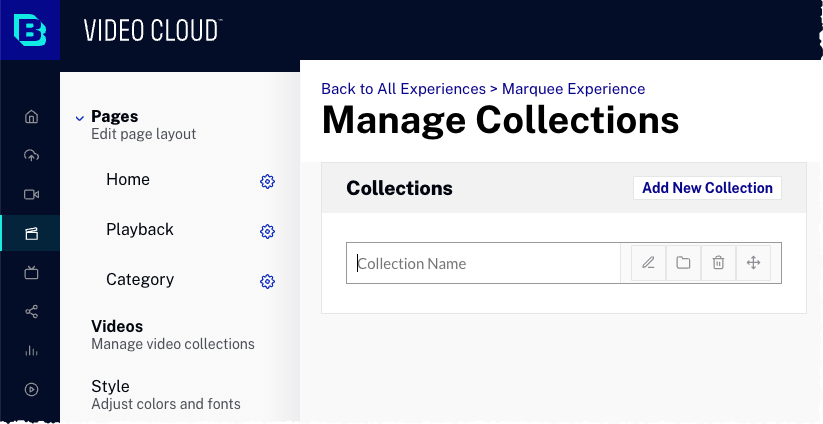
To add videos to a Website Experience, click Videos in the left navigation.
Creating a collection
Videos in a Website Experience are organized into collections. To create a collection, follow these steps:
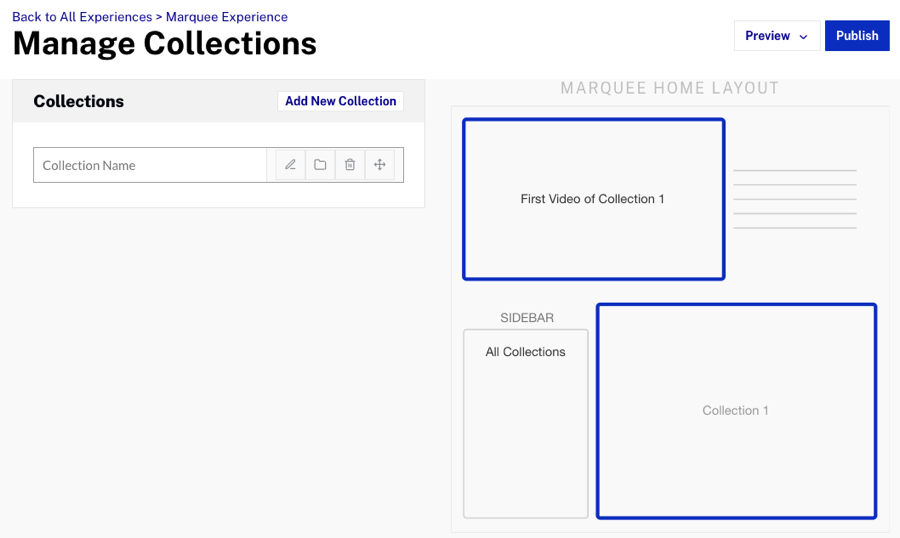
- Click Videos in the left navigation. The Manage Collections page will open. The right side of the dialog displays a preview of the home page video layout for the selected template type.
- Enter a name for the collection and press enter. The name will be displayed to viewers so make sure to use a meaningful name. Click the edit (
 ) icon to edit the collection name.
 - (Optional) To indicate that this is a header collection, click the folder icon (
 ). Header collections have no videos associated with them and are used for organization.
Editing a collection
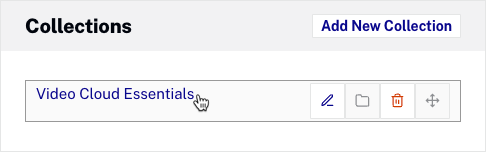
- To edit a collection, click the collection name.
- The Edit Collection page will open. The Edit Collection page is used to add videos to a collection and to configure additional collection properties.
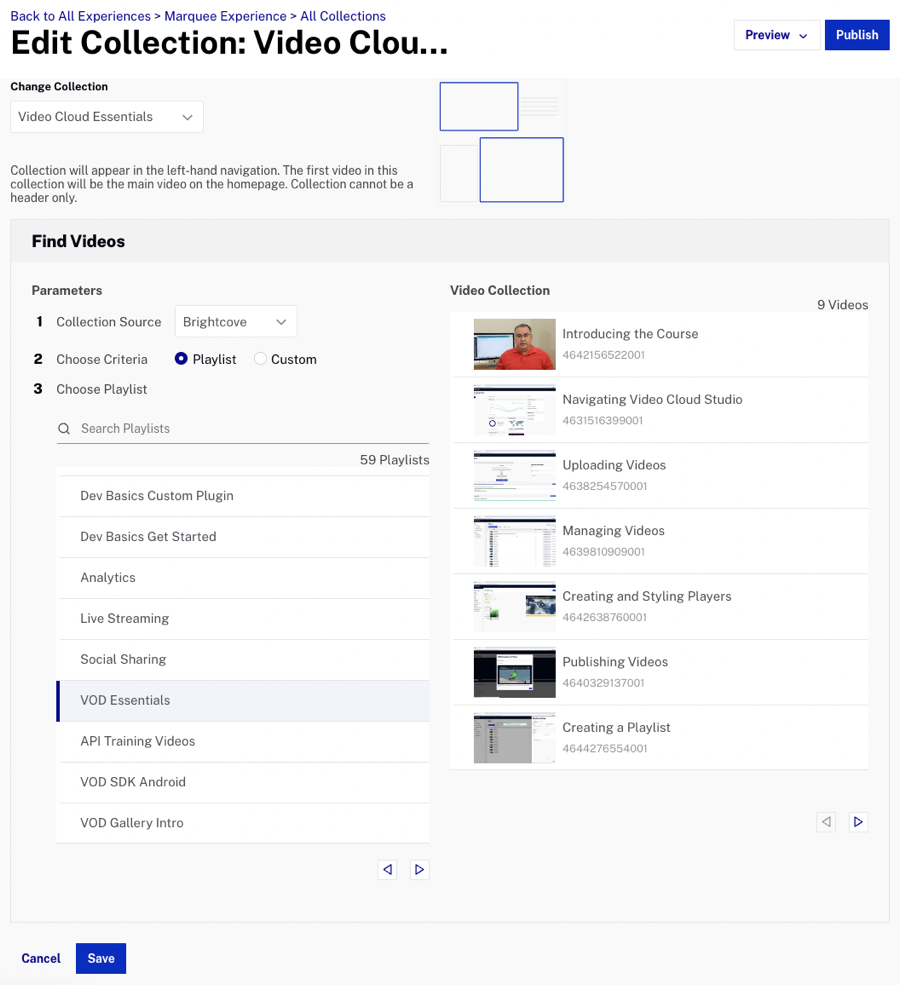
- The Change Collection dropdown will list all of the collections that have been created. Select the collection to edit.
- The Collection Source specifies the source of the video content for the collection:
- Video Cloud - Video Cloud video content will be used. See Adding Video Cloud Videos to a Website Experience for information.
- YouTube - YouTube video content will be used. See Adding YouTube Videos to a Website Experience for information.
- Click to save changes.
Deleting a collection
To delete a collection, follow these steps:
- Click the Videos icon in the left navigation.
- Click the Delete icon (
 ) associated with the collection.
 - Click Delete to confirm the deletion.
- Click Done when finished.
Ordering and nesting collections
To change the order of how the collections will appear on your site click the Videos icon in the left navigation.
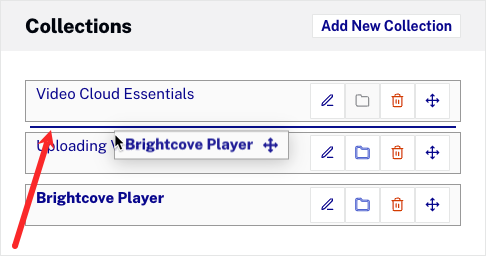
Moving a collection
Click and drag on the collection name or move icon (![]() ) and drag the collection to a new position. The separator line indicates if the collections are at the same level or nested. In this example, the Brightcove Player collection is moved to the top. The separator line indicates that all collections are at the same level.
) and drag the collection to a new position. The separator line indicates if the collections are at the same level or nested. In this example, the Brightcove Player collection is moved to the top. The separator line indicates that all collections are at the same level.
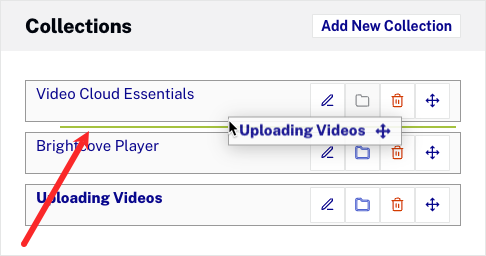
Nesting a collection
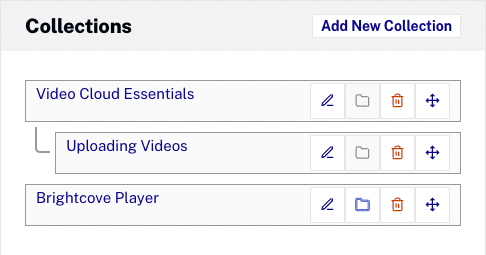
Click and drag on the collection name or move icon (![]() ) and drag the collection to a new position. Dragging to the right will indent the separator line indicating that this collection will be nested. In this example, the Uploading Videos collection is moved and the separator line indicates that it will be nested under the Video Cloud Essentials collection.
) and drag the collection to a new position. Dragging to the right will indent the separator line indicating that this collection will be nested. In this example, the Uploading Videos collection is moved and the separator line indicates that it will be nested under the Video Cloud Essentials collection.
After the collection is nested, the nesting will be reflected in the Manage Collections dialog.