Agenda Widget on the Immersion Gallery template
Create a Widget
First, you must create a custom page on an Immersion Experience to use an Agenda Widget implementation. Follow these steps:
- In the left navigation, click Gallery.

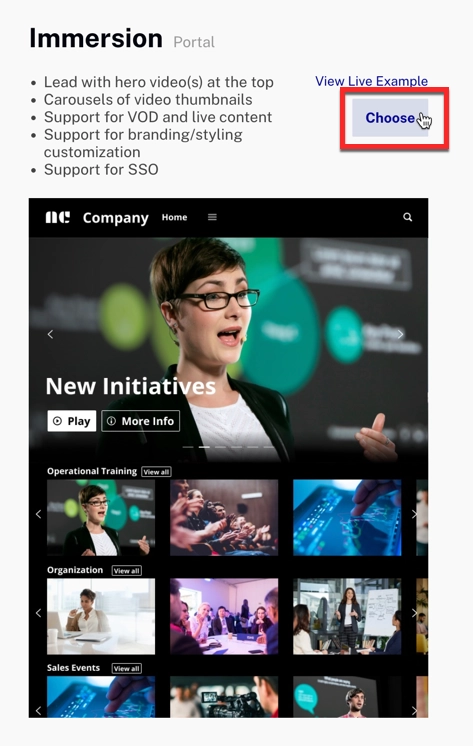
gallery module - Choose Immersion.
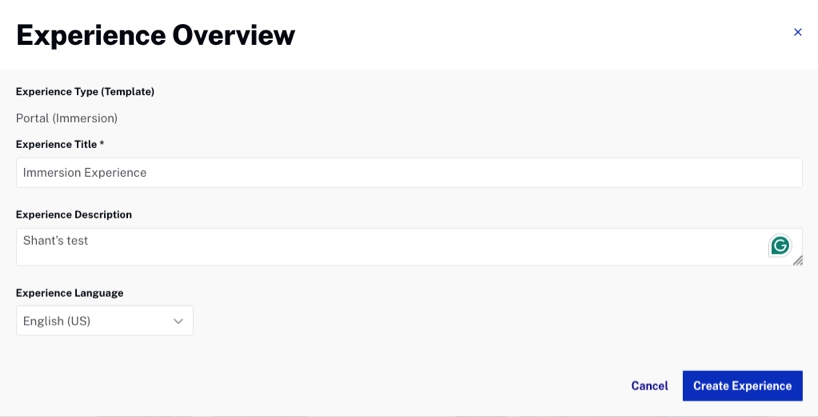
immersion - In Experience Overview, customize your experience. Add a description and select the experience language. Then, click . To learn more about Experiences, see Overview: Creating, Editing and Publishing Website Experiences.
experience overview - Click the "Add a Section" icon on the right side of the interface.
- Select the Agenda component from the widgets section.
- In the Agenda section, click "Select agenda".
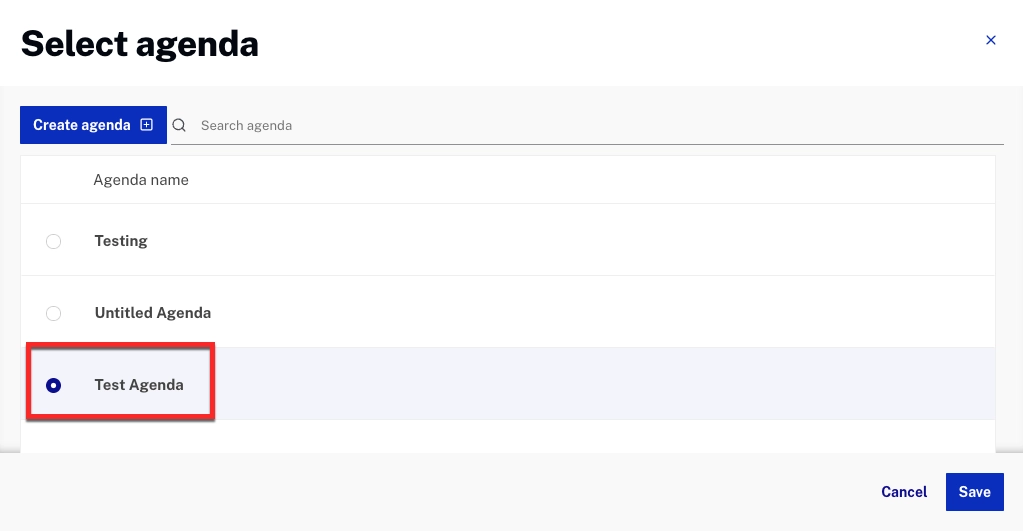
- You can select previously created Agendas or create a new one to edit. You must create your first Agenda the first time you use it. Once you have finished selecting, click .
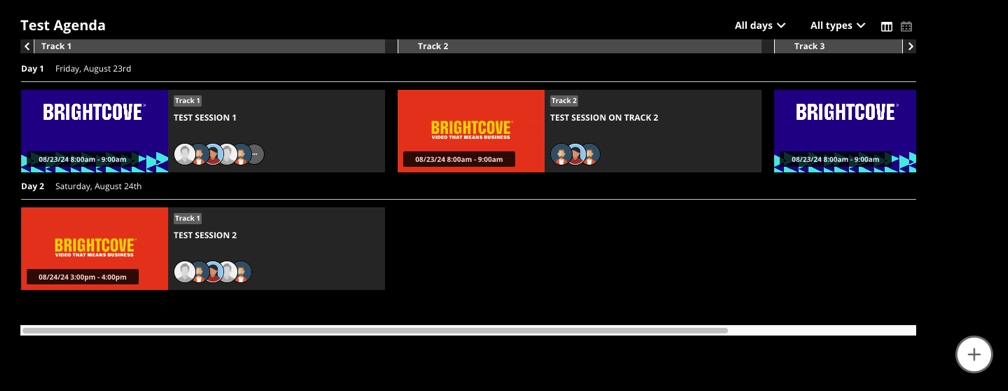
select agenda - Once in the Create Agenda section, the Agenda Module shows up. Here, you can create your Agendas and configure them. To learn more about the Agenda Module, please see Agenda and Speakers.
agenda
Edit a Widget
Once you created an Agenda, follow these steps to Edit a Widget:
- Hover over the widget you want to edit. The widget controls will appear.
- Click the gear icon to open the editing options.
Deleting a Widget
- Hover over the widget you want to delete.
- Click the dustbin icon.
Adding scheduled events to a calendar
If an agenda session or event is scheduled in the future, you and the viewers can add it to your calendars. The event will include the name, description, and a link to the video page or a meeting URL.
- Select the agenda on which you want to schedule events to a calendar.
- Click the calendar icon, which is available at the bottom right corner of the agenda cards.
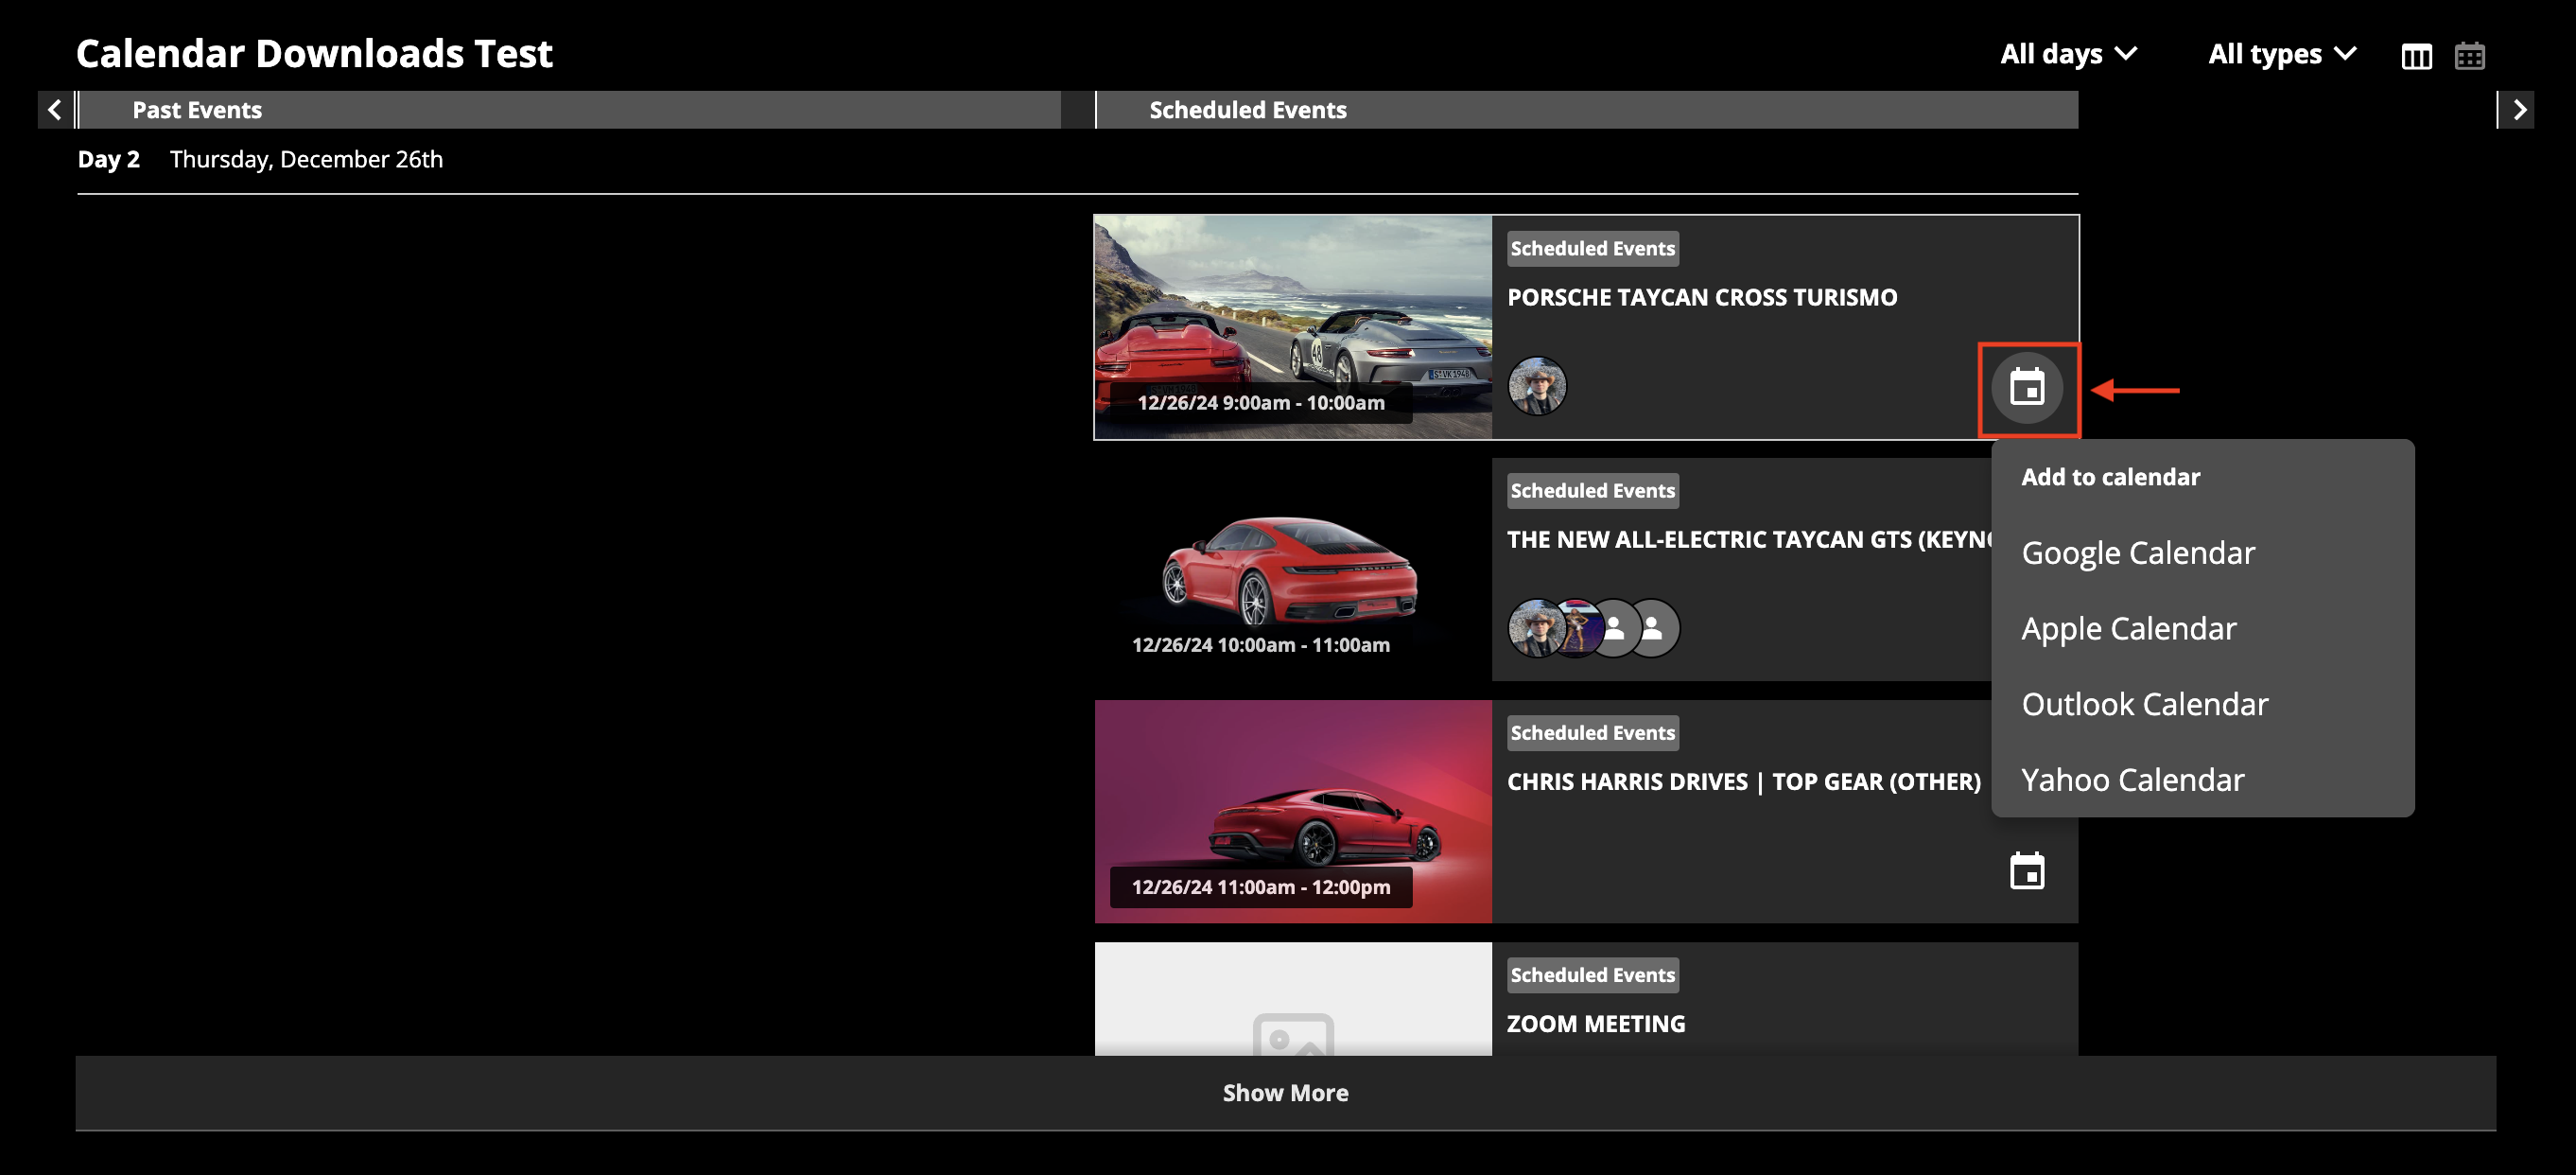
schedule event - You can also select the event card and click the "Add to calendar" button in the bottom left corner of the image.
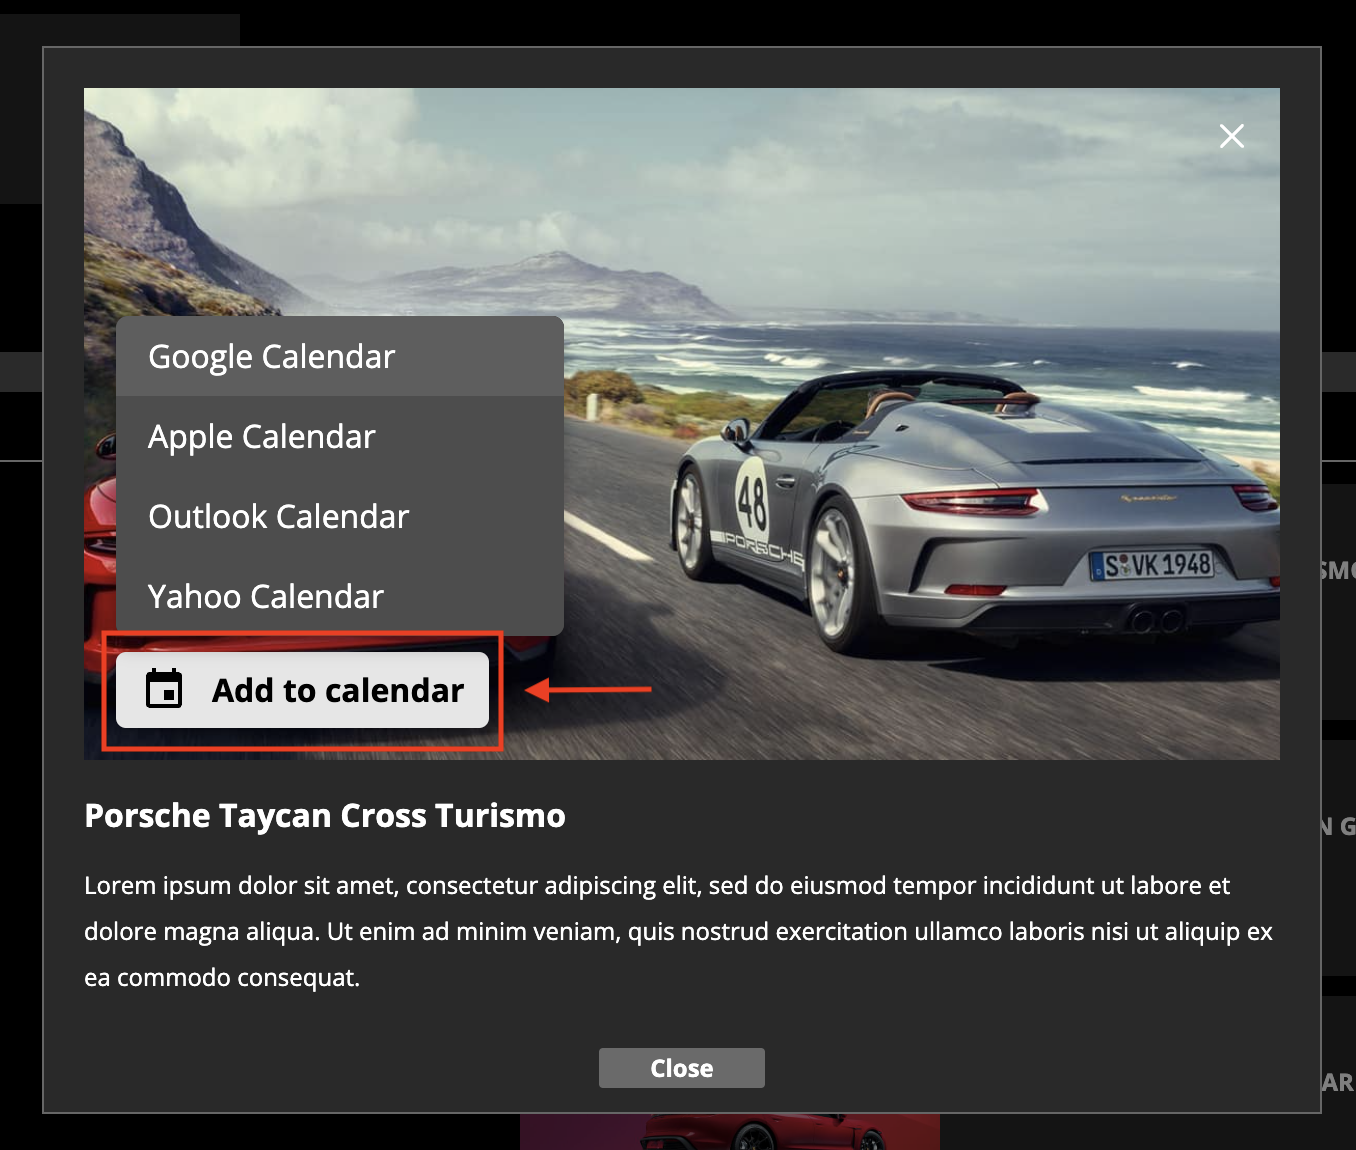
schedule event card - There are four supported calendars: Google, Outlook, Yahoo, and Apple. For Google, Outlook, and Yahoo, you are redirected to the selected calendar, where you can preview an event, edit it, and save it. For Apple, you need to download an .ics file and open it to add it to Apple's calendar app.
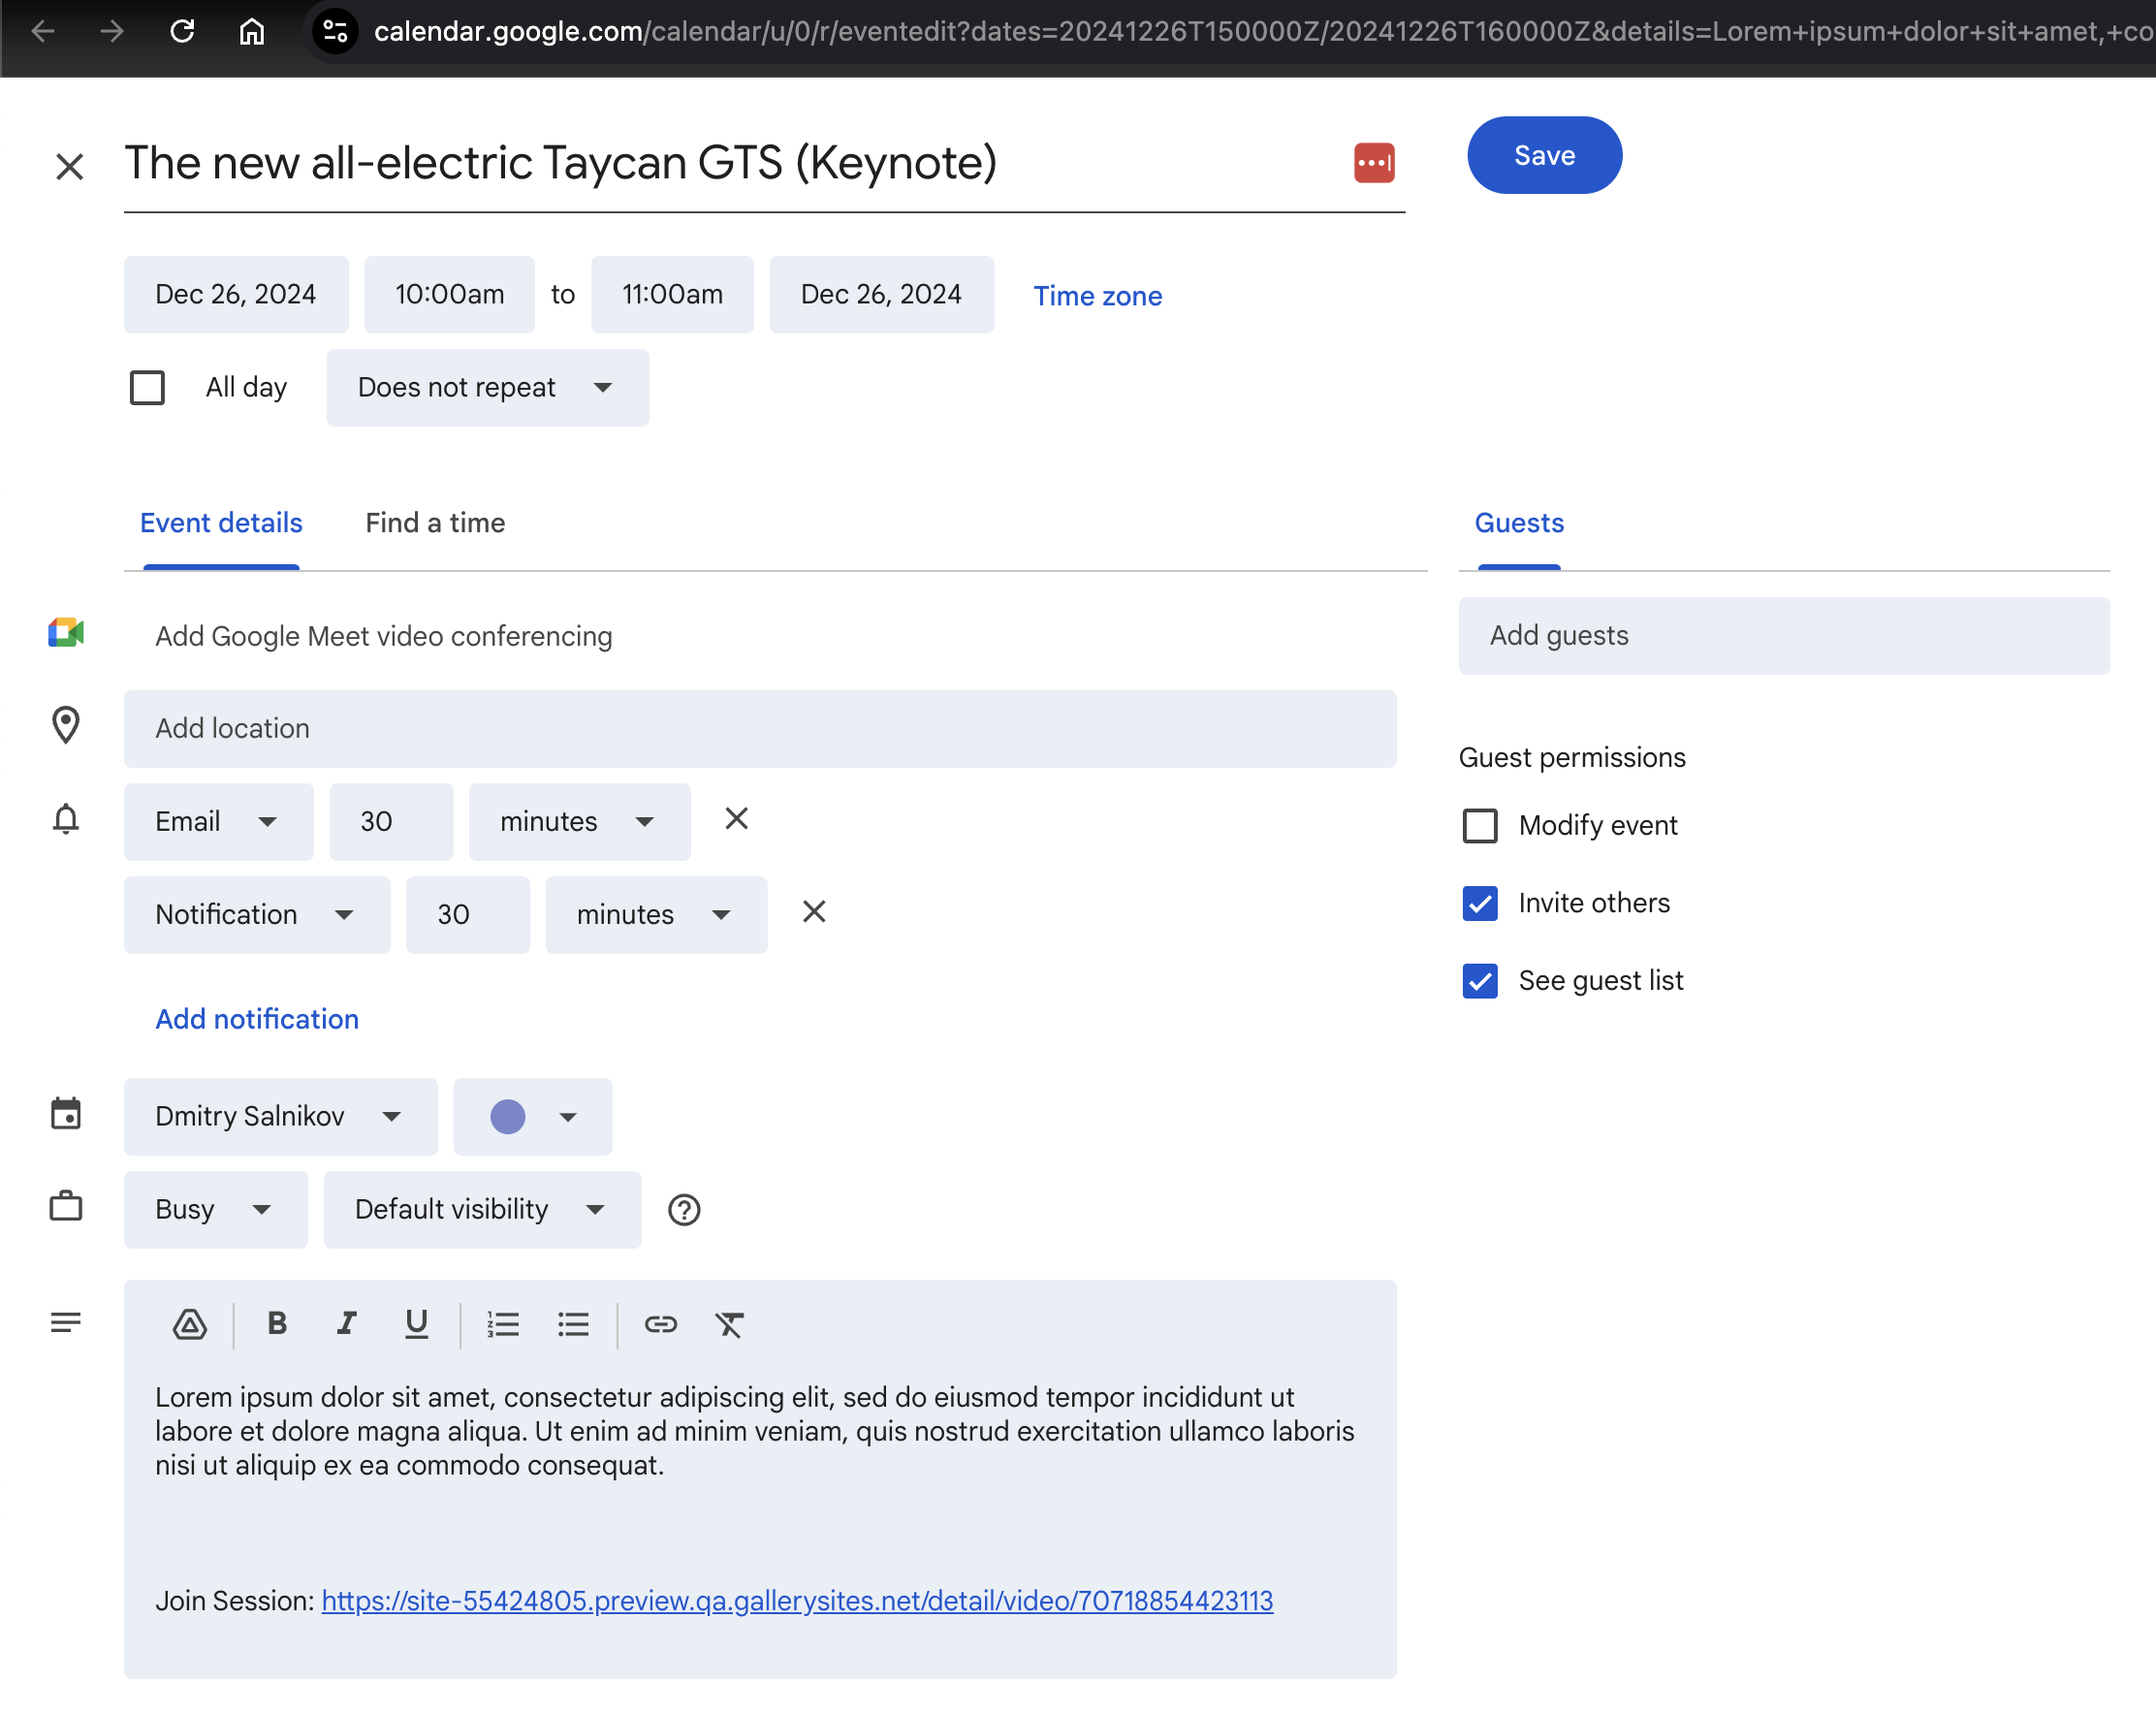
gmail schedule example 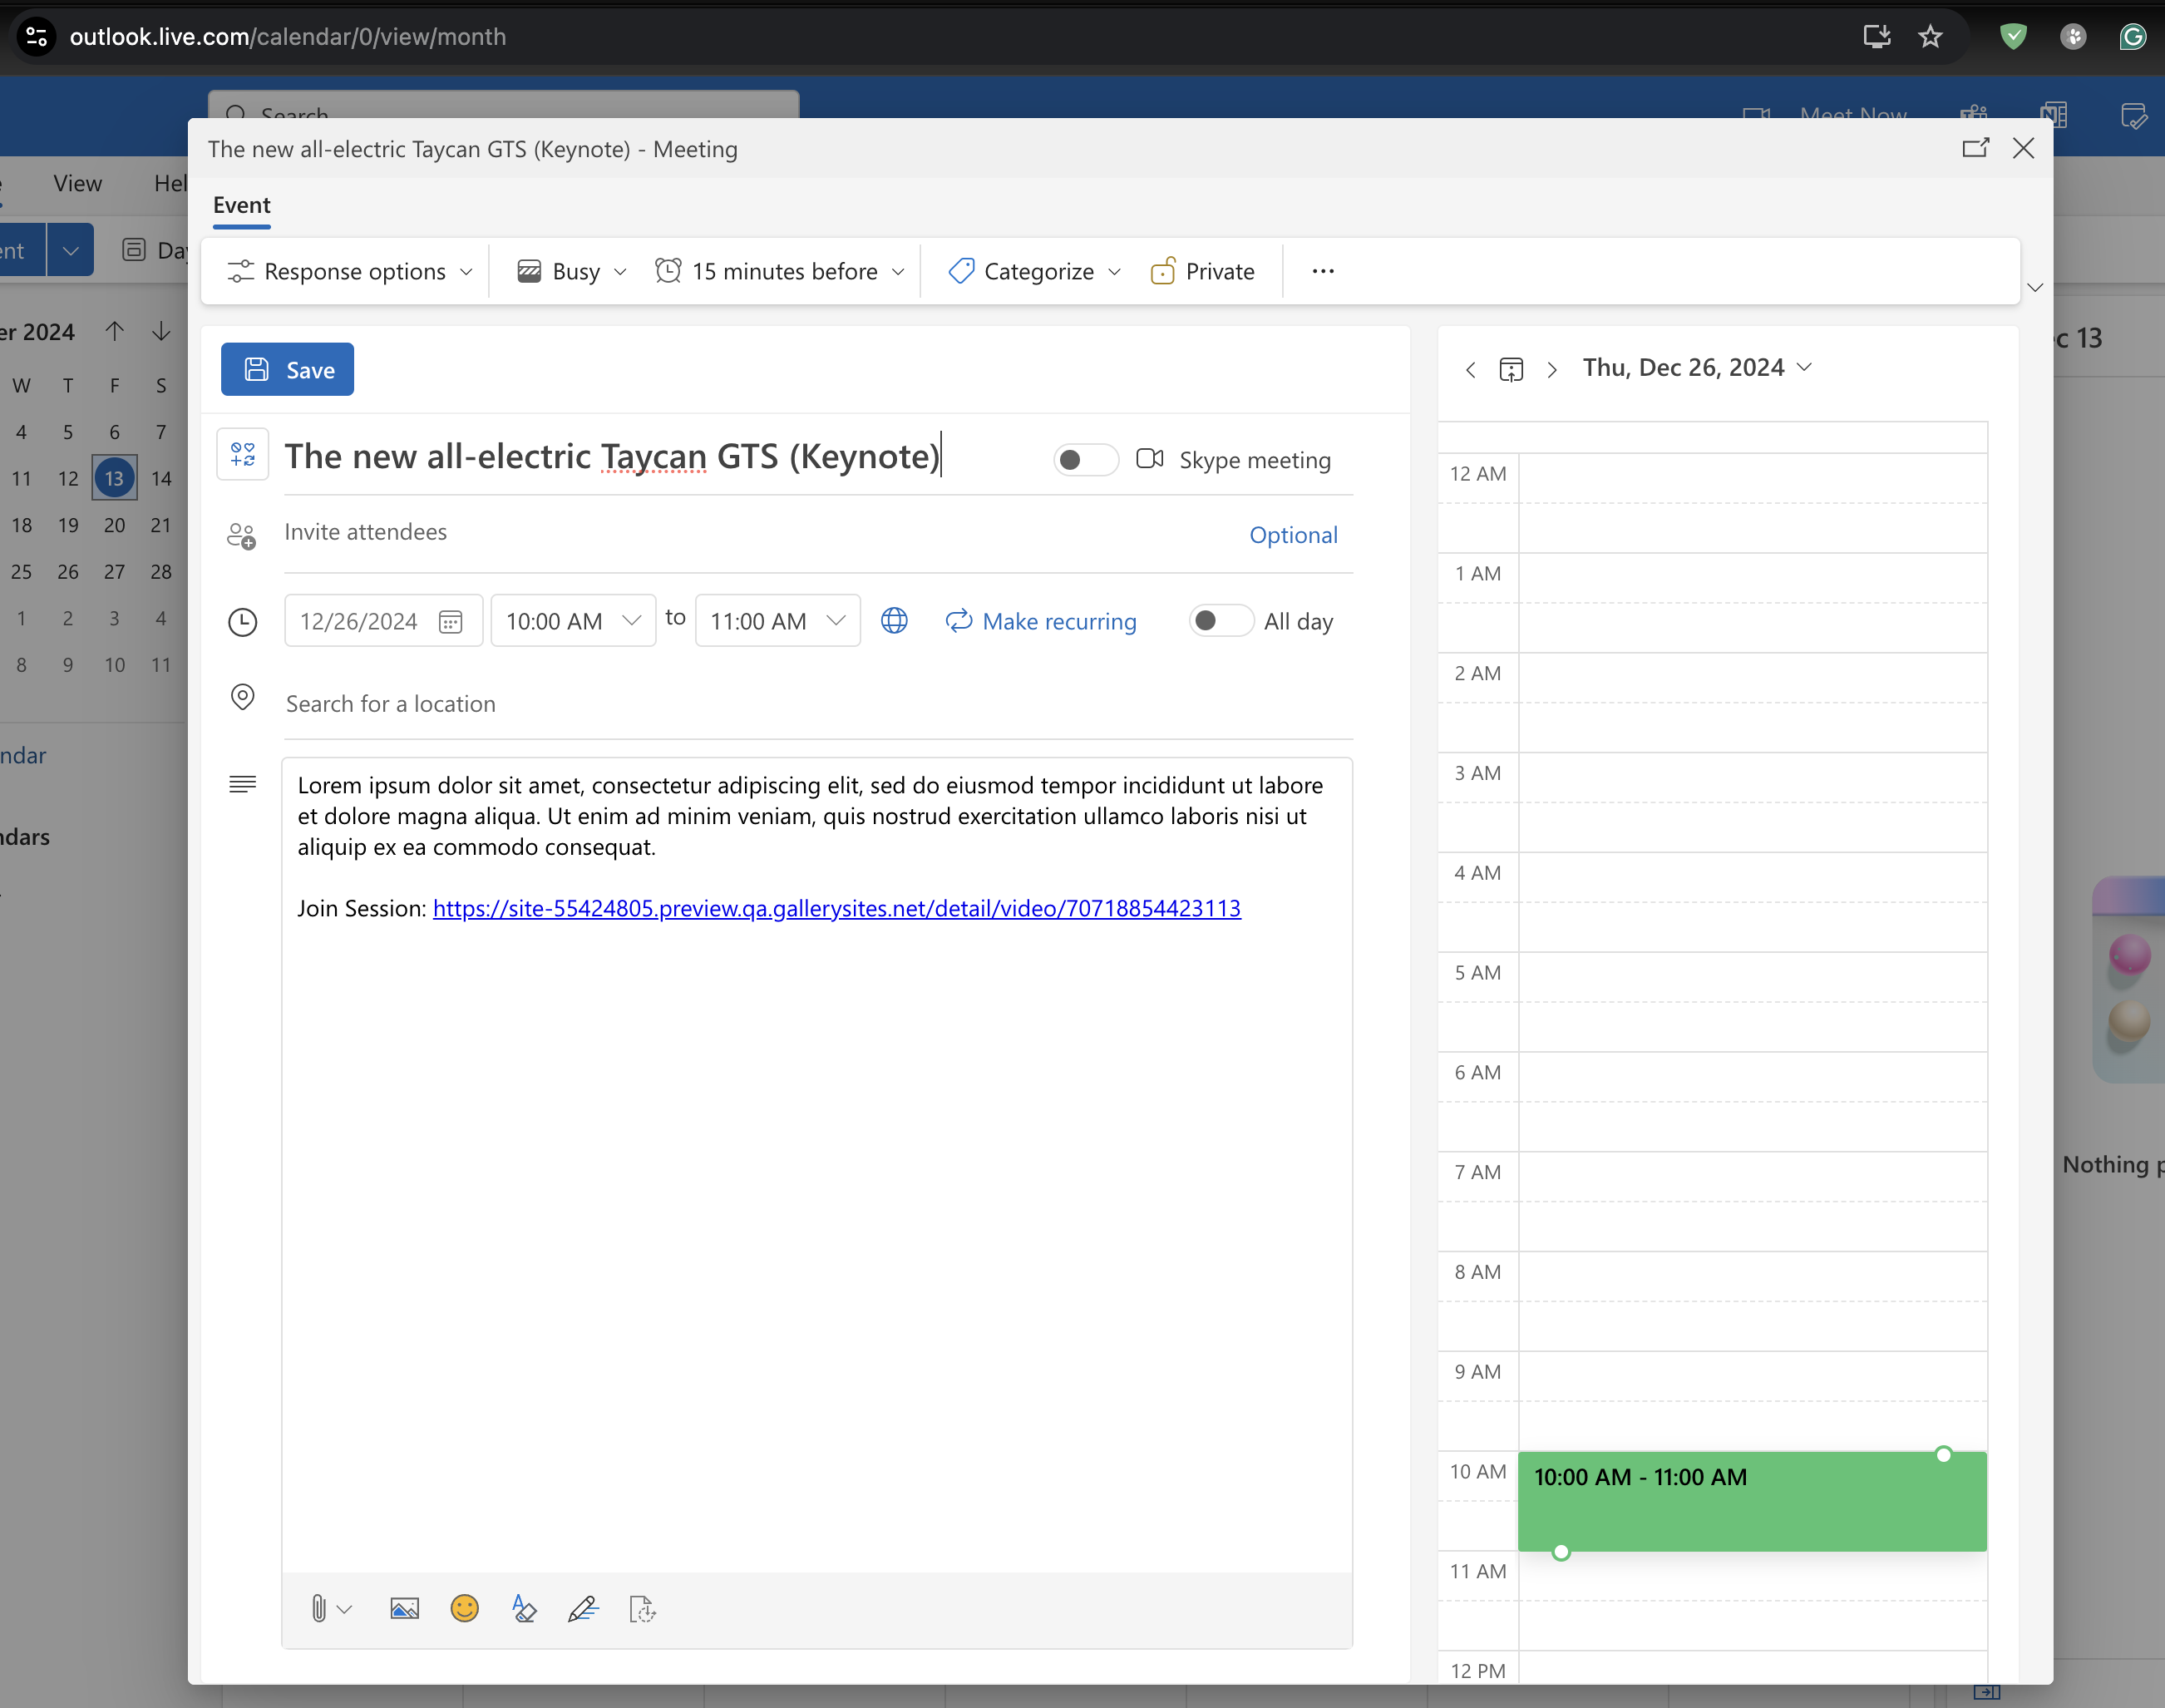
outlook schedule example