Creating a Live Event Embed Experience
Gallery provides a Live Event Embed template which can be used to deliver live events as part of an Embed Experience. Brightcove offers numerous options for delivering live streaming video. See Delivering Live Streams for a list of all the options. For a detailed set of steps on using the Live module to broadcast a live event, see:
- Step-by-Step: Using the Live Module with Telestream Wirecast
- Step-by-Step: Using the Live Module with Open Broadcaster Software (OBS)
To create a new Live Event Embed Experience, create a new Embed Experience and select the Live Event Embed template.
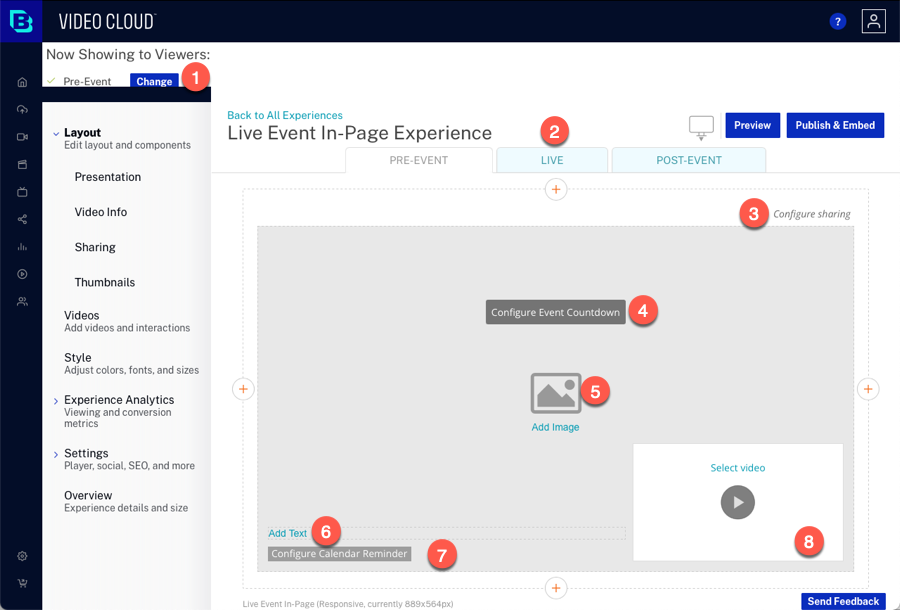
The Live Event Embed template has some settings and content items that are not present on the other Embed Experience templates.
Now Showing to Viewers
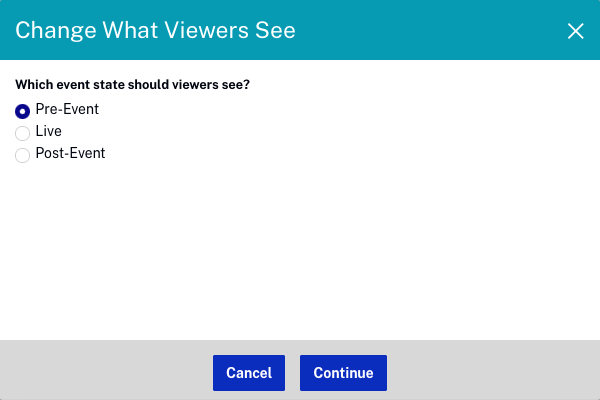
The Now Showing to Viewers setting is used to configure which live event state is displayed to viewers. You, the publisher, are responsible for changing the live event state. Gallery will never automatically switch the live event state.
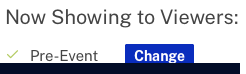
Click and select the state that should be displayed. After changing this setting, the experience DOES NOT need to be republished.
Live event states
The experience states for a Live Event Embed Experience are different than the other Embed Experience types. The appearance of each of these states can be customized by clicking the links at the top of the page.

Live event Embed Experiences have the following states:
- PRE-EVENT - How the live experience will appear before the live event starts
- LIVE - How the experience will appear while the live event is in progress
- POST-EVENT - How the experience will appear when the live event is over
To edit the different experience states, click a state and then add components to the experience as needed. The Layout menu provides further customization options for each state.
Social sharing
The social sharing options provide links to share the event and the videos to your social media accounts.
To configure the social sharing settings, click the Configure sharing link or click Settings > Social in the left navigation. The social settings consist of:
Event sharing
The event sharing settings allow the viewer to share the event page out to social media accounts. Follow these steps to configure the event details:
- To add an Event Image, click Add Image and then:
- Drag an image from the file system and then drop it on the drop area
- Click browse and select an image from the file system
- Enter the URL to a remote image file

- Enter an Event Title and Event Description.
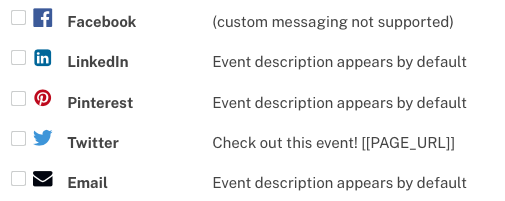
- Choose how the event sharing options are displayed, Share text or display the social icons.
- Select the sharing options that are available.
- Enter the Page URL where the experience will be embedded.
- Click . This will generate the meta tags that can be added to the
<head>section of your page. This feature will allow social sites to display the event image, title, and description when viewers share your experience.
Video sharing
The video sharing settings allow the viewer to share the videos out to social media accounts. Follow these steps to configure the video sharing:
- Choose how the video sharing options are displayed, Share text or display the social icons.
- Select the sharing options that are available.
- Click to save the changes.
Image placeholder
The PRE-EVENT and POST-EVENT states provide the ability to display a hero image.
To add a hero image:
- Click the Add Image link.
- Enter a Name for the image (only ASCII characters are allowed).
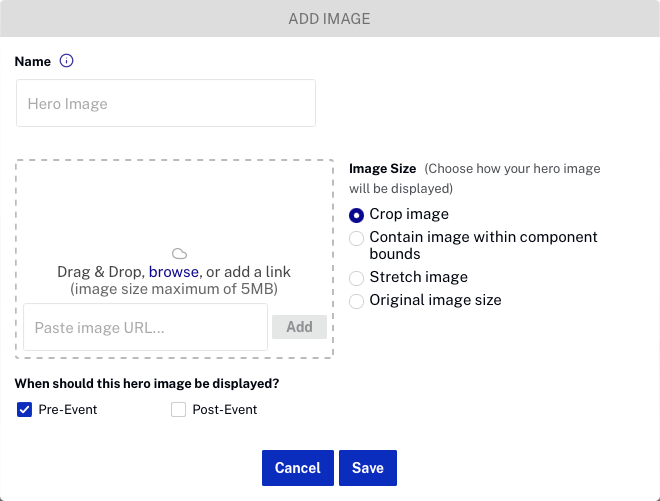
- To specify an image, you can:
- Drag an image from the file system and then drop it on the drop area
- Click browse and select an image from the file system
- Enter the URL to a remote image file
- Set the Image Size.
- Crop Image - Crops the image in the center so that it fills the entire 16:9 space but some of the top/bottom or left/right will be lost depending on the aspect ratio of the image
- Contain image within component bounds - Contain the image within the bounds of the 16:9 space but some blank space above/below or to the left / right of the image will appear depending on the aspect ratio
- Stretch image - Disregards the aspect ratio of the image and forces it to fill the 16:9 space completely; this will distort the image
- Original image size - Use the original image size, no resizing is performed; not responsive
- Select the states when the image should be displayed.
- Click to add the image to the experience.
Event countdown
The countdown timer displays the number of months, days, hours, minutes and seconds before the live event begins. A sample countdown timer is shown below.

To add a countdown timer, follow these steps:
- Click the Configure Event Countdown link on the page. The Event Settings page will open.
- Check Show Event Countdown.
- Set the Start Date, Start Time and Event Timezone.
- Enter a Transition Message. This message will be displayed when the countdown timer reaches zero but before the live stream begins.
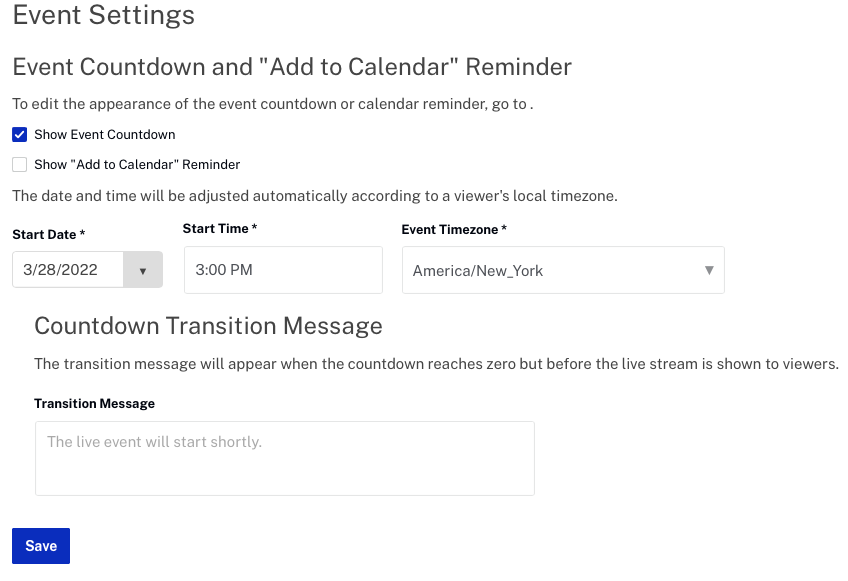
- Click .
Text placeholder
The PRE-EVENT and POST-EVENT states provide the ability to display static text.
To add static text:
- Click the Add Text link.
- Enter the text to add to the experience. The toolbar can be used to format the text.
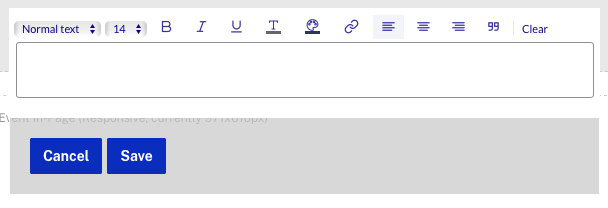
- Click to add the text to the experience.
Calendar reminder
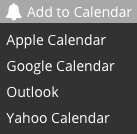
A calendar reminder can be configured so users can click a link to download a calendar reminder. A sample calendar reminder is shown below.

Clicking on the reminder will display calendar options.
To add a calendar reminder, follow these steps:
- Click on the Configure Calendar Reminder link on the page. The Event Settings page will open.
- Check Show "Add to Calendar" Reminder.
- Set the End Date, End Time and Event Title. The Event Description and Event Location are optional.
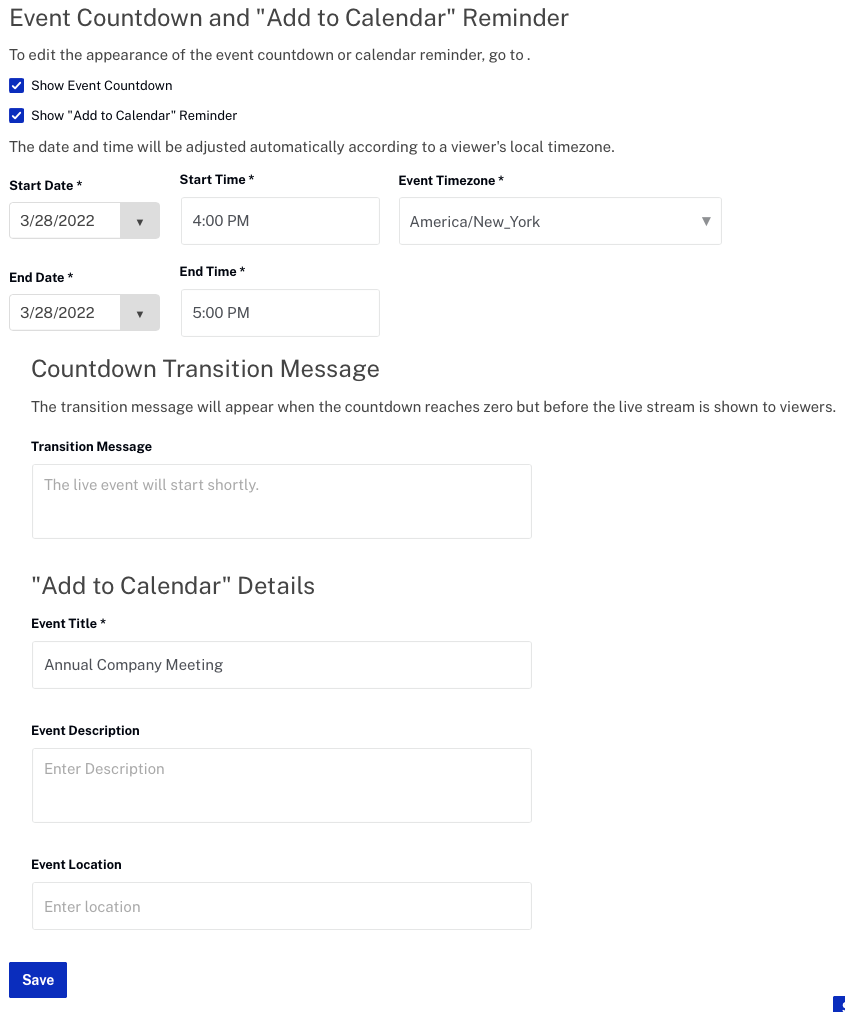
- Click .
Videos placeholder
Different videos can be displayed during the PRE-EVENT, LIVE and POST-EVENT states. Video Cloud videos and YouTube videos can be added to the experience.
To select the videos to be displayed:
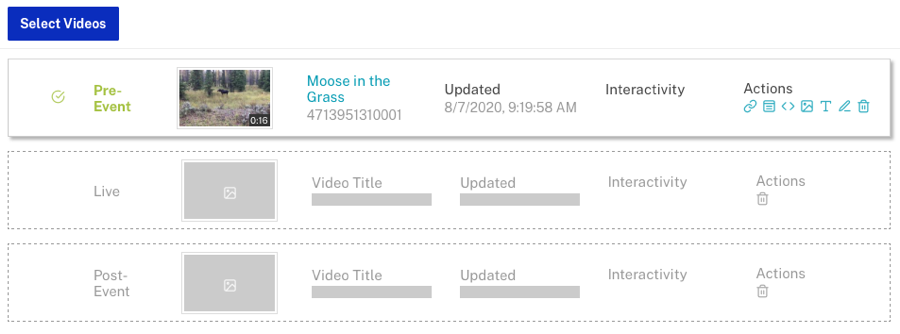
- Click the Select video link or click Videos in the left navigation. The Select a Video dialog will appear.

- Select the state to select the video for:
- Pre-Event
- Live
- Post-Event
- Select the video Source:
- Video Cloud - Video Cloud video content will be used
- YouTube - YouTube video content will be used
- Search for a video, click on it to select it and then click . The video will be added to the video list.
- Click on the Live or Post-Event sections, or click to select additional videos.
Interactions and companion components can be added to pre-event and post-event videos and displayed as the video is played. Interactions include links and cards and are displayed as part of the player when a video is played. Companion components include HTML, images and text objects and are displayed outside the player.
Videos that have been configured with interactivity will display an icon in the Interactivity column indicating the type of interaction(s). For information on adding and configuring interactions and companion components, see:
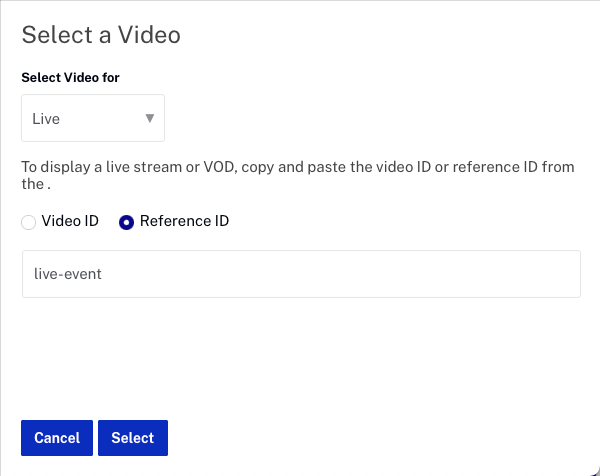
Selecting the Live video
When the Live state is selected, a Video Cloud video ID or reference ID for the live video asset must be entered. The source for the live video will always be Video Cloud.
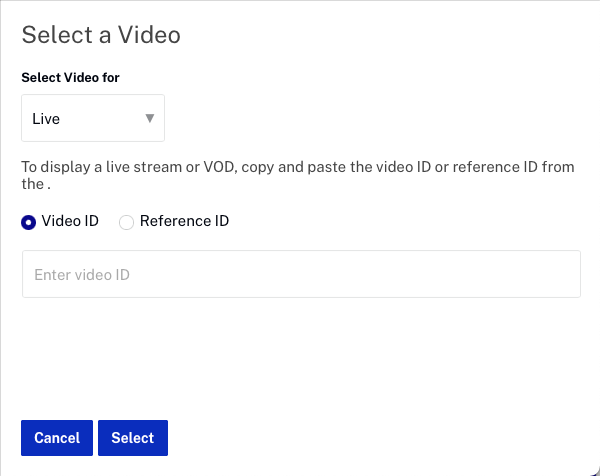
Selecting the Reference ID option allows you to change the reference ID for the live video in the Media module without having to change the video ID on the experience. For example, you may choose to denote the current live video with a reference ID of live-event. When creating the live experience, select Reference ID and enter live-event.
Now, whenever there is a new live event, use the Media module to set the reference ID for that video to live-event.

By using reference ID, the live experience will not need to be edited and republished when a new event starts. When a new event is started, use the Media module to edit the video reference ID of the live video asset.
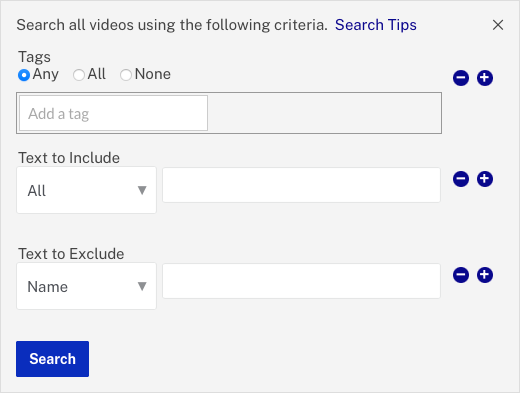
Searching for videos
The Search field can be used to search for videos. When searching Video Cloud videos, Gallery will search the video name, short and long descriptions, tags and custom fields. When searching YouTube videos, Gallery uses the YouTube search API.
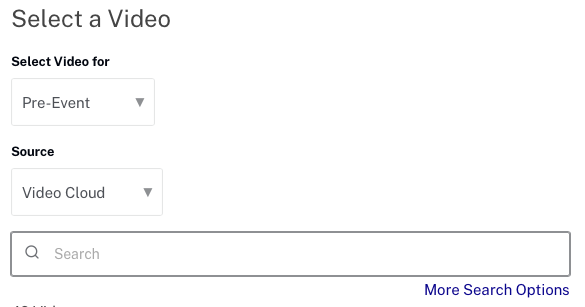
Click More Search Options for finer control over what fields are searched and to include and exclude text. Note that this options is only available when a Video Cloud source is used.