Configuring Access Control Profiles
By default, when a Gallery Website Experience is published, anyone with the site URL will be able to access the site. Access control profiles can be created to restrict access to a Gallery Website Experience. Access control profiles are created as part of the Gallery settings and then the profiles are assigned to sites. Access control profiles can be created to restrict access based upon:
Note that a Gallery Website Experience can only be configured with a single Access Control Profile. Each Access Control Profile can have only one access restriction type. For example, it is not possible to create a profile that uses both IP address and an access code. Also, when single sign-on is used, only one identity provider can be configured per profile.
To create an access control profile, follow these steps:
- Open the Gallery module.
- Click the settings icon (
 ) on the home page.
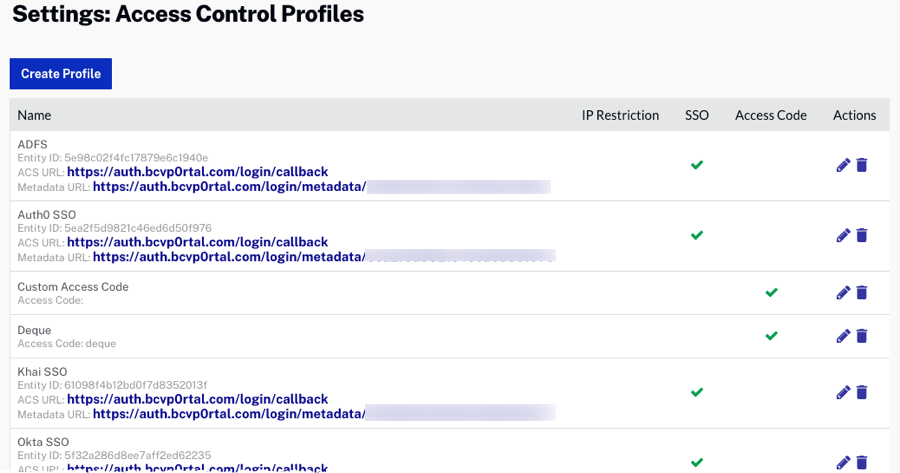
 - In the left navigation, click Access Control Profiles. A list of created Access Control Profiles will be displayed.
- Click .
- Give the profile a Name.
- (Optional) Configure a Session Timeout to specify the amount of time a user's session will last. A few notes:
- This setting applies when using SSO and Access code
- This is an "idle timeout". Whenever the Gallery server is hit (either through loading a page on the site or via an API call to the site) the timer is reset. This allows viewers to continually browse for longer than the specified timeout, but as soon as they go idle for longer than the timeout, they will be logged out. While a video is being watched, the Gallery server is not being accessed though, so the timeout value should be longer than your longest video.
- Your SSO provider must be set to either force re-authentication or to have a session timeout of less than our timeout. If it's not, we'll redirect to your SSO provider after our timeout and they will immediately issue a response that the user is logged in.
- Select the option(s) to secure the site. Only one option per Access Control Profile can be selected:
- Click .
- Create additional Access Control Profiles as needed.
To edit or delete an access control profile, click the edit (![]() ) or delete (
) or delete (![]() ) buttons associated with the access control profile. Once access control profiles have been created, they can be assigned to a site as part of the site properties. For information, see Controlling Access to a Website Experience.
) buttons associated with the access control profile. Once access control profiles have been created, they can be assigned to a site as part of the site properties. For information, see Controlling Access to a Website Experience.
Configuring IP restriction
When creating an access control profile that uses IP restriction, viewers with an IP address outside of the predefined range will receive an error when they try to access the site.
To configure an access control profile to use IP restriction, follow these steps:
- Select the Limited by IP address option.
- Enter a range of IP addresses that can access the site. CIDR block notation is also supported.
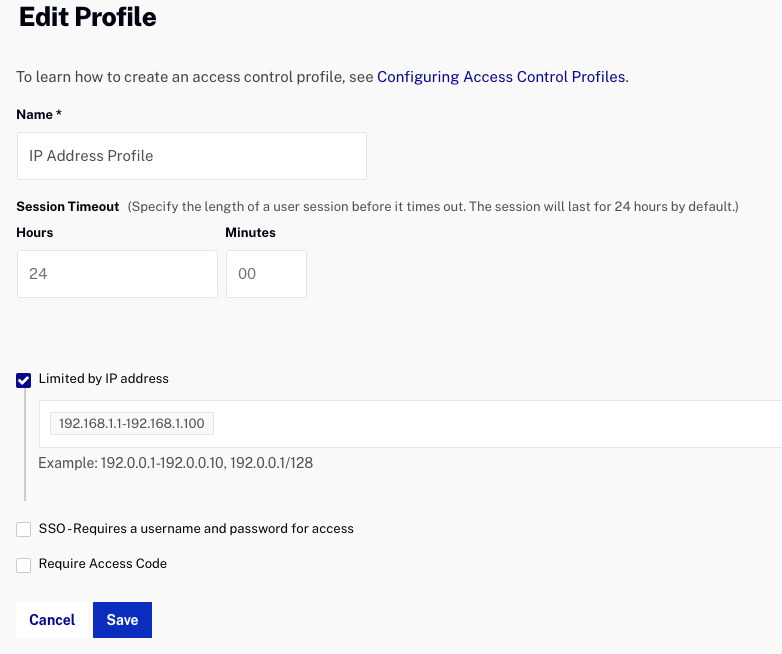
- Click .
Configuring Single Sign-on
When creating an access control profile that uses SSO, site visitors will be prompted to login with valid credentials before they can access the site. Gallery supports the Security Assertion Markup Language 2.0 (SAML 2.0) standard for exchanging authentication and authorization data between security domains.
Gallery supports most major Identity Providers, including:
- Ping
- OneLogin
- ADFS 2.0 / 3.0
- Google G Suite
- Shibboleth
- Okta
- Salesforce.com
Other providers using the SAML 2.0 standard will also work. Gallery uses the passport-saml library. Gallery does not support Identity Providers that do not work with this library.
Your SSO provider will require an Assertion Consumer Service URL (ACS URL). The ACS URL is listed in the SSO section of the Access Control Profiles table.
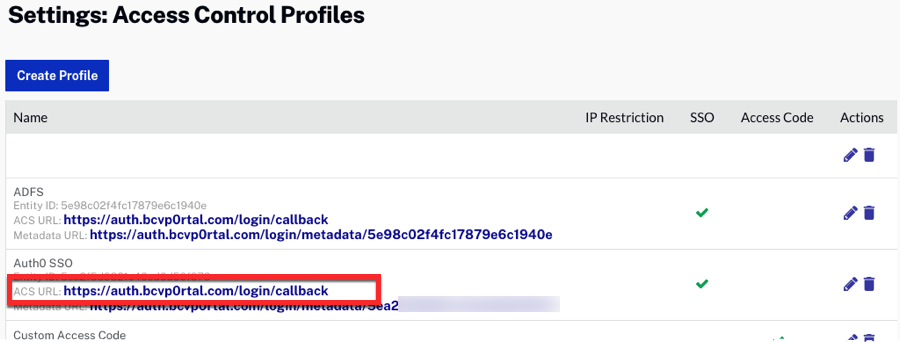
The ACS URL defaults to https://auth.bcvp0rtal.com/login/callback. You can also override the ACS URL by providing your own URL. Both of these options can be used for configuring stricter SSO providers. For existing sites, http(s)://<site-root-url>/login/callback will still work but Brightcove recommends that publishers use https://auth.bcvp0rtal.com/login/callback. This endpoint takes care of forwarding SAML data to the correct site for any sites that use a path on a domain.
To configure an access control profile to use SSO, follow these steps:
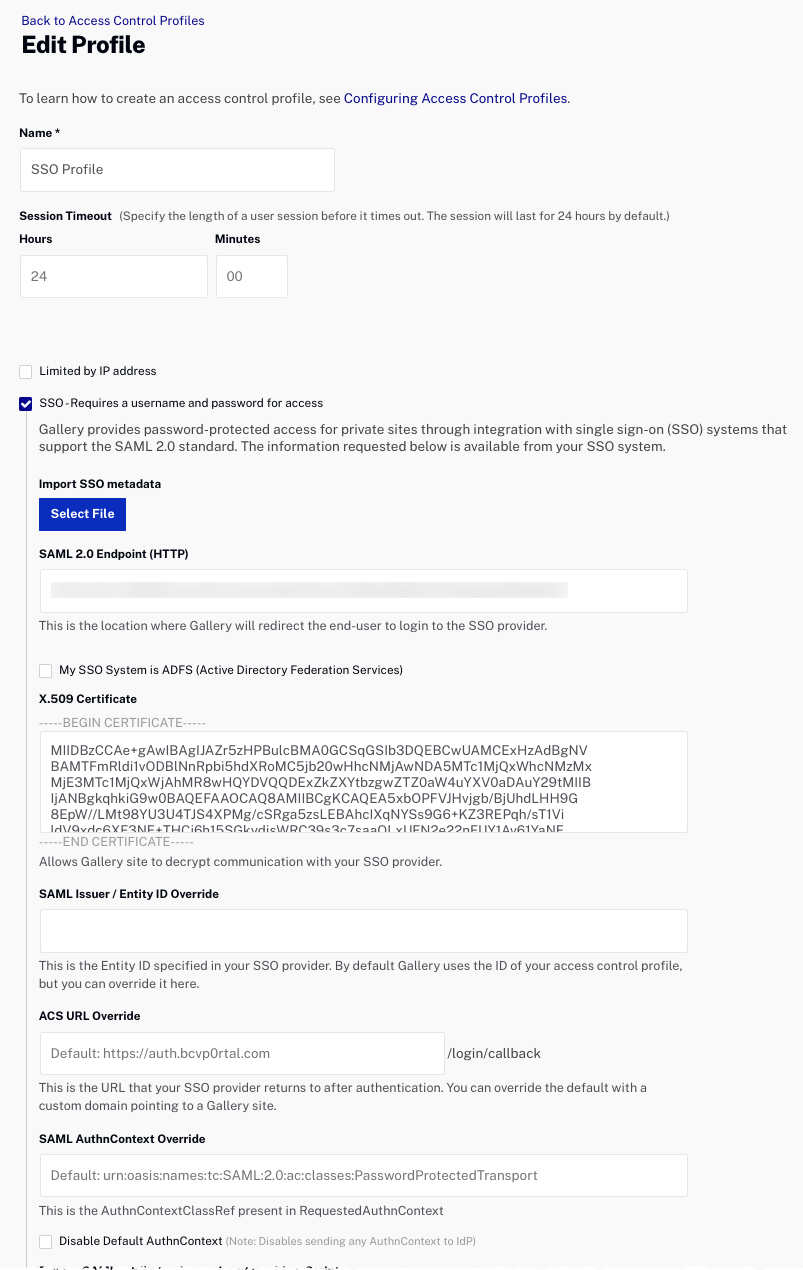
- Select the SSO option.
- If you have an export file of your SAML 2.0 metadata, click Select File to browse and select the metadata file. This will prefill the SAML 2.0 Endpoint and the X.509 Certificate fields.
- Enter a value for the SAML 2.0 Endpoint (HTTP). This value should be available from your SAML provider.
- Enter a value for the X.509 Certificate. This value should be available from your SAML provider.
- (Optional) Enter the SAML Issuer / Entity ID Override. Enter a value here to optionally override the SAML issuer.
- (Optional) Enter the ACS URL Override. Enter a value here to optionally override the ACS URL.
- (Optional) Enter the SAML AuthnContext Override. Enter a value here to optionally override the SAML AuthnContext.
- (Optional) Choose to disable the Default AuthnContext. By default, for SSO profiles, Gallery will send PasswordProtectedTransport as SAML authentication context. Sometimes this is not supported by the Identity providers. When this option is checked, Gallery will not send the the authentication context request.
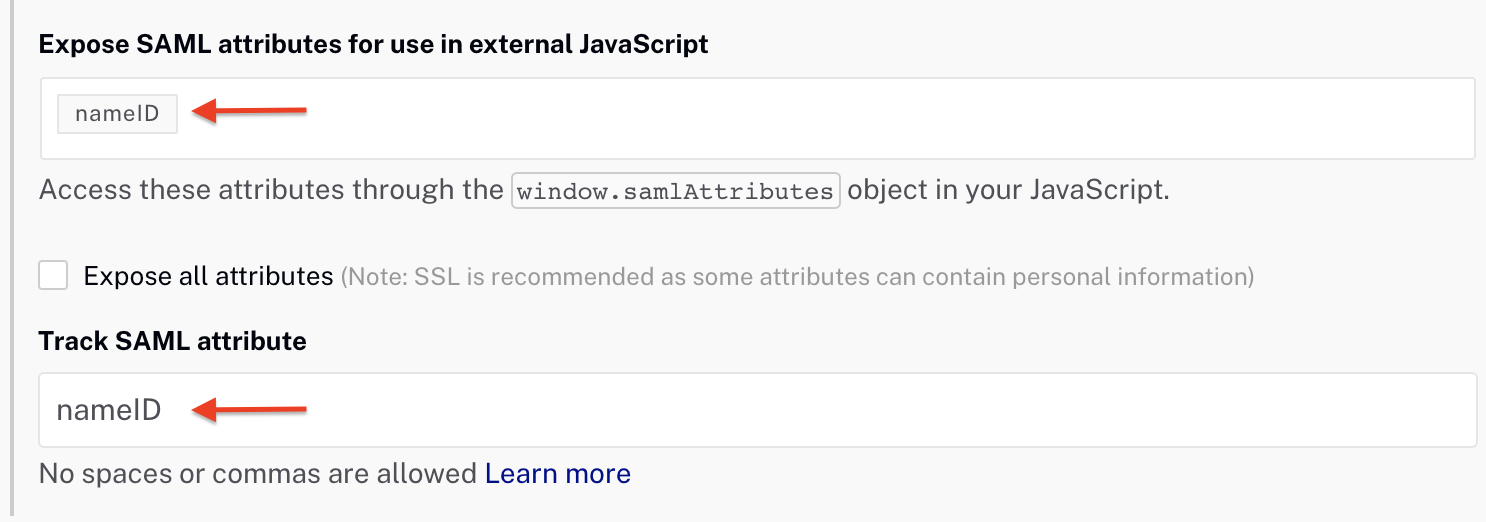
- (Optional) Enter any SAML attributes for that you want passed to your external JavaScript.
- (Optional) Check Expose all attributes to expose all of the SAML attributes for use in external JavaScript.
- (Optional) Enter the Track SAML attribute to expose through SSO a SAML property name, which allows identifying unique Gallery viewers within Audience Insights reports.
- Click Save.
Configuring an access code
When a site has an access code applied, viewers will be prompted to provide the correct access code when the access the site URL.
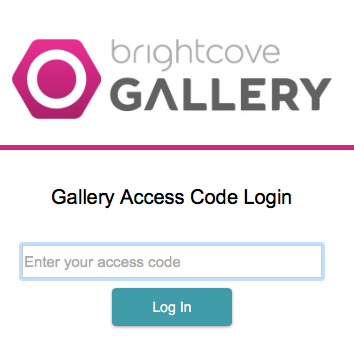
If an incorrect access code is entered, the viewer will receive an error. Access codes are a good way to restrict access to a site while it is under construction. Access codes do not offer any site security or authentication.
To configure an access control profile to use an access code, follow these steps:
- Select the Require Access Code option.
- Enter the Access Code for the site. There is no restriction on the characters that can be used for the access code.
- Enter the Access Code Label. The Access Code Label will appear above where the user will enter their access code.
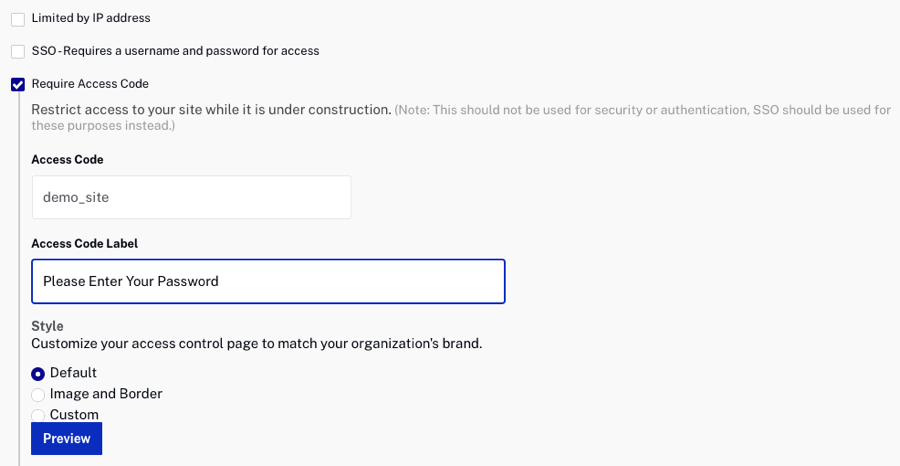
- (Optional) Style the access control page.
- Click Save.
Styling the access control page
The access control page can be styled to more closely match the look of your overall site. Gallery provides three styling options:
Default styling
With the default styling option, a Gallery logo, the Access Code Label and an access code field will always be displayed.
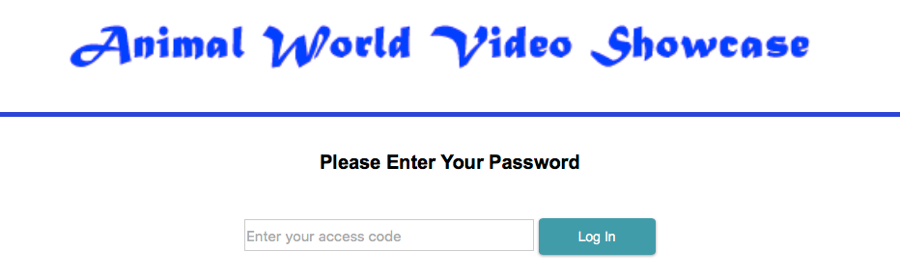
Image & Border styling
The Image & Border option allows for some basic customizations to the access control page. An example can be seen below.
To customize the image and border styling, follow these steps:
- Select Image & Border.
- Drag & drop, browse, or add a link to the image to display on the access control page.
- Enter a Clickthrough URL. The Clickthrough URL will make the image a clickable link.
- Click on the color picker to select a Header Border Color.
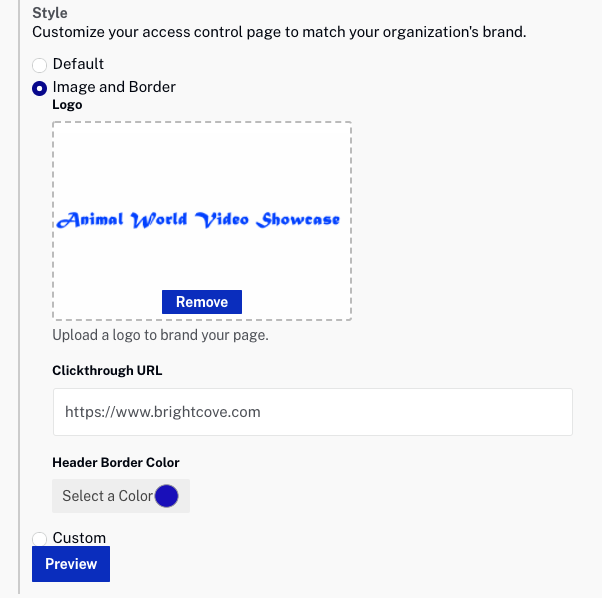
- Click .
Custom styling
The Custom styling option allows for more advanced customizations to the access control page. An example can be seen below.
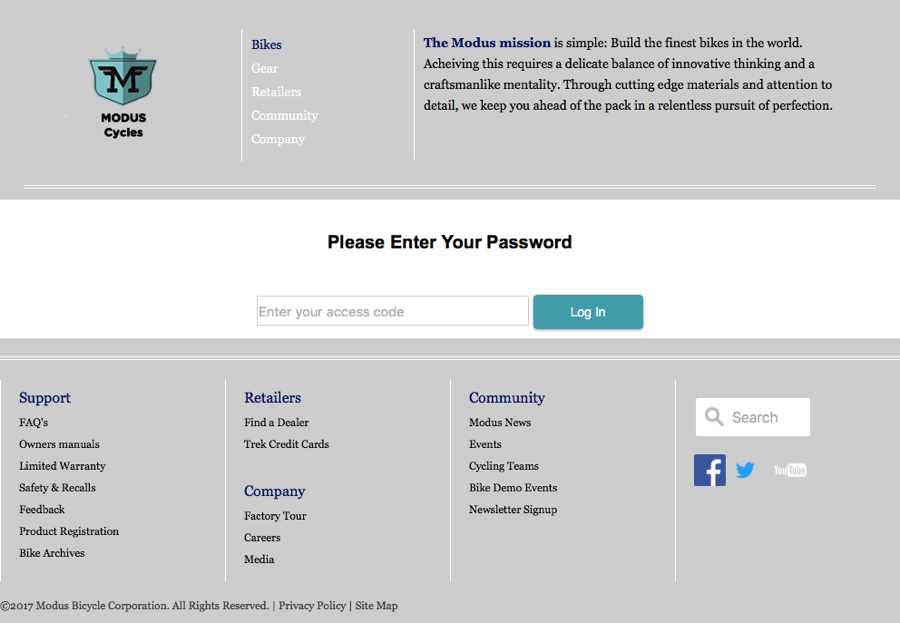
To use the Custom option, follow these steps:
- Select Custom.
- Enter custom HTML for the header and footer.

- Click .