Configuring Single Sign-On with Active Directory Federation Services
Before you get started
Complete these initial setup steps:
- Enable RelayState for iDP-initiated sign on by following the instructions here. The location varies depending on the version of ADFS that is being using.
- Restart the ADFS service so the changes are applied.
Adding a Gallery Access Control Profile
- Open Administrative Tools from the Windows Start menu or Control Panel and then open the AD FS Management application.
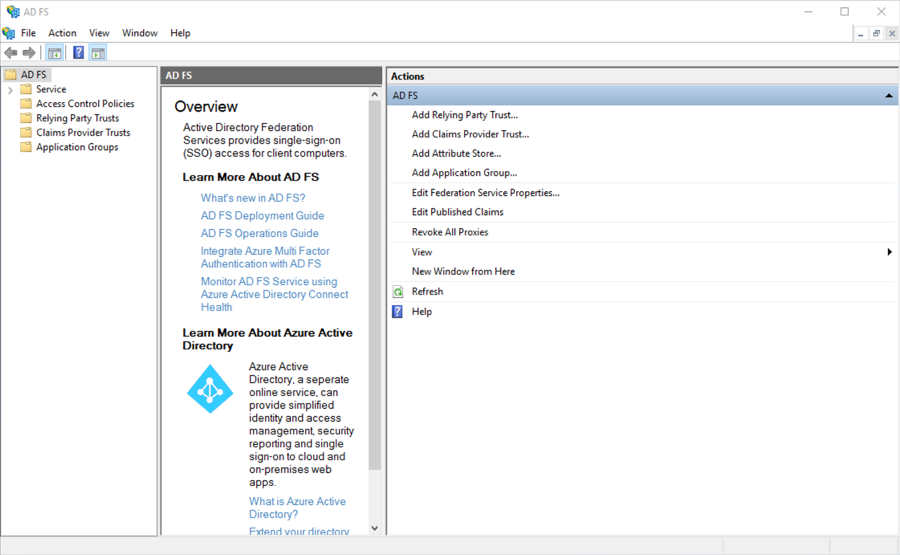
- Open Services > Certificates in the left hand explorer panel.
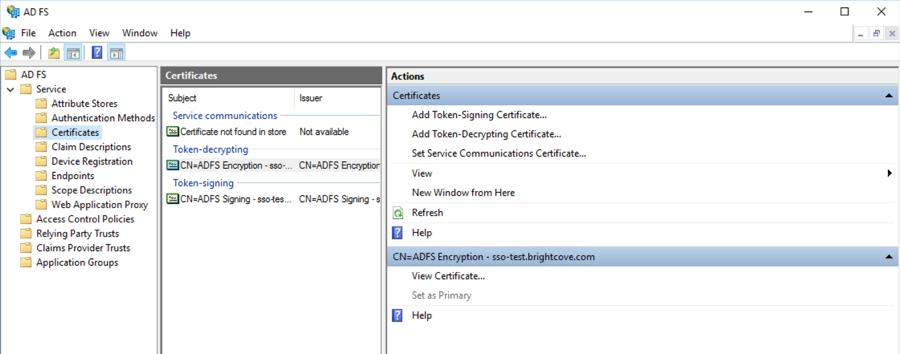
- Double-click on the Token-signing certificate that you want to use.
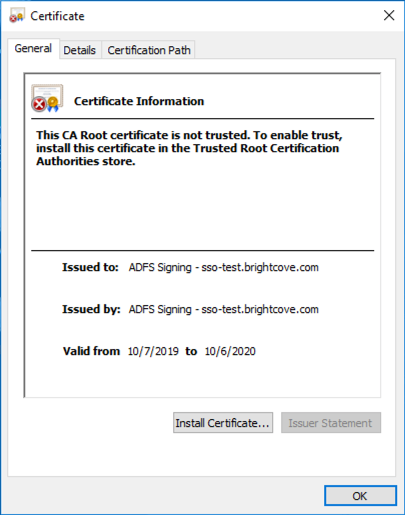
- Click on the Details tab and click Copy to File…
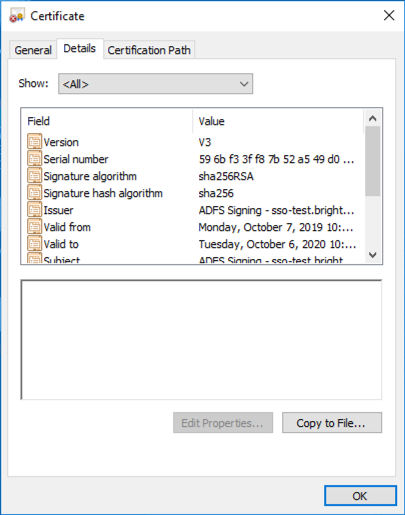
- Click Next in the export wizard, then select the Base-64 encoded X.509 (.CER) option.
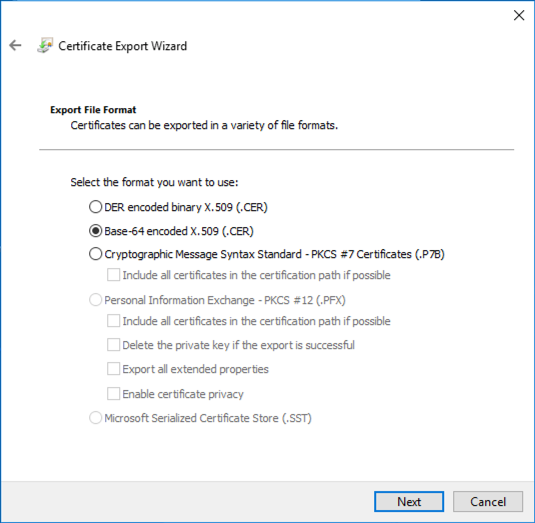
- Save the certificate file to your local file system and then open it in a text editor. This is the certificate that will be used to setup the Gallery access control profile.
- Open the Gallery module.
- Click the settings icon (
 ) on the home page.
 - Click Access Control Profiles in the left navigation.
- Click .
- Give it a Name and then select SSO - Requires a username and password for access.
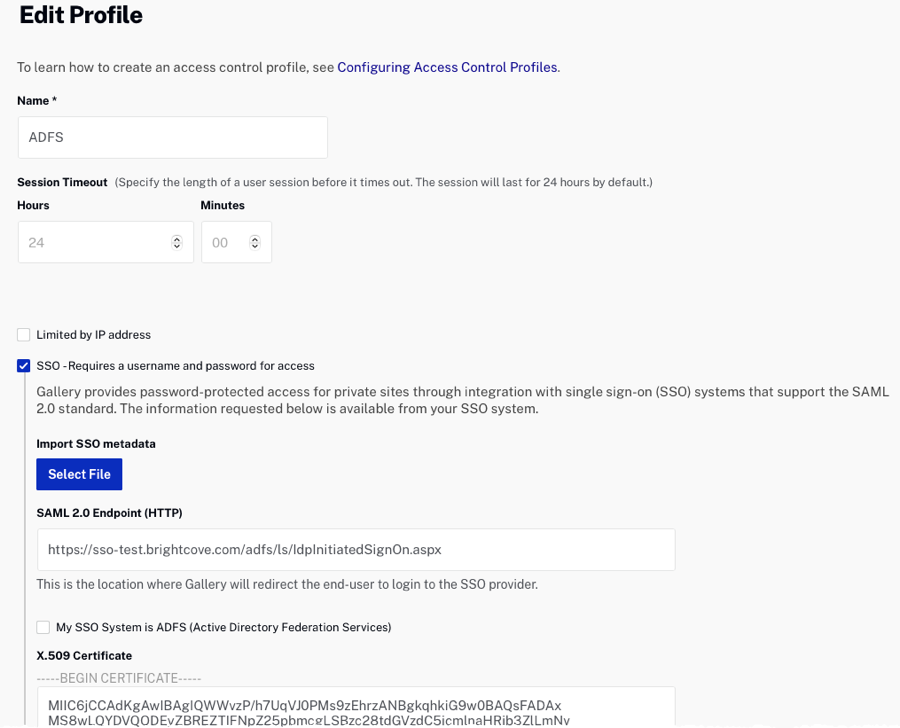
- In the SAML 2.0 Endpoint (HTTP) field, enter the URL to the iDP-initiated sign-on page for your ADFS server. This usually ends in
IdpInitiatedSignOn.aspx. For example, if the SP-initiated sign-on link ishttps://sso-test.brightcove.com/adfs/ls, the iDP-initiated sign-on page ishttps://sso-test.brightcove.com/adfs/ls/IdpInitiatedSignOn.aspx. - Check the My SSO System is ADFS (Active Directory Federation Services) option.
- Copy and paste the certificate that you saved in step 6 into the X.509 Certificate field.

- Click to save the access control profile. The new access control profile should appear in the list of profiles.

- Back in the AD FS Management application, open Relying Party Trusts.
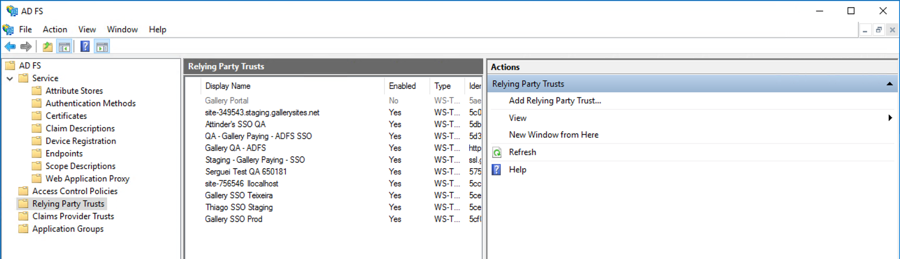
- Click Add Relying Party Trust… in the right hand panel.
- Click Start in the wizard and then paste the Metadata URL that was displayed in step 15 into the Federation metadata address field.
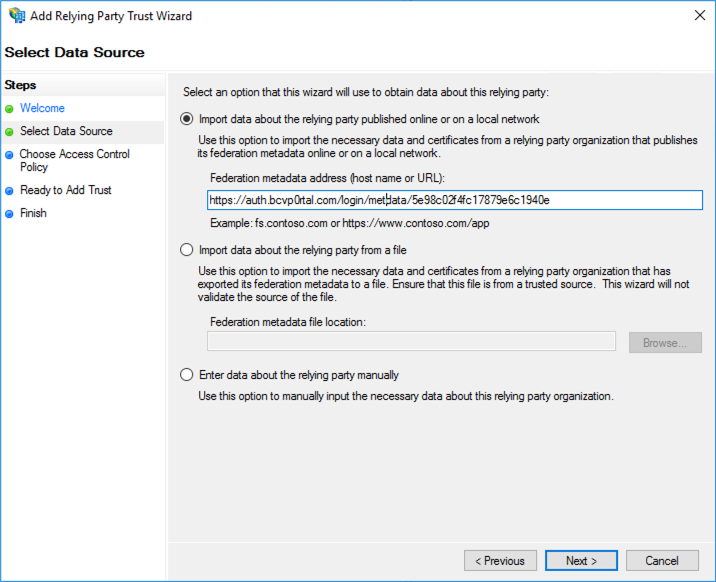
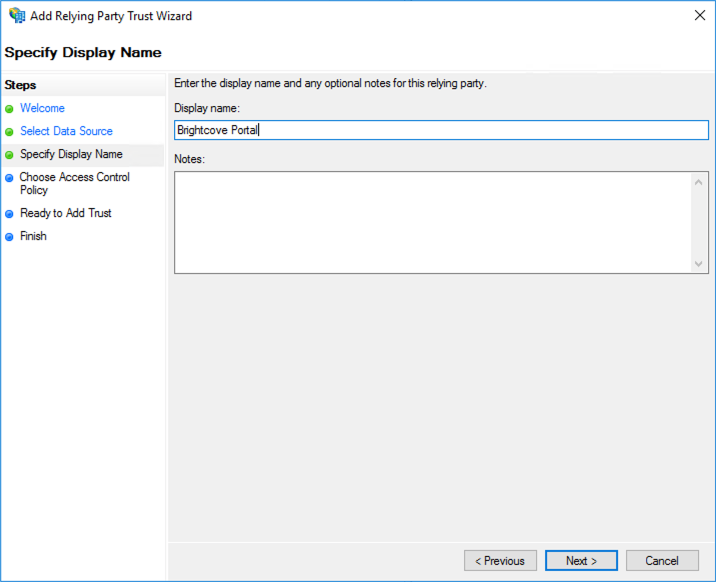
- Click Next and then give your relying party trust a name.
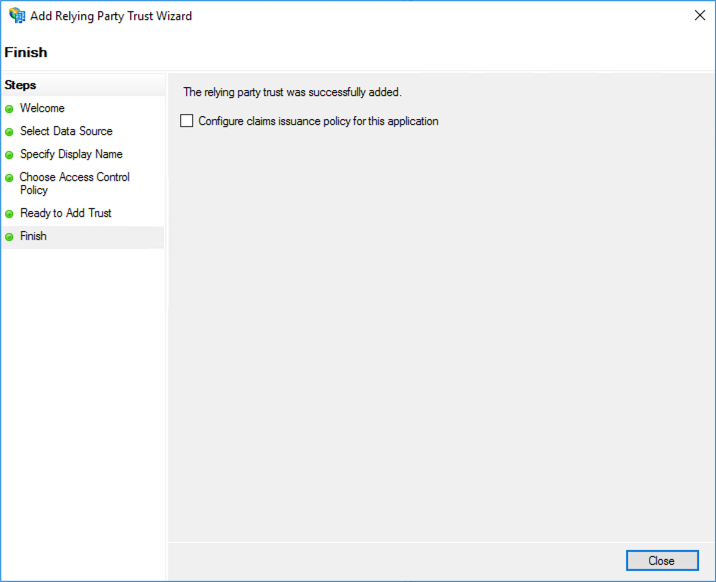
- Continue clicking Next until the Finish step. Uncheck the Configure claims issuance policy for this application checkbox. Click Close.
You should now be able to associate a Website Experience to the access control profile that was created. After the experience is published, navigating to it should go through the ADFS sign-on workflow.