Configuring Gallery Settings
To configure the Gallery settings, open the Gallery module and click the settings icon (![]() ) at the top of the page. The following settings can be configured:
) at the top of the page. The following settings can be configured:

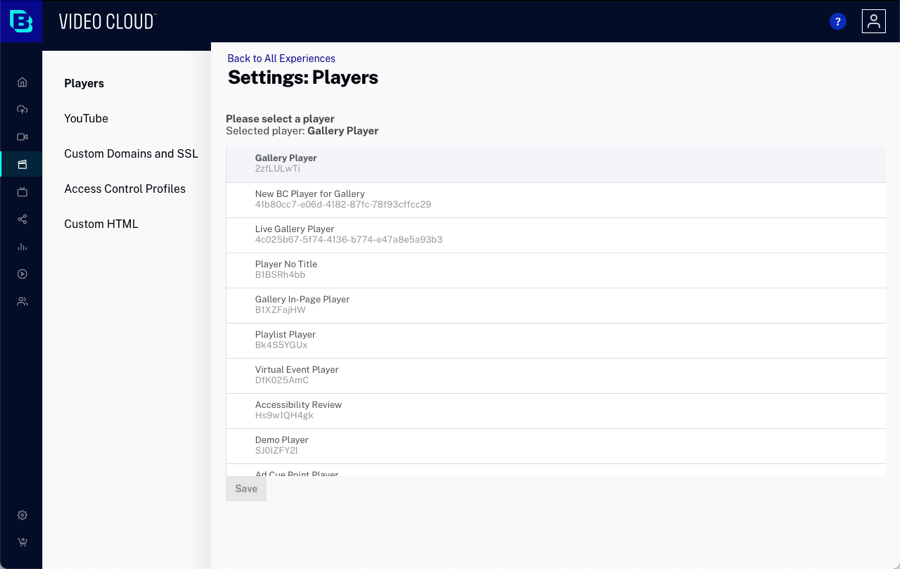
Selecting a default Video Cloud player
Gallery should be configured with an account wide default video player that will be used on your Gallery sites. Players for individual Gallery sites can also be configured as part of the VIDEO AND PLAYBACK settings providing the ability to override the account wide default player. For more information, see Customizing the Player and Lead Form Settings for a Portal Experience.
As a best practice, we recommend you create and style dedicated players for your Gallery sites. If you haven't created a dedicated player for your Gallery site, you should start by doing so. For information on creating players, see Getting Started with the Players Module.
To configure Gallery with a default video player, follow these steps.
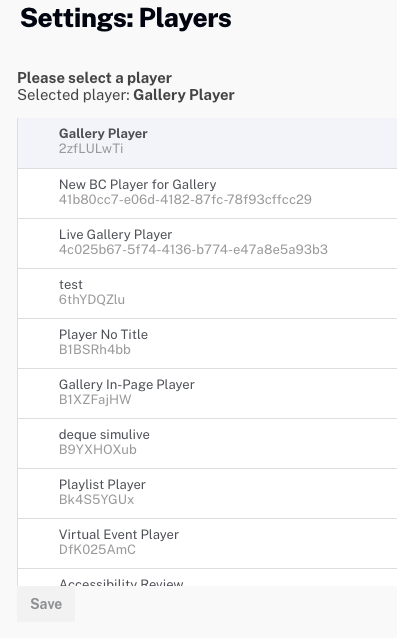
- Click Players in the left navigation.
- Select your account wide default player from the list of players and then click .

Campaign-enabled players are indicated with the Campaign icon (![]() ). These players are configured with the Campaign plugin and can track video engagement data. Hovering over the icon will display the Campaign connection information.
). These players are configured with the Campaign plugin and can track video engagement data. Hovering over the icon will display the Campaign connection information.

For information on creating Campaign-enabled players, see Creating a Campaign-enabled Player.
Configuring YouTube settings
Gallery sites can contain videos from your Video Cloud account or from a YouTube account. Before YouTube videos can be added to a Gallery site, the YouTube settings must be configured. For information on these settings, see Configuring YouTube Settings.
Configuring custom domains and SSL
When you first create a Gallery site, it is assigned a random domain with the format of <site-slug>.bcovp0rtal.com. Gallery provides the ability to publish Gallery sites at a Brightcove provided domain or using your own custom domain. Sites can also be secured using SSL. For information on configuring custom domains and SSL, see Configuring Custom Domains and SSL.
Configuring Access Control Profiles
Access Control Profiles can be created to control access to Gallery sites. Access to a site can be limited by:
- IP address - Access is limited based upon the IP address of the viewer
- SSO credentials - A user name a password are required for access
- Access Code - User is required to enter an access code before the site will display (useful when creating and testing a site)
For information on creating Access Control Profiles, see Controlling Access to a Portal Experience.
Using custom header/footer HTML
Gallery provides the option of using a custom header and/or footer for all of your sites. This provides the ability to customize your Gallery sites so they more closely match the look and feel of your corporate sites. A custom header/footer can also be configured for an individual site. For information on configuring a custom header/footer for a site, see Customizing the Appearance and Behavior of a Portal Experience.
To configure Gallery to use a custom header or footer, start by designing the header/footer to use for your sites. The header/footer can contain any valid HTML, JavaScript (in the Custom section) or CSS code. When done, follow these steps:
- Click Custom HTML in the left navigation.
- Paste the header HTML into the Custom Header HTML field.
- Paste the footer HTML into the Custom Footer HTML field.
- Click to save the changes.
Notes on using custom headers and footers
- Gallery does not validate the HTML that is supplied for the header/footer
- There is no explicit character limit on the header and footer HTML
- External CSS and JavaScript files are supported
- The custom HTML should follow responsive design principles so it will scale properly across devices
- Brightcove has seen CSS conflicts when sites use Bootstrap (Gallery uses Bootstrap as well); make sure you check for and resolve any conflicts
