Pigeonhole can be used to easily add event based interactivity (live Q&A, chat, polls, surveys, etc.) to a Gallery Experience. Typically, a new Pigeonhole is created for the event and then sessions are created for the live events. Once the session is created, Pigeonhole embed code is pasted into the Media asset you want to put on. The embed code will cause the Pigeonhole Chat display to the player's side.

Creating a Pigeonhole event and session
You should create a new Pigeonhole for your live event and then add sessions for each video that will have Pigeonhole Chat enabled.
- Login to your Pigeonhole account.
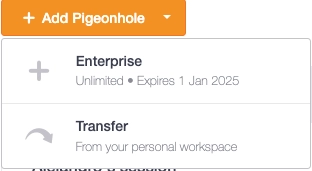
- Click + Add Pigeonhole and click the account to use.
- On Event type select Virtual.
- Enter an Event name and Passcode.
- Enter Start and End dates for the event. These dates control how long the Pigeonhole will be active.
- Select a Timezone and Expected total participants.
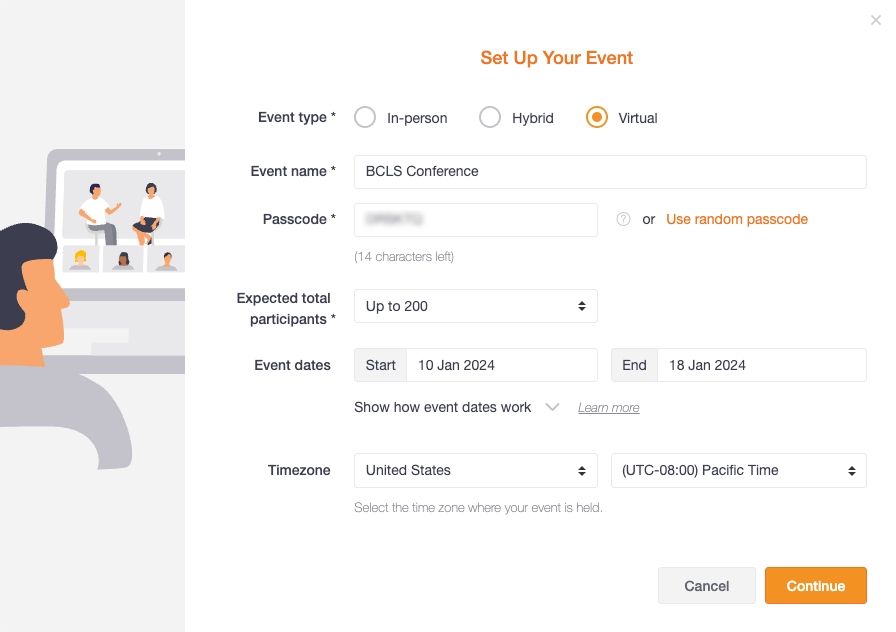
- Click Continue.
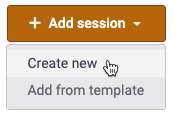
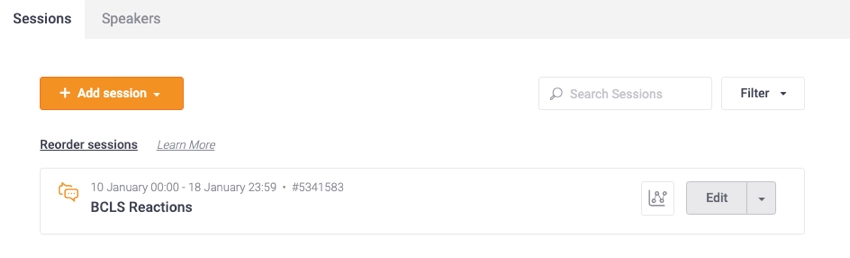
- Now that the event is created, the Agenda item will be selected in the left navigation. Click Add session > Create new.
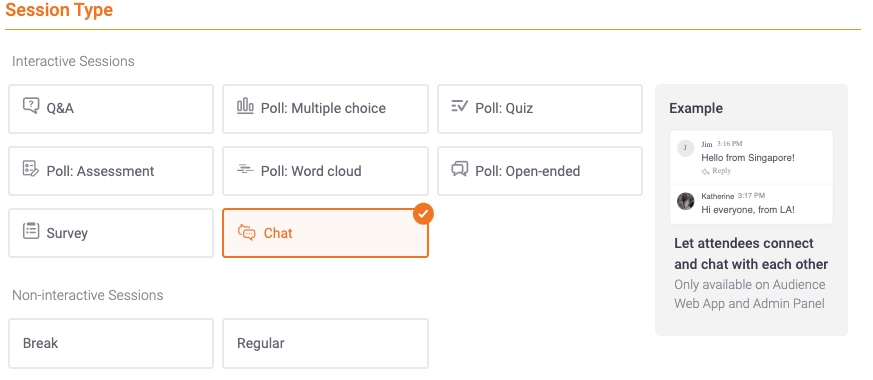
- Select a Session Type of Chat.
- Enter a Session name.
- Configure the Chat Settings as appropriate.
- Click Add Chat. Confirm the session was created.
How to setup authorization for SSO users in Pigeonhole.
If the experience uses SSO sign-in, and you want to authorize SSO users in Pigeonhole Chat, follow these steps.
-
- In Pigeonhole, click More settings in the left navigation.
- Select Attendees tab.
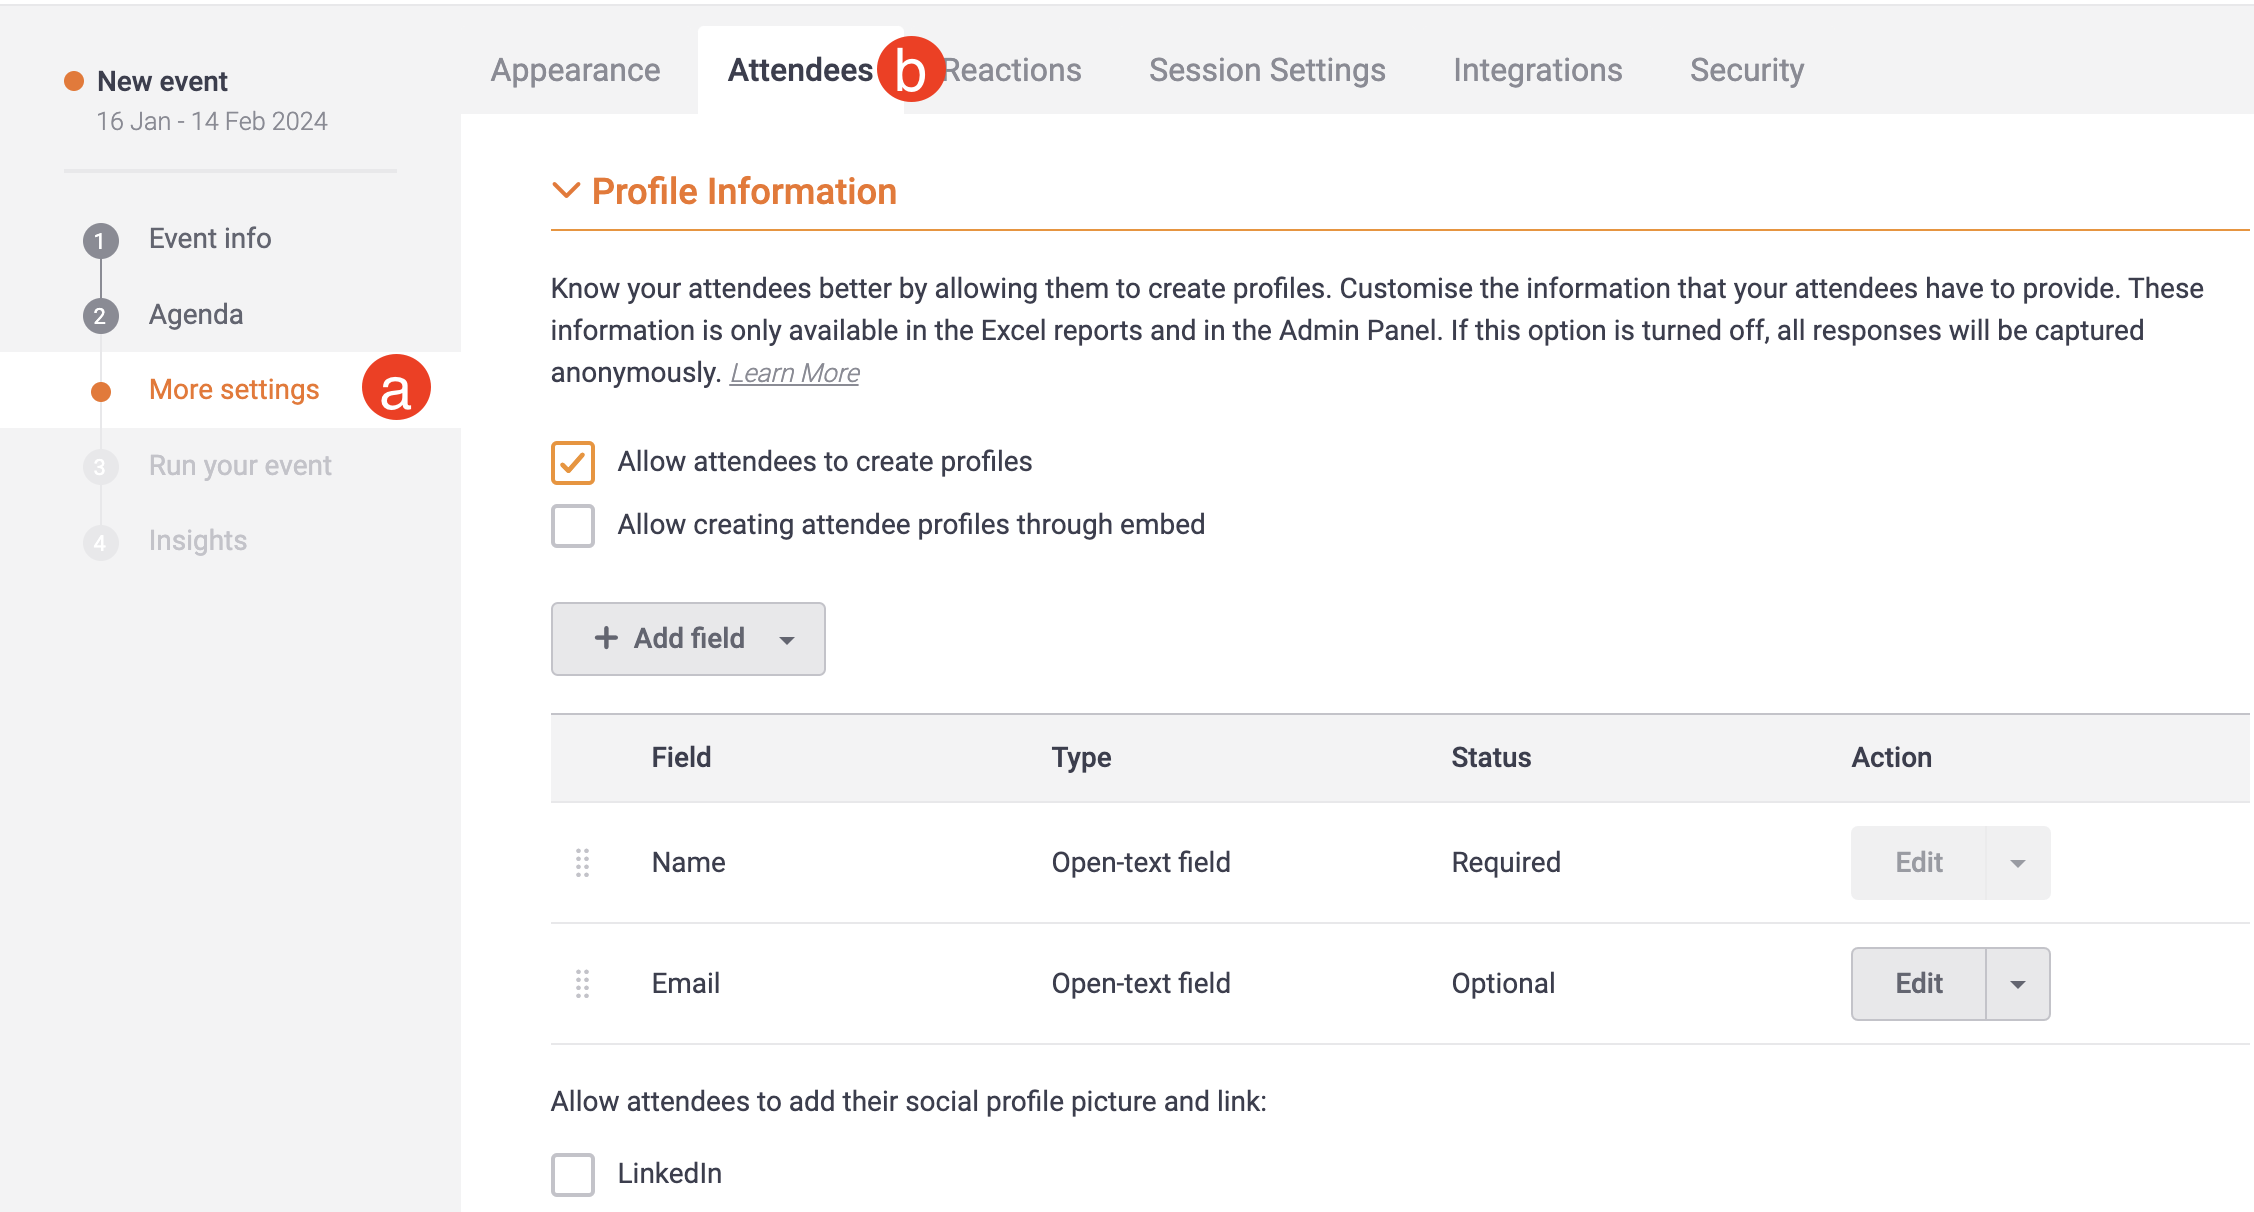
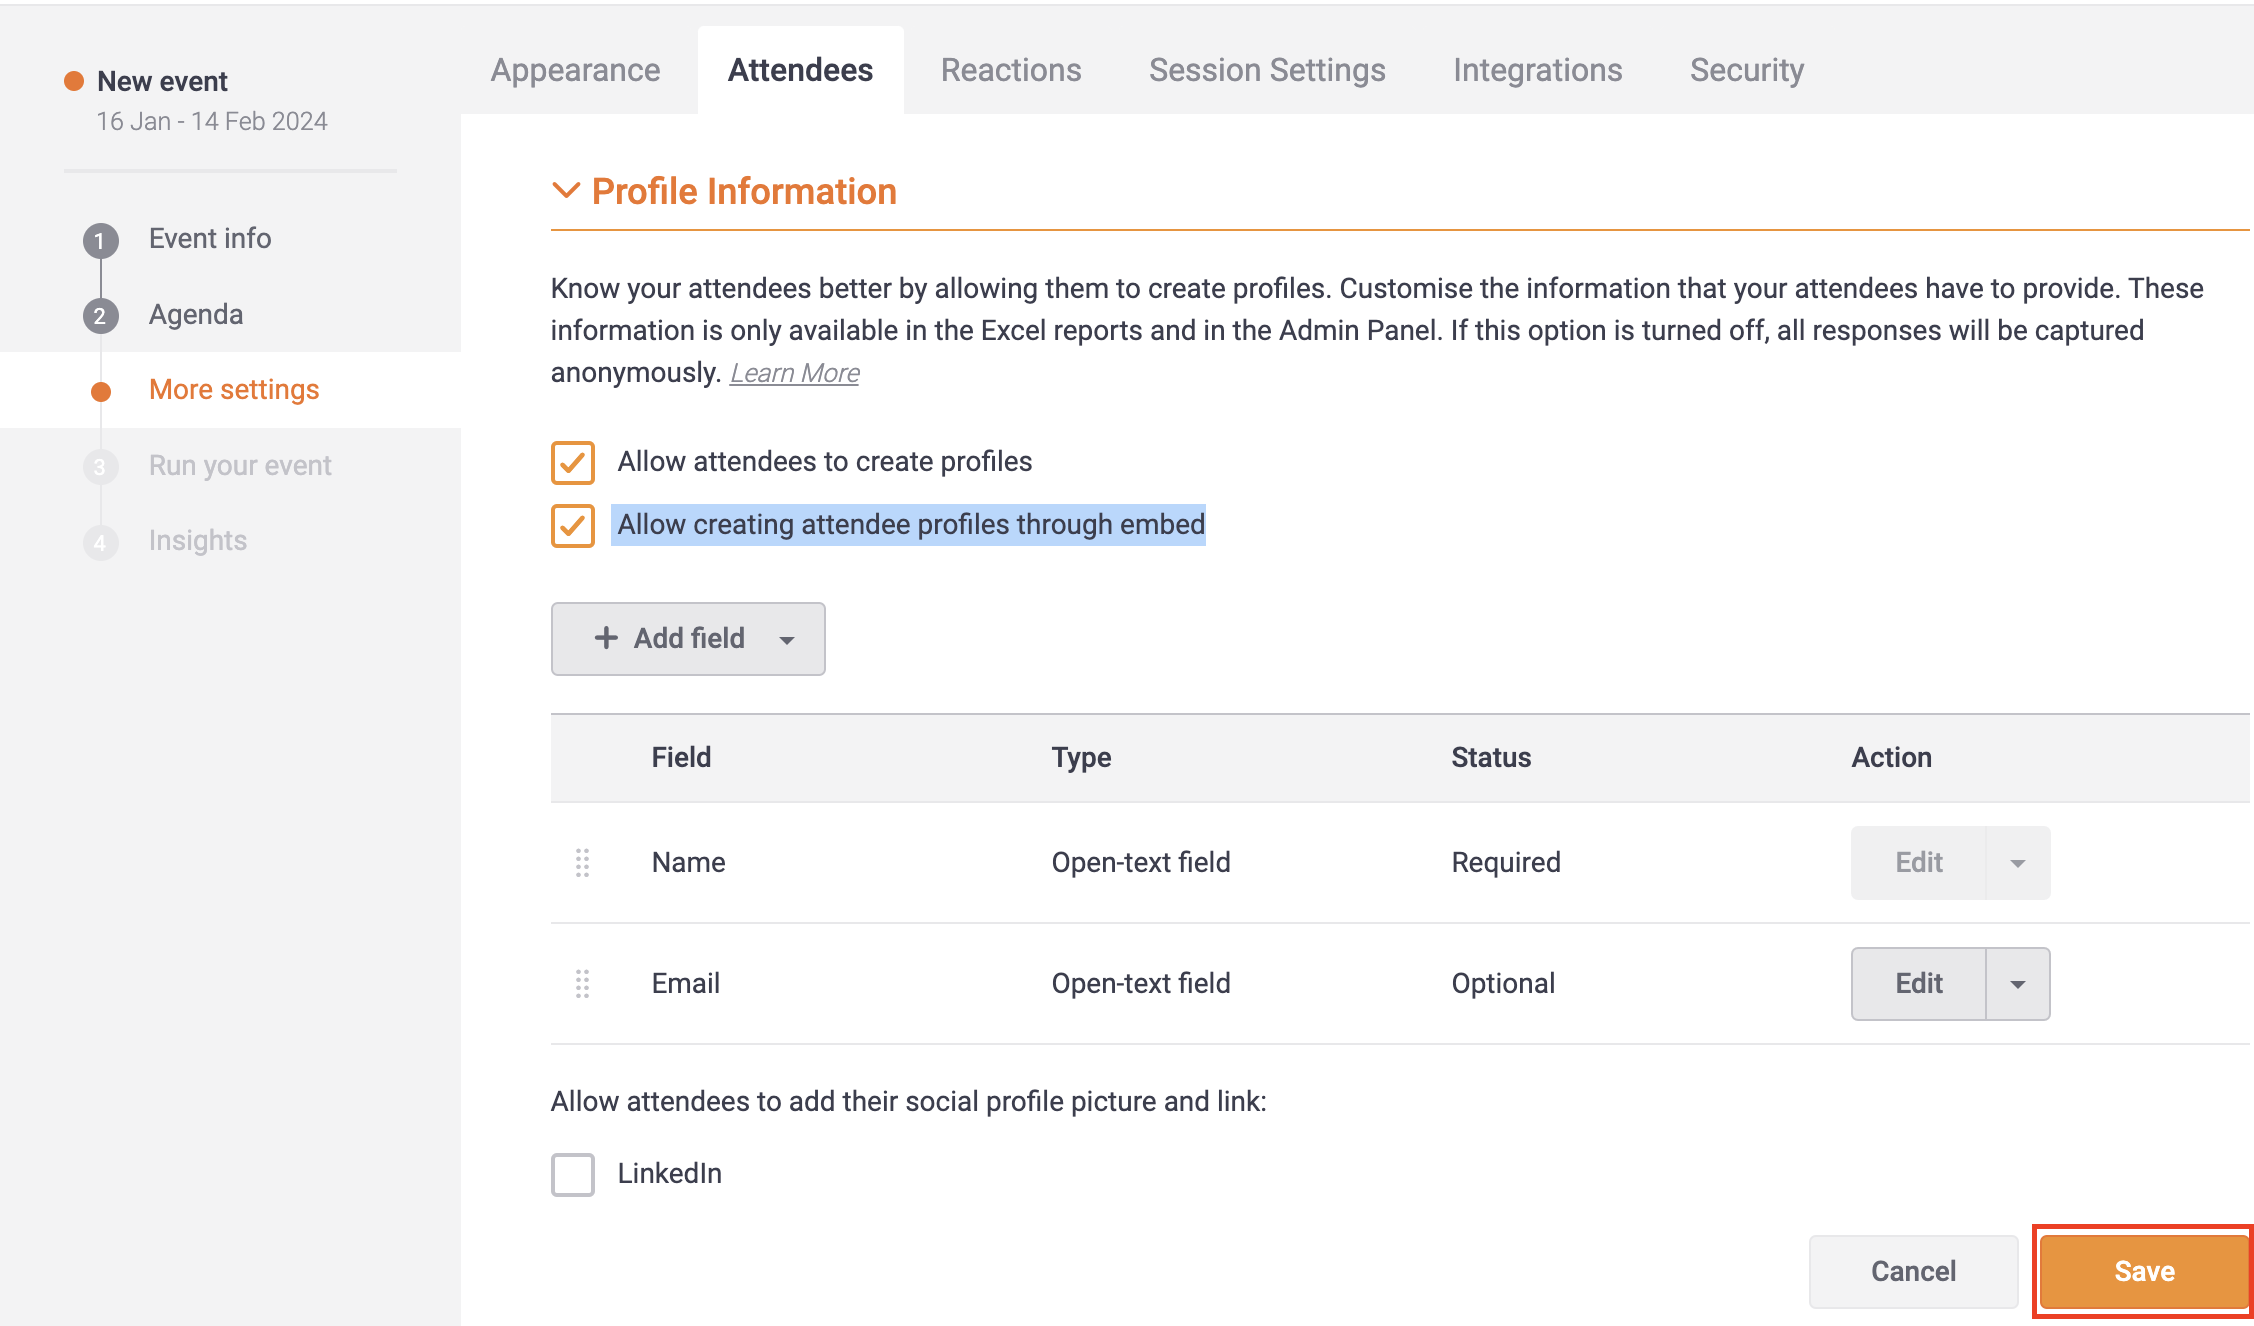
- In Profile Information, check Allow creating attendee profile through embed, and click Save.
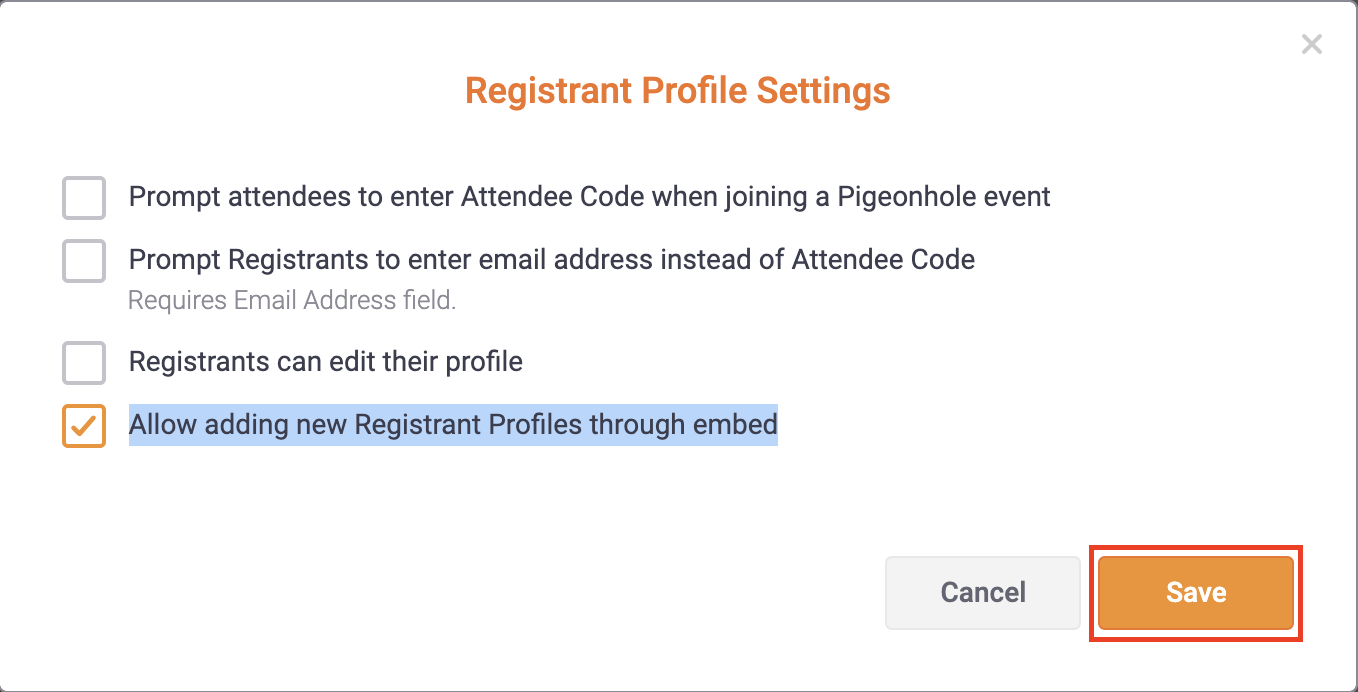
- Scroll down to Registrant click the down-arrow and select Settings.
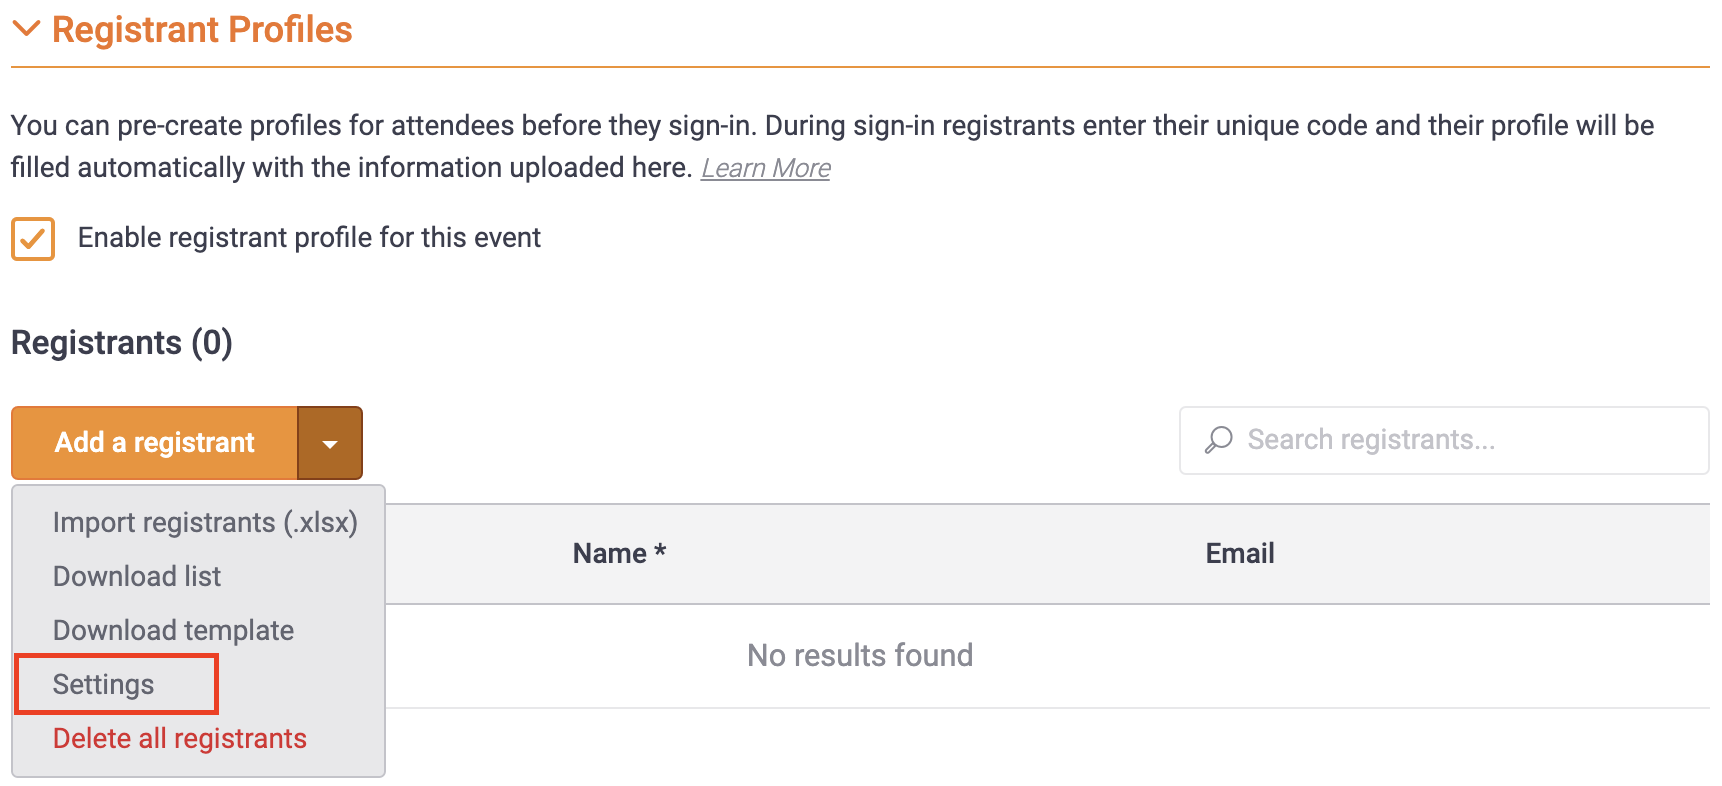
- Then check Allow adding new Registrant Profiles through embed option and click Save.
- Close.
Create Pigeonhole custom field
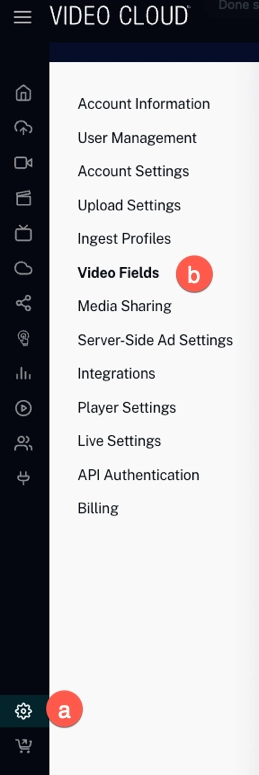
- On Video Cloud go to Admin section.
- Select Video Fields tab.
- On the Custom Fields section click .
- Create the
chat_embedcustom field by writing Pigeonhole Chat in the Display Name field and chat_embed in the Internal Name field. The chat_embed data is used in the supported Gallery template in order to add the Pigeonhole Chat to the player's side.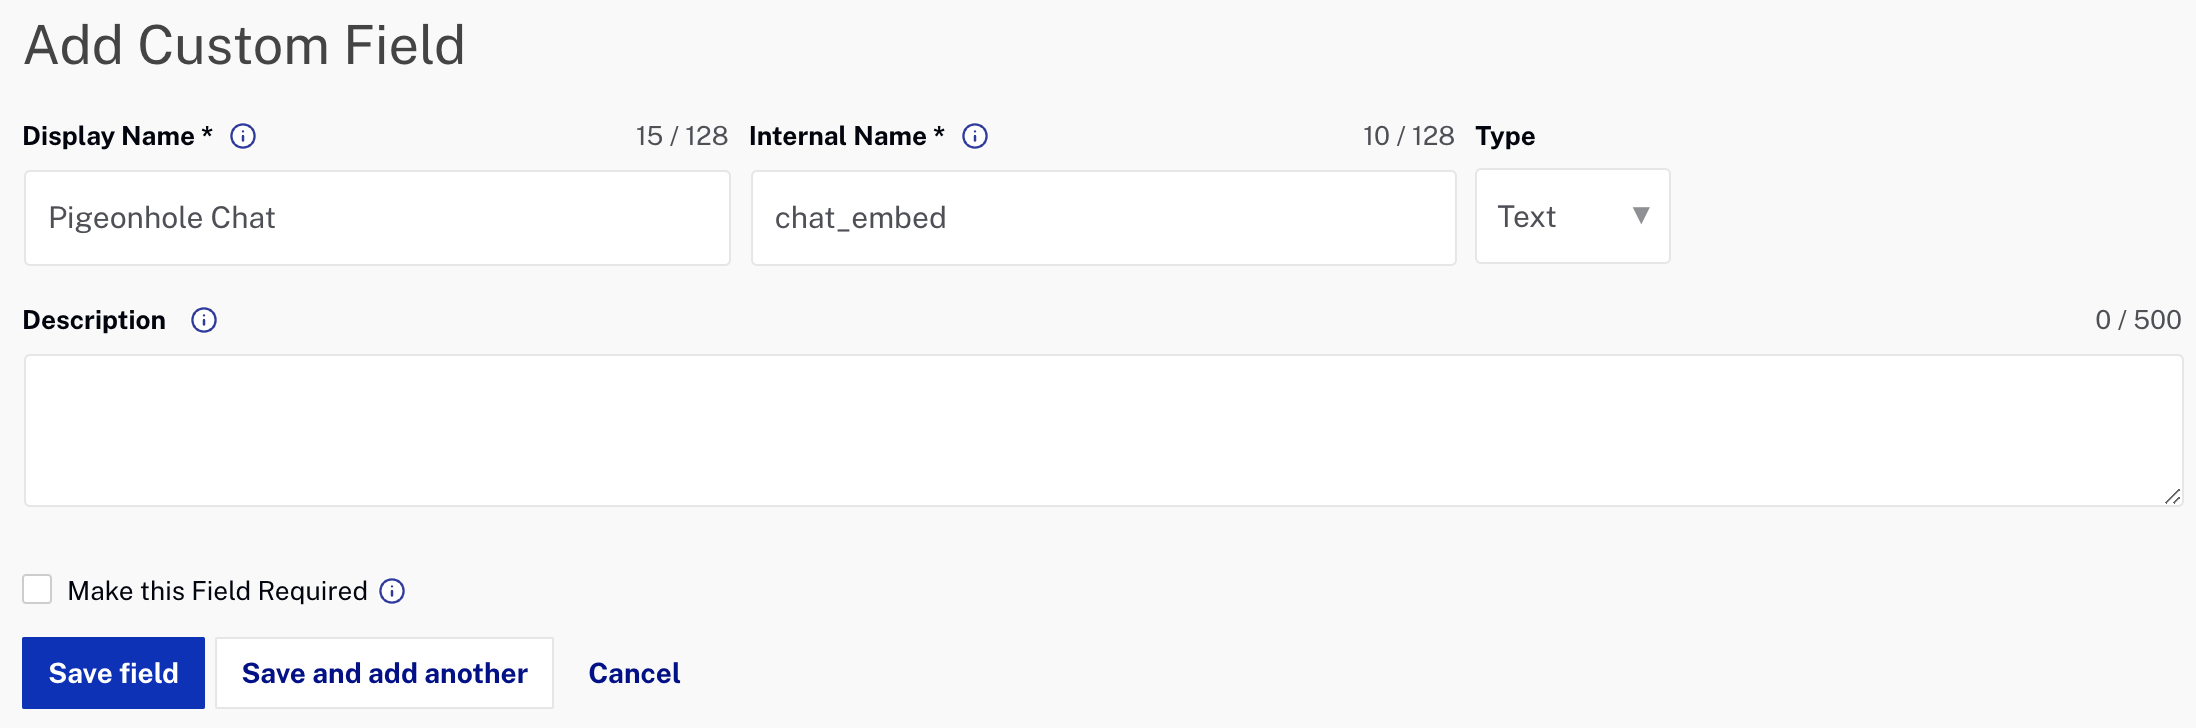
- Click .
Adding Pigeonhole Chat to a Media asset
Adding Pigeonhole Chat to a Video Cloud Media asset is done by using the chat_embed custom field. To add Pigeonhole chat to a Media asset, follow these steps.
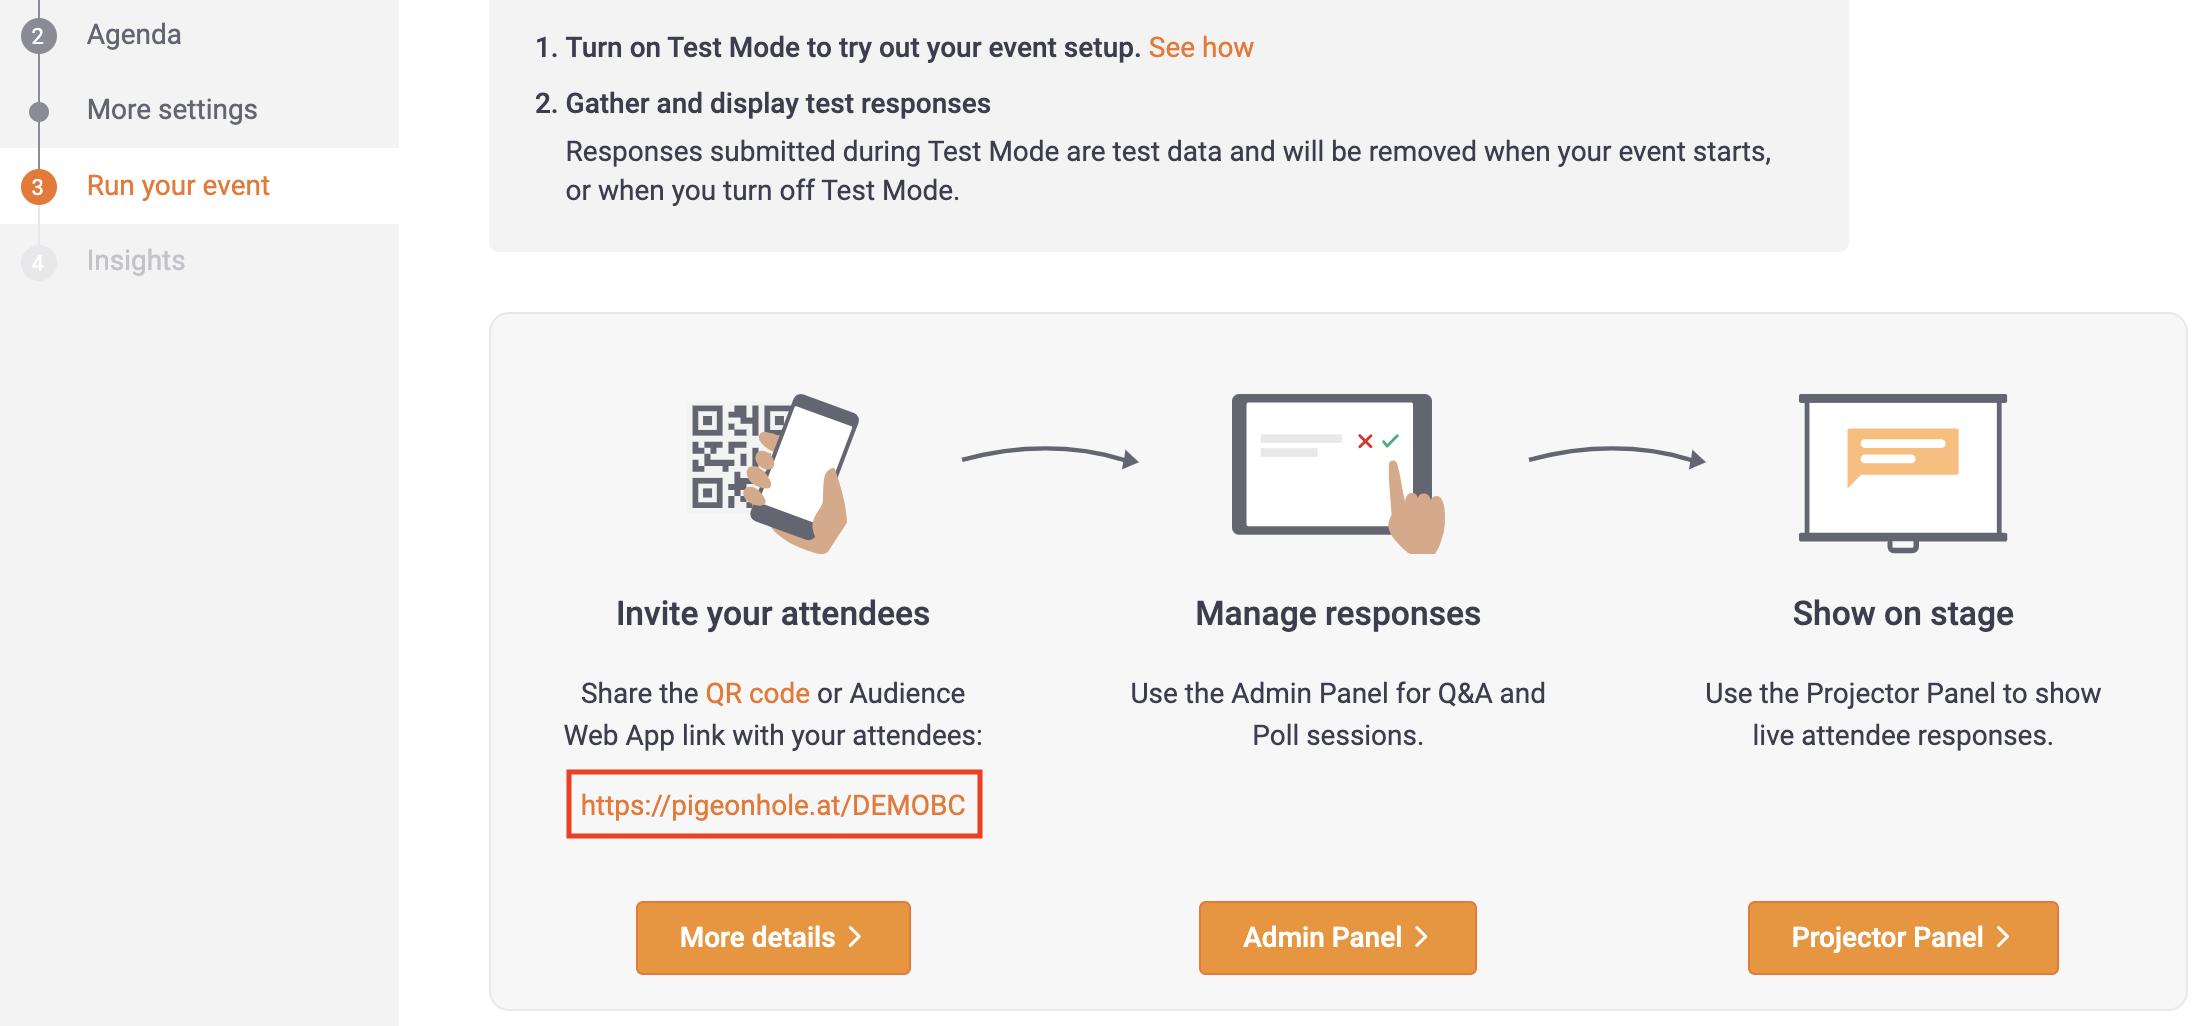
- In Pigeonhole, click Run your event and copy the link.
- Open the Media module.
- Choose the video in which you want to embed Pigeonhole Chat.
- On Custom fields section click Edit.
- Paste the Pigeonhole link in the Pigeonhole Chat field.

- Click .
Limitations
- This feature is only available for these Gallery templates.
- Immersion Website.
- Virtual Event Website.
- Live Event Website.
- Live Event Embed.