Customizing an Embed Experience
Objects such as text, images, ads, custom HTML and Twitter Feeds can be added to an Embed Experience allowing you to customize and brand the experience. To add objects to an Embed Experience, edit the experience and then click Layout in the left navigation. When you edit an Embed Experience, the Layout mode will open by default.
Selecting a device type
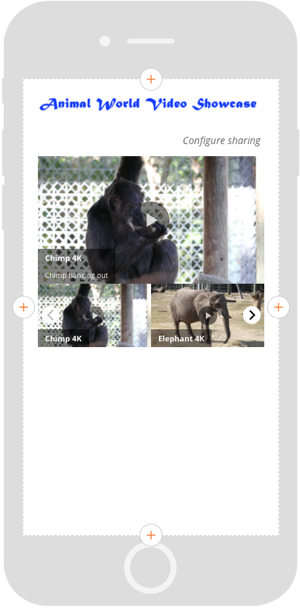
The device selector at the top of the page can be used to edit the Embed Experience using a desktop, tablet or mobile layout.
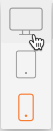
By default, the Desktop layout is displayed when the experience is edited. Selecting the mobile layout will display the mobile layout.
Note that previewing an experience will open the experience in another browser tab and allow you to preview the experience without the Gallery UI elements.
Switching experience states
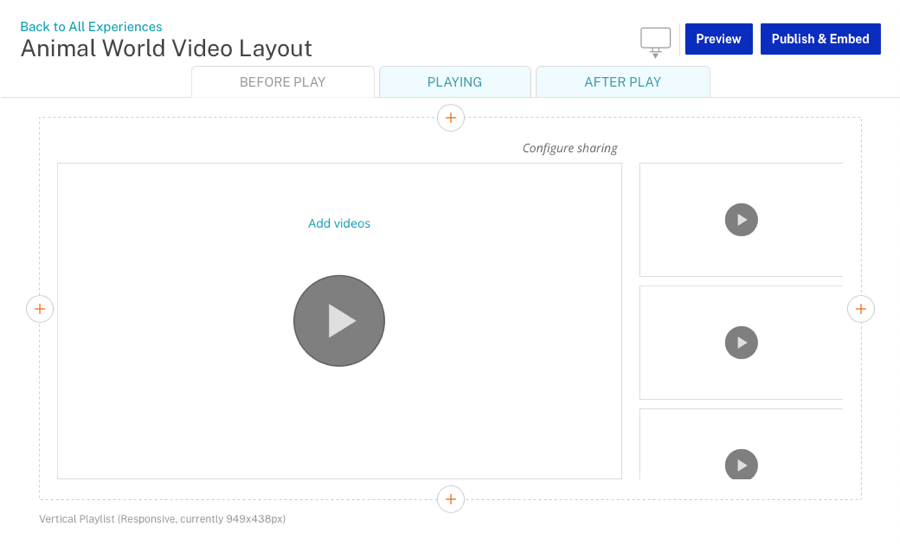
In-Page experiences have different visual states that will change as the viewer interacts with it. The appearance of each of these states can be customized by clicking the links at the top of the page.

The following states are available to customize:
- BEFORE PLAY - How the experience will appear when first rendered, before any video playback has started
- PLAYING - How the experience will appear when a video is being played
- AFTER PLAY - How the experience will appear after a video plays
In the PLAYING and AFTER PLAY states, clicking the 〈 Back link will return the experience to the BEFORE PLAY state. The experience will enter the AFTER PLAY state regardless of whether the autoplay next video option is enabled or not.
To edit the different experience states, click a state and then add components to the experience as needed. The Layouts menu provides further customization options for each state. See the Customizing the appearance section for details.
Customizing the appearance
The Layout menu provides additional settings that can be used to customize the Embed Experience.
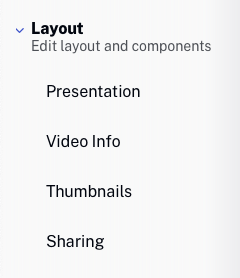
Note that the available layout options are based upon the template that was selected.
Presentation setting
The Presentation setting controls the presentation of the experience. Click Presentation in the left navigation, select a presentation and then click Save.
Video Info settings
The Video Info setting controls where the video name and short description will appear. Click Video Info in the left navigation, choose a location and then click Save.
Thumbnails setting
The Thumbnails setting controls where the video name will appear in relation to the video thumbnail. Click Thumbnails in the left navigation, choose a location and then click Save.
Sharing settings
The Sharing setting controls where the social sharing icons will appear. Click Sharing in the left navigation, choose a location and then click Save.
Adding components to an Embed Experience
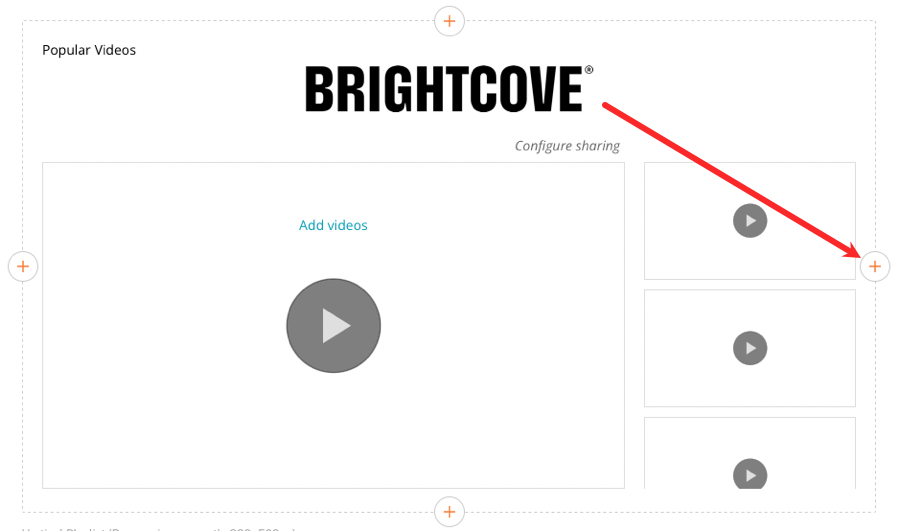
Using the layout editor, you can add components to the experience. Start by clicking the plus icon (![]() ) where you want to add a component and then select the type of component to add.
) where you want to add a component and then select the type of component to add.
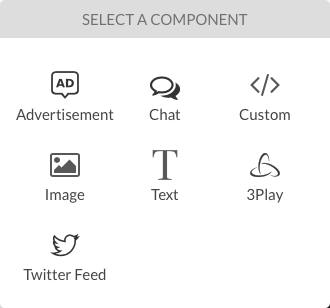
For information on the components that can be added to an Embed Experience, see Adding Components to an Embed Experience.
Editing and deleting components
To edit or delete a component on an Embed Experience, mouse over the component. An edit/delete icon ![]() will appear. Clicking Edit will open the component editor where the component can be edited. Clicking Delete will delete the component from the experience.
will appear. Clicking Edit will open the component editor where the component can be edited. Clicking Delete will delete the component from the experience.
Rearranging components
Components that are on an experience can be moved by using drag and drop. To change the order of components, click and drag it to the correct position. The green line indicates where the component will be located.

Components can also be dragged to another location on the experience.
Previewing an Embed Experience
Previewing an experience will open the experience in a new browser tab so it can be previewed outside of the Gallery authoring environment. Preview can be used to make sure the experience is rendering as expected. The preview is responsive so you can narrow/widen your browser windows to see break points. To preview an experience, click .
Publishing an Embed Experience
Publishing an experience will take the changes that have been made and publish them to the production Embed Experience. All changes to an experience must be published before they will appear. To publish an Embed Experience, click . For information on previewing and publishing an Embed Experience, see Previewing and Publishing an Embed Experience.