Customizing the Style of a Website Experience
Using the Gallery Site Editor, you can customize the style of a Website Experience by changing the theme, colors and fonts. To edit the style, edit the experience and then click Style in the left navigation.
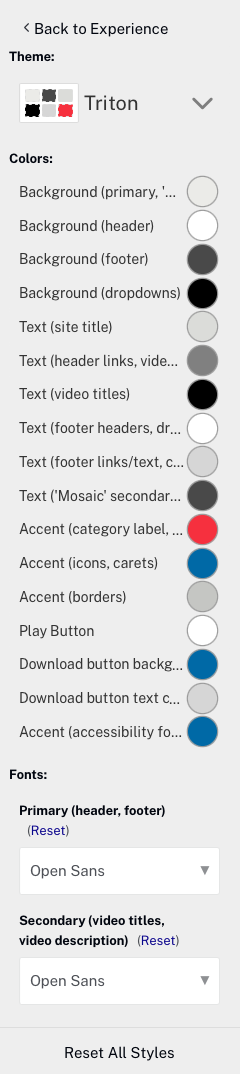
Selecting a theme
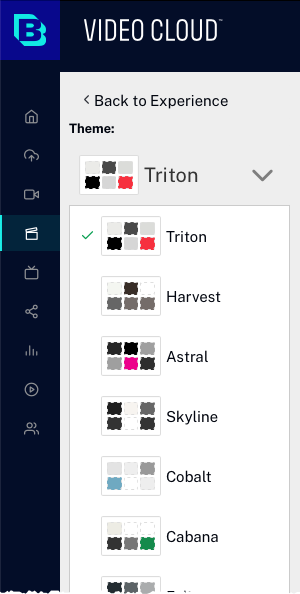
Selecting a Theme applies a predefined set of fonts and colors to the site. To change the site Theme:
- Edit the experience.
- Click Style in the left navigation.
- Select a Theme from the dropdown list. As you select a theme, the site will refresh so you can preview the theme.
- To go back to the Site Editor, click < Back to Experience.
Customizing colors
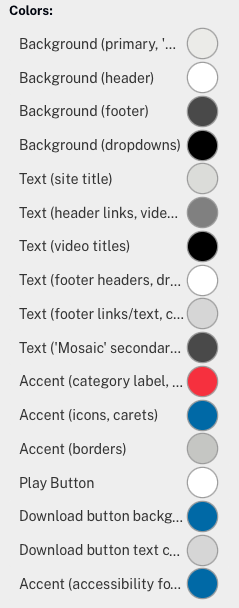
The Colors settings can be used to fine tune the colors that are provided by a theme. For example, color settings can be used to fine tune the background and font colors. To customize the Colors:
- Edit the experience.
- Click Style in the left navigation. The Colors section will display all the page objects and their colors.
- To select a new color, click on the color circle.
- Using the color chooser, select a color by clicking the color in the color square or by entering a hexadecimal color number below the color square. Note that you can change the color range by clicking in the color spectrum below the color square. Click X to close the color picker and save the change.
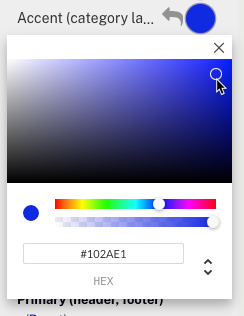
To reset a color selection, click the left arrow to the left of the color circle.
- To go back to the Site Editor, click < Back to Experience.
Selecting fonts
The fonts that are used on the site can also be changed. To select different fonts:
- Edit the experience.
- Click Style in the left navigation.
- Select new Fonts using the drop down lists.
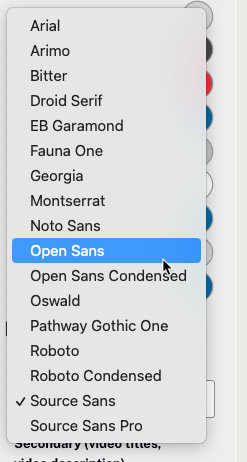
To reset a font selection, click the reset link above the font dropdown.
- To go back to the Site Editor, click < Back to Experience.