Customizing the Content of Virtual Event Experience Pages
Objects such as text, images and links can be added to Virtual Event Experience pages allowing you to customize and brand your video experience.
Adding objects to pages
Using the Site Editor, you can add objects such as images, text, links and a welcome message to a page. Start by editing an experience and then click Pages in the left navigation. The page template will display plus icons (![]() ) indicating where objects can be added to the page.
) indicating where objects can be added to the page.
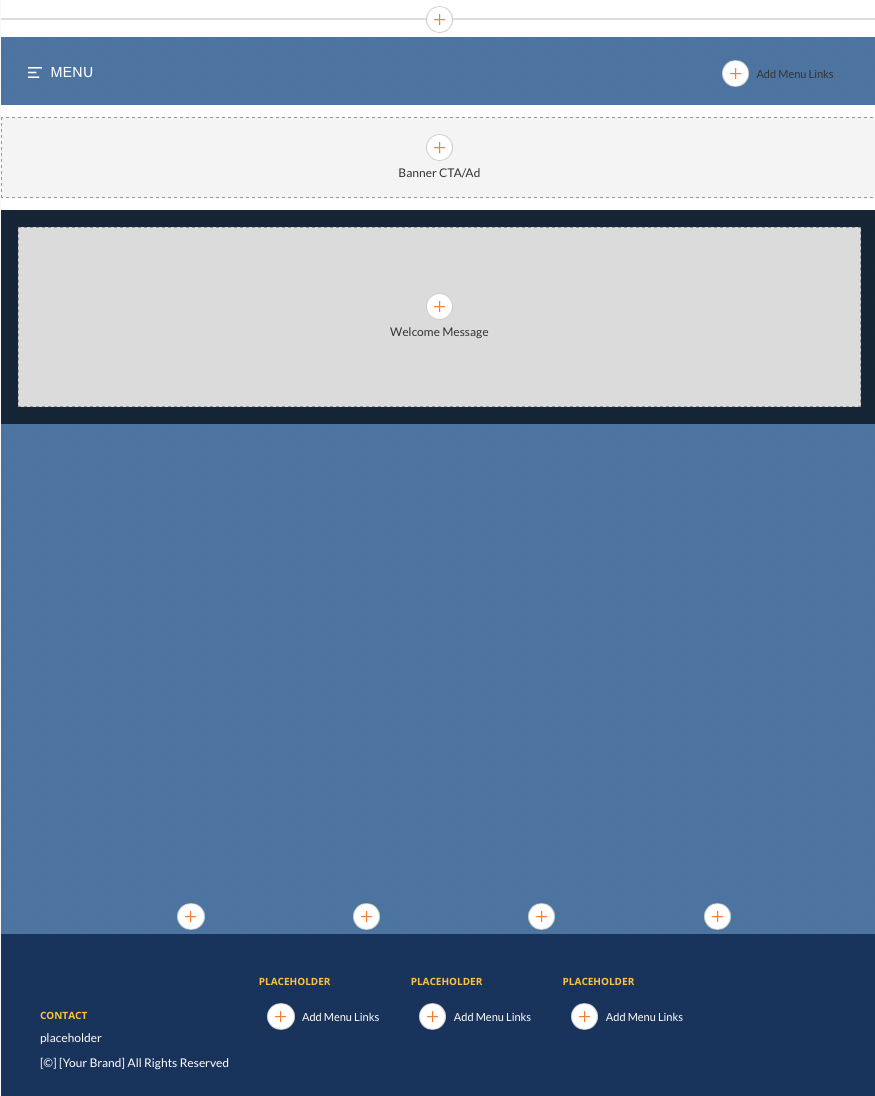
Hover over the plus icon and click it to add the appropriate object.
The page template may also contain text objects that are part of the template. Hovering over them will display an Edit button. Click the object or Edit button to edit the object.
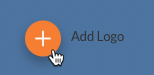
Adding a logo to the page header
The logo can be text or an image file. For images, JPEG and PNG images are supported. To add a logo to the page header, click + Add Logo in the page header.
Adding a text logo
- Use the text editor on the Text tab to enter and format text for the header.
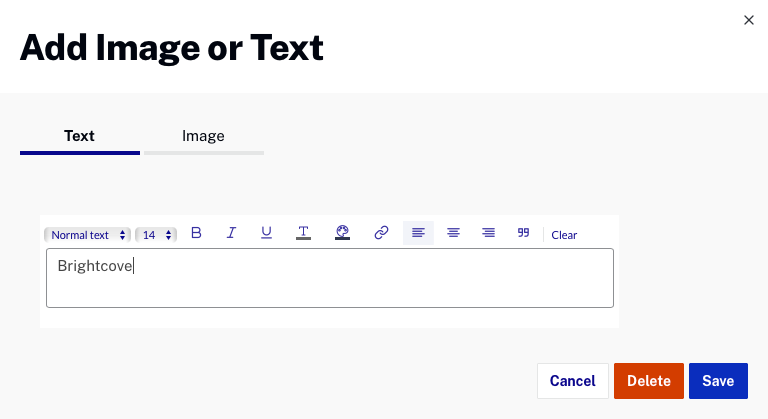
- Click .
Adding an image logo
- Click the Image tab. The image browser dialog will open.

- To specify an image, you can:
- Drag an image from the file system and then drop it on the drop area
- Click browse and select an image from the file system
- Enter the URL to a remote image file
- Click when done.
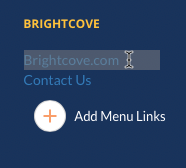
Adding menu links
Menu links can be added to the page header to provide a way for users to navigate to other parts of your site. To add menu links to the page header:
- Click +Add Menu Links in the header.
- Enter the Text and Link. Check New Window if you want the link to open in a new browser window.
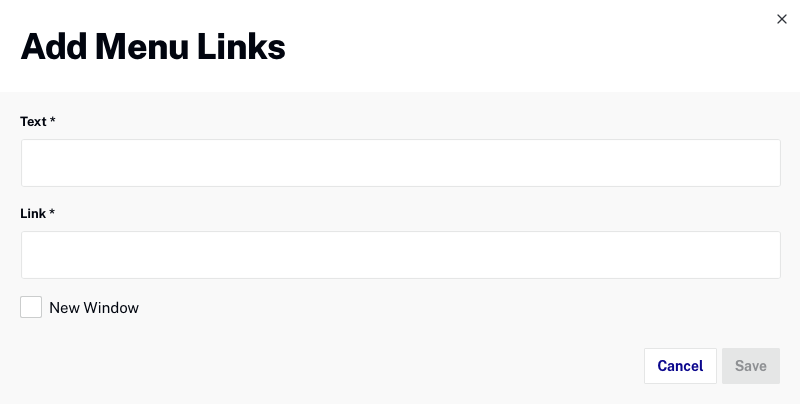
- Click .
Additional navigation links can be entered by clicking ![]() in the header. To add additional footer links, clicking + Add Menu Links. To edit a link, click on it.
in the header. To add additional footer links, clicking + Add Menu Links. To edit a link, click on it.
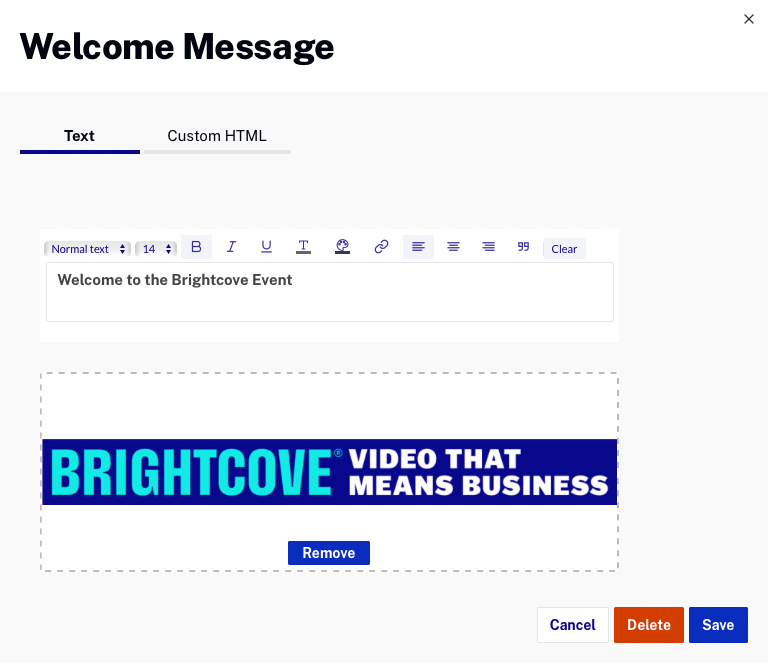
Adding a welcome message
A welcome message can be added to welcome visitors to the site and can contain text and an image. Custom HTML can be used for more advanced welcome messages. To add a welcome message, click + Welcome Message.
Adding a text message
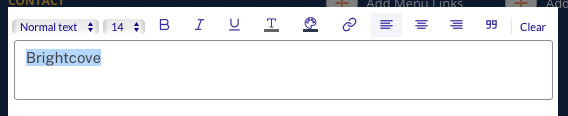
The Text tab can be used to add text and/or an image. On the page, the image will appear below the text.
- Enter your text. The formatting bar can be used to format the text.
- To add an image, you can:
- Drag an image from the file system and then drop it on the drop area
- Click browse and select an image from the file system
- Enter the URL to a remote image file
- Click .
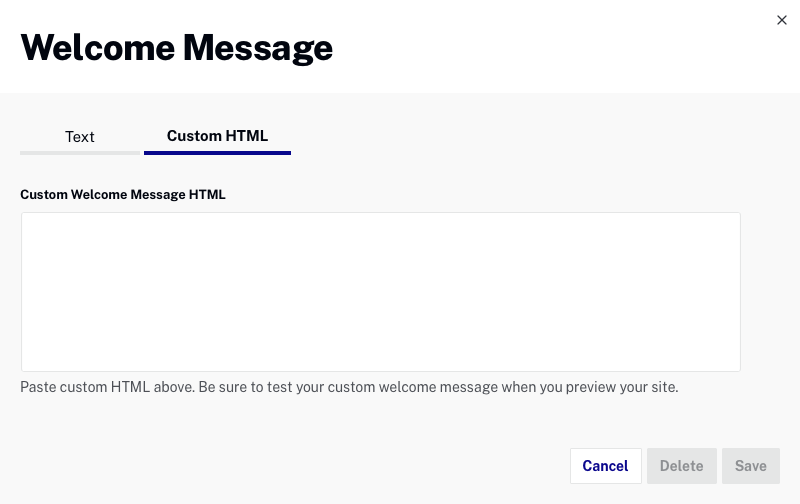
Using custom HTML
Custom HTML is useful when you want to have a more advanced layout that can't be created using the WYSIWYG editor on the Text tab.
- Click the Custom HTML tab.
- Paste in the custom HTML for the welcome message.
- Click .
Adding navigation links to the page footer
Navigation links can be added to the page footer. This is useful when you want to have a title and then a series of links below. For example:
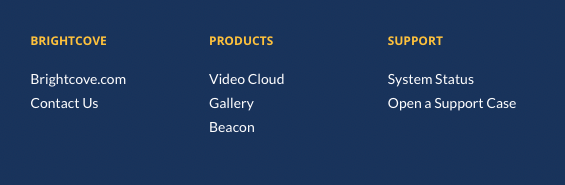
The page footer navigation object consists of two parts, a PLACEHOLDER for the title and +Add Menu Links for the associated links.
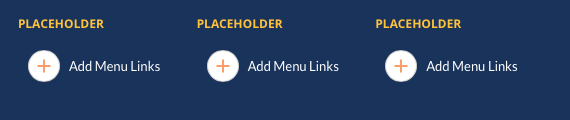
To add navigation links to the page footer:
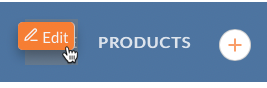
- Click PLACEHOLDER, enter a value for the header and click Save.
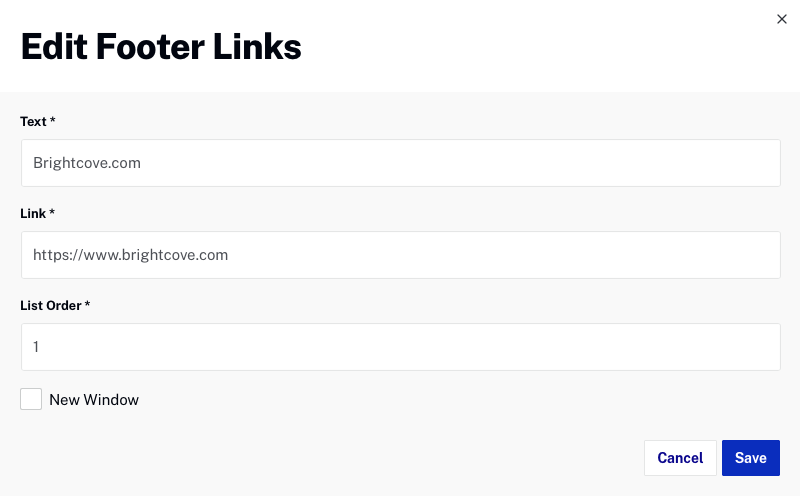
- Click +Add Menu Links and enter the Text, Link URL and List Order. You can also specify the order of the links by setting the List Order value when the link is created.
Additional navigation links can be entered by clicking +Add Menu Links.
Deleting objects from a page
Text, images and links can be removed from the page in a couple of different ways.
To remove text or images from the page header
- Hover over the object and click the delete icon.

To remove navigation links from the page header
- Click the link in the navigation header.
- Click Delete.
To remove navigation links from the page footer
- Click the link in the page footer.
- Click Delete.
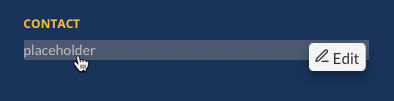
To remove the welcome message or any text
- Click on the text object.
- Clear the title text and click .