Securing a Website Experience with Okta
When an experience is secured using SSO, users will be required to authenticate before they can access the experience.
The steps in this topic assumed you have signed up for an Okta trial account and can sign into your account.
Creating an application
Start by creating an application.
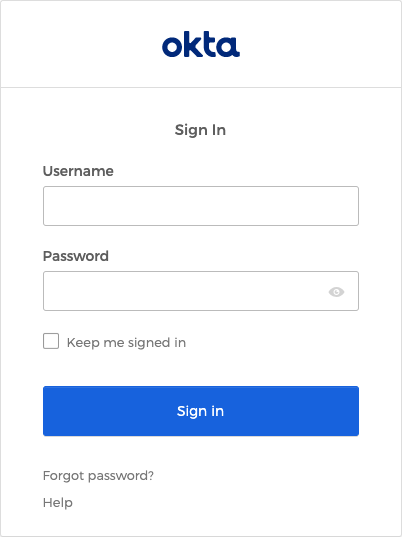
- Log in to your Okta trial account.
- Click Admin at the top of the page.
- Enter your account password and click Verify.
- You will be required to set up a security method. Click Set up next to the method you want to use.
- When you have successfully logged in, confirm that the Dashboard Getting Started page appears.
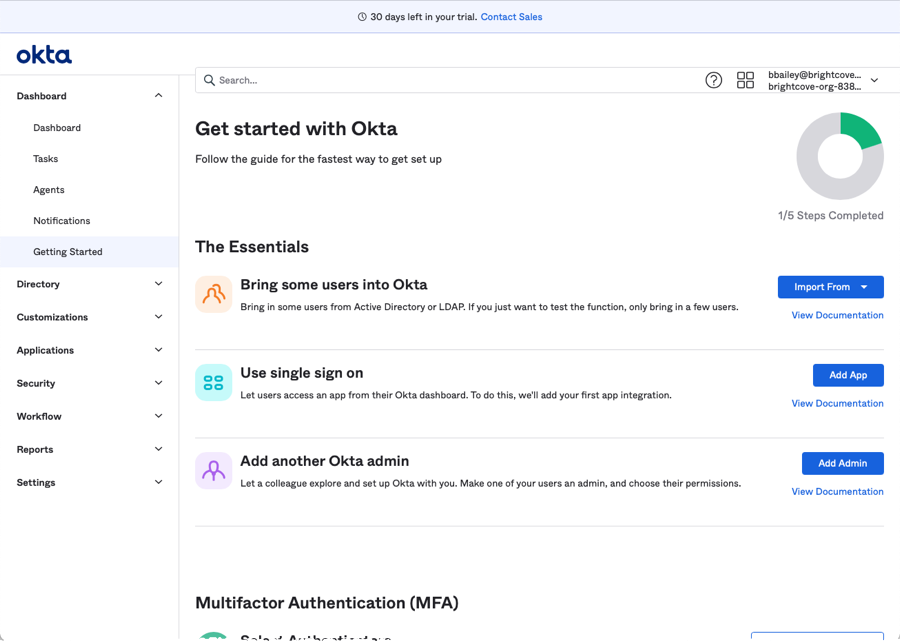
- Click Applications > Applications in the left navigation.
- On the Applications page, click Create App Integration.
- Select a Sign-in method of SAML 2.0.
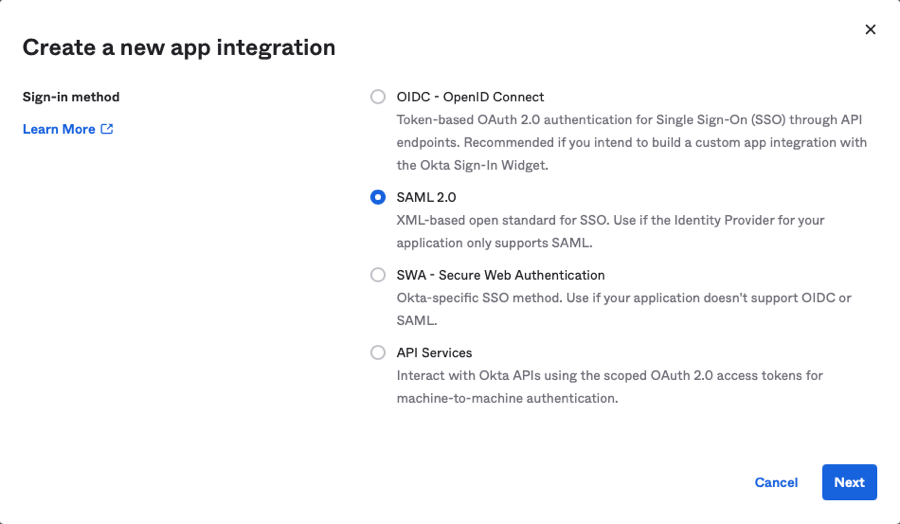
- Click Next.
- Enter an App name.
- (Optional) Browse and select and App logo.
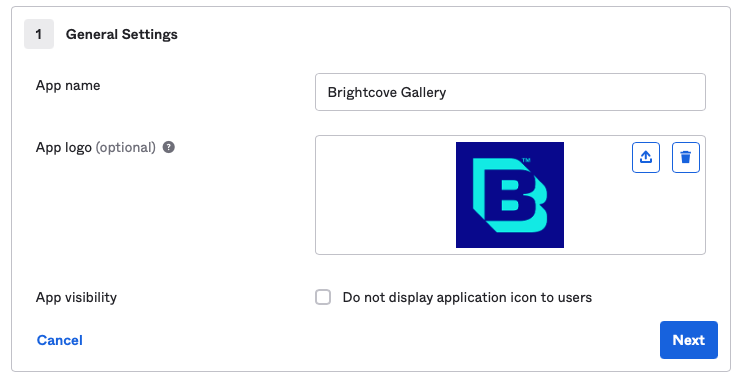
- Click Next.
- Set the Single sign on URL to
https://auth.bcvp0rtal.com/login/callback. - For the Audience URI (SP Entity ID) enter the Okta URL for your Okta homepage. This will be listed on the new account email you received from Okta when your trial account was created.
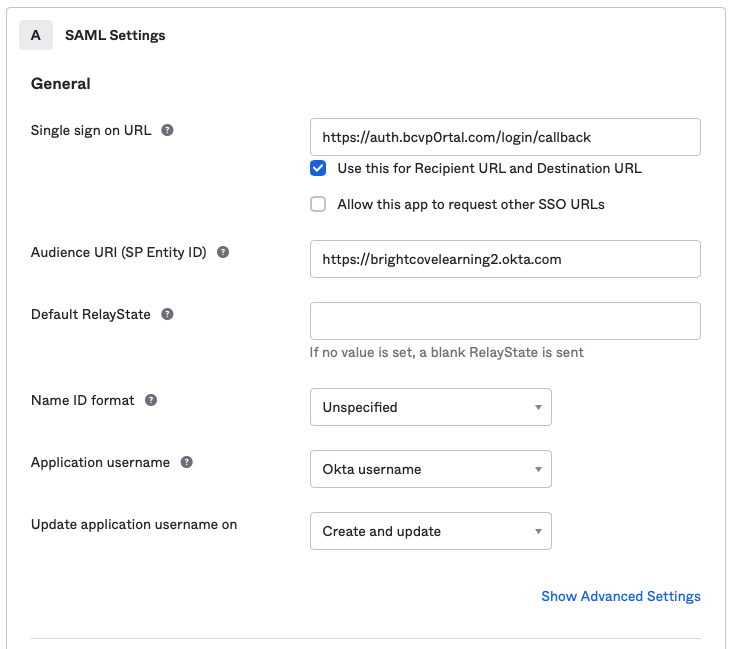
- Click the < > Preview the SAML Assertion button. Valid XML should be displayed in a new browser tab. If there are any errors, a message will be displayed.
- Close the browser tab displaying the XML and return to the Okta page.
- Click Next.
- Select an option for Are you a customer or partner? and then click Finish.
- Confirm that the application was created and the Settings page appears.
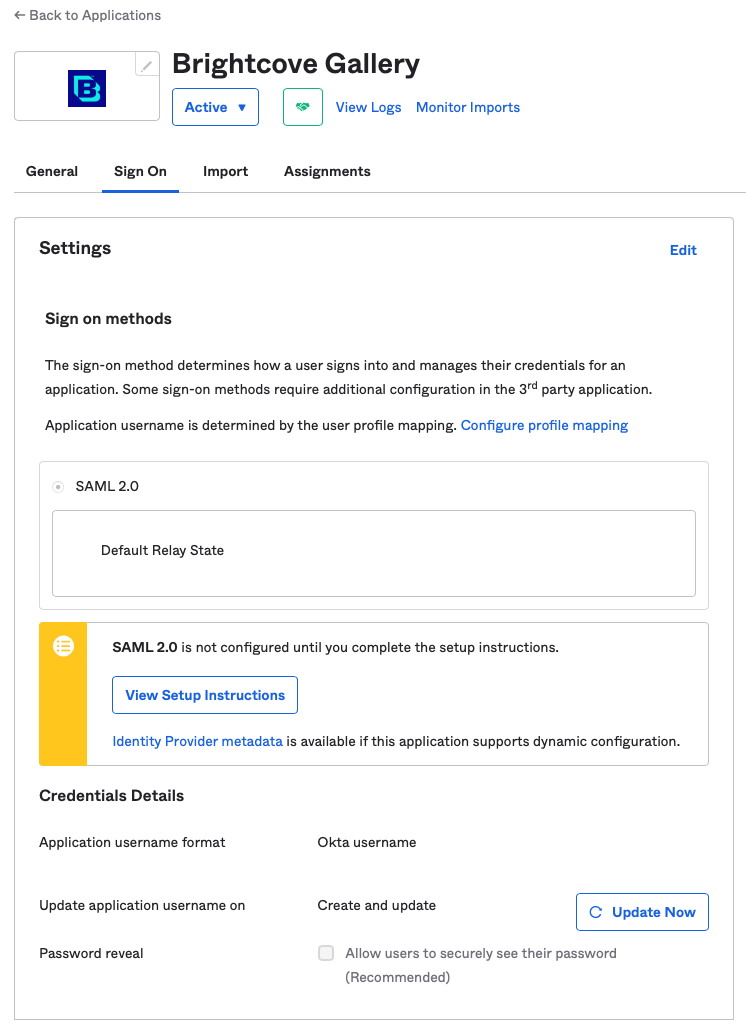
- Locate where it says SAML 2.0 is not configured until you complete the setup instructions. Click View Setup Instructions.
The How to Configure SAML 2.0 instructions will open in a new browser tab. This information will be needed when creating an Access Control Profile in Brightcove Gallery.
Creating an Access Control Profile
You need to create an Access Control Profile that will be used to secure any experiences you want to secure using SSO.
- Login to your Brightcove Gallery account.
- Click the settings icon (
 ) on the home page.
 - In the left navigation, click Access Control Profiles.
- Click .
- Give the profile a Name.
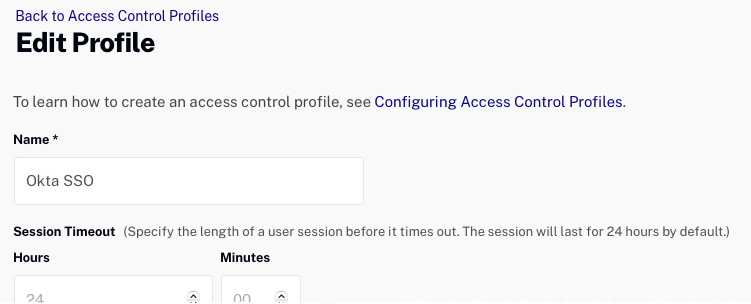
- Select the SSO option.
- Return to the How to Configure SAML 2.0 instructions. Copy the Identity Provider Single Sign-On URL and paste it into the SAML 2.0 Endpoint (HTTP) field.
- Return to the How to Configure SAML 2.0 instructions. Copy the entire value in the X.509 Certificate field and paste it into the X.509 Certificate field. Make sure you include the BEGIN/END CERTIFICATE lines.
- If you will be passing any SSO parameters back to Gallery, check the Expose all attributes option.
- Click and confirm that the profile was created.

Assigning group permissions
The final step in Okta is to give all users in Okta access to the application that was created.
- Return to the Okta Dashboard.
- For the Okta application you created, click the Assignments tab.
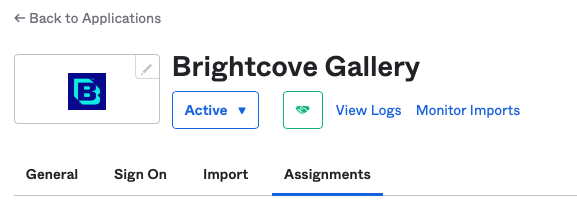
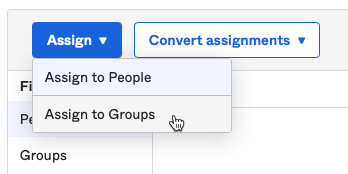
- Click Assign > Assign to Groups.
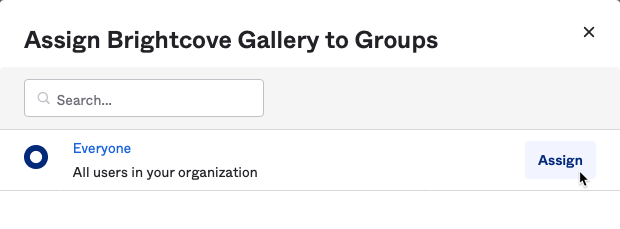
- Click Assign next to the Everyone group and then click Done.
Assign the Access Control Profile to an experience
The last step is to assign the Access Control Profile that was created to the experience(s) you want to secure.
- Return to Brightcove Gallery.
- Edit the experience you want to secure.
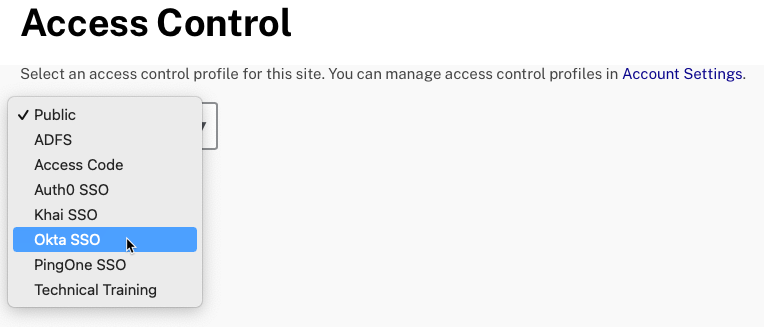
- In the left navigation, click Site Configuration > Access Control.
- Select the Access Control Profile that is associated with the Okta SSO configuration.
- Click .
- the experience.
When you access the experience, you should be prompted by Okta to login.