Linear Channel integration for Immersion Template
Overview
By utilizing Linear Channel streaming in the Immersion Gallery template, you can reach a broader audience, and gather insightful analytics to enhance your streaming strategy. This guide provides step-by-step instructions on creating and managing channels, scheduling content, managing events, and publishing your streaming page.
Create a New Channel
In Video Cloud, navigate to the Cloud Playout Module.
Go to the Channels tab.
Go to Scheduled Channels.
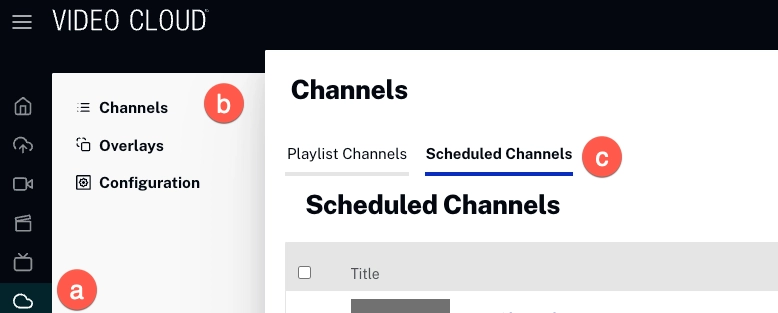
Click at the top-right.
In the New Channel modal fill the fields with your information. In the Destinations field specify "Brightcove"
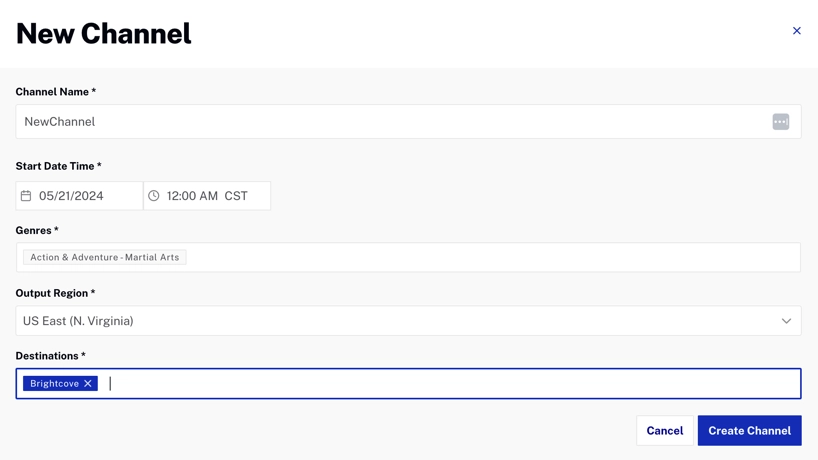
- Click . This will redirect you to a new page for the newly created channel.
Schedule Videos
The Schedule page allows you to manage your video content, playlists, and live events in a streamlined and efficient manner. This page is designed to provide a visual representation of your schedule and offers various features to ensure smooth planning and execution of your streaming content.
Key Features
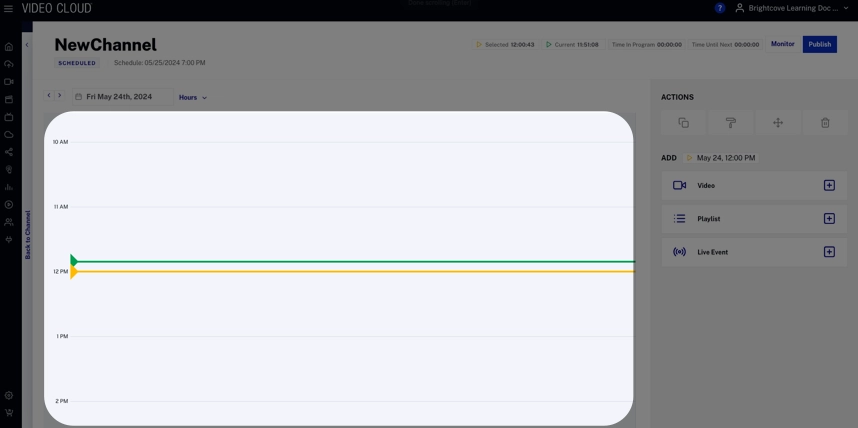
Timeline View
Allows you to see the exact timing and order of videos, playlists, and live events.
Content Types
Videos: Individual video files that can be scheduled to play at specific times.
Playlists: Collections of videos that can be grouped and scheduled together.
Live Events: Real-time streaming events that can be scheduled to start and end at specific times.
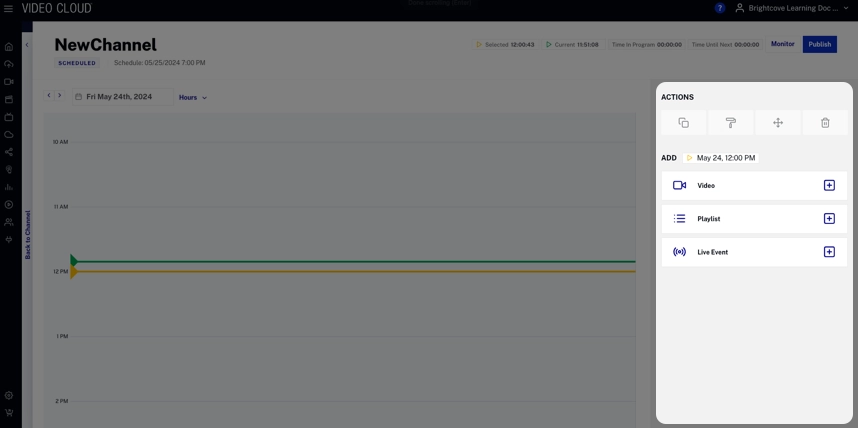
Control Panel
Provides options to add and configure content.
Playlists: Collections of videos that can be grouped and scheduled together.
Live Events: Real-time streaming events that can be scheduled to start and end at specific times.
Calendar nav & Schedule view
Navigate the Calendar.
Select between hours or minutes view.
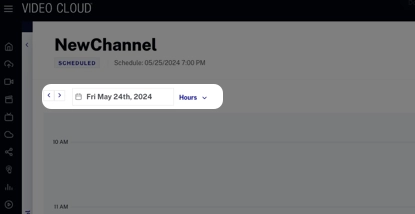
Click at the top-right.
Adding Content: Click the Video, Playlist, or Live Event in the control panel to add new content to your schedule.
- Click on items to edit their details or remove them from the schedule .
Once it is ready click
Activate Channel
Within the Channel detail interface, click at the top-right so it starts broadcasting. This might take a couple of minutes.
Verify that the service is running.
Navigate to the Live Module.
Ensure the Channel is active within the Live tab with the Streaming status.

Add Live Linear Channels stream to Immersion Template
The following steps assume prior completion of an Immersion Experience in the Gallery module.
There are two ways to add a video.
Navigate to the Media module
Create Playlist
Create a Manual Playlist to add to the new live stream.
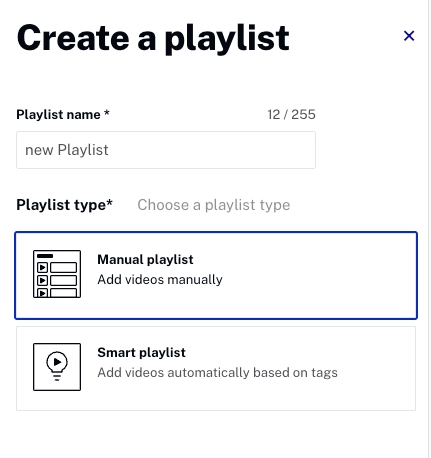
-
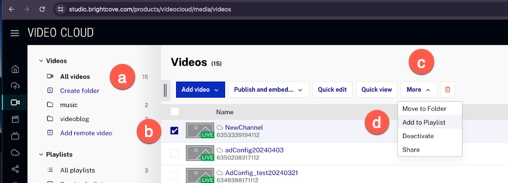
Click All videos.
Check the box of the new stream video.
Once selected, Click on the More button at the top of the page.
Click Add to Playlist.
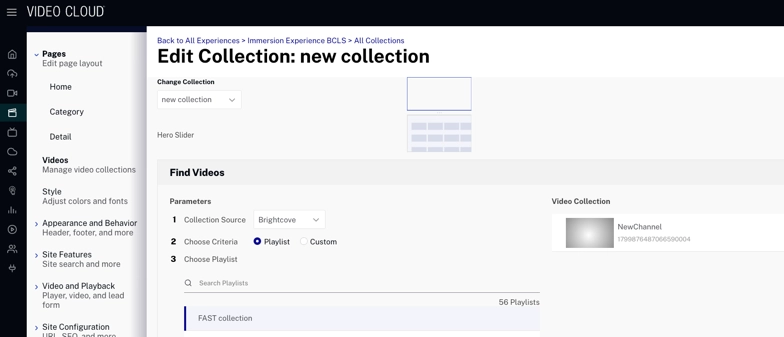
Navigate to the Gallery module.
Click on your experience.
Click Videos.
Click
Click on your collection
Select your playlist.
Add video by Playlist
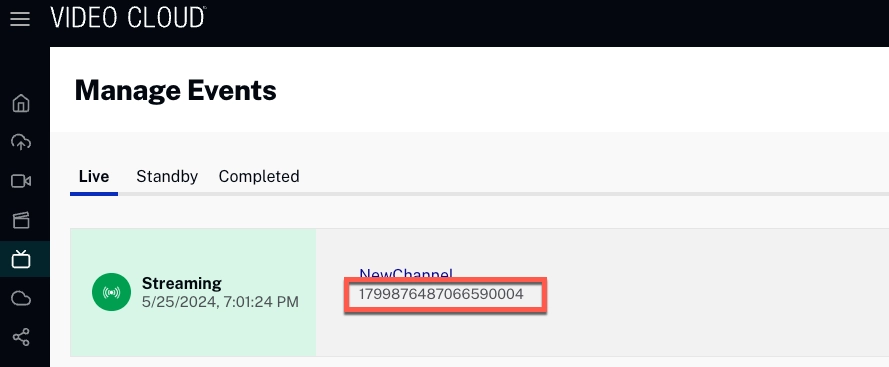
Navigate to the Live module to get the Channel id.
Navigate to the Gallery module.
Click on your experience.
Click Videos.
Click
Click on your collection
-
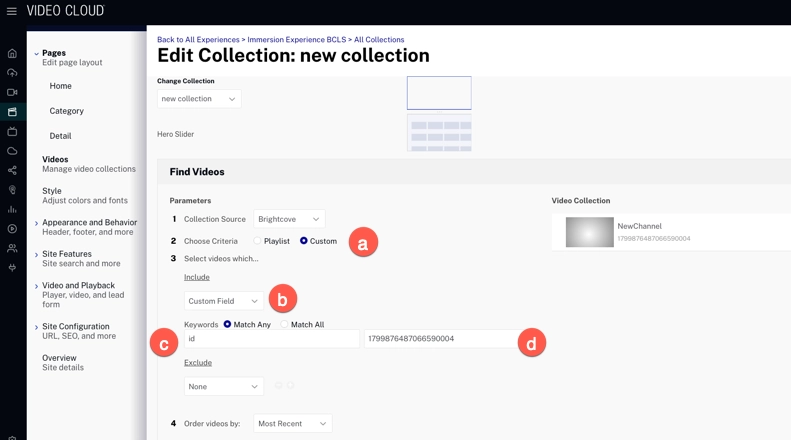
Click on Custom.
Use Custom Field
Filter by id.
Use the Channel id.
Add video by Id
