Managing Event Sponsors
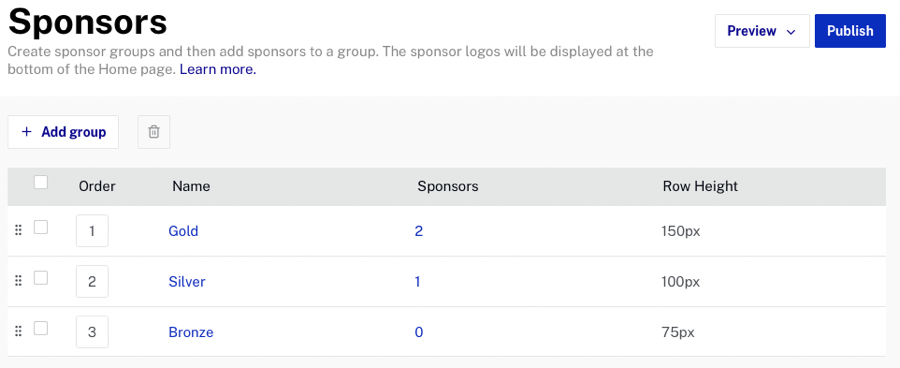
Using the Gallery Site Editor, you can manage the event sponsors that appear on the experience homepage. Sponsors are organized into sponsor groups which represent the various sponsor levels. For example, your event might have "gold", "silver" and "bronze" level sponsors. Once sponsor groups are created, sponsors can be added into each group. Sponsor groups and logos will appear on the experience homepage.
To manage the event sponsors:
- Click on an experience Title to edit it.
- Click Site Features > Sponsors in the left navigation.
A list of sponsor groups will appear.
Creating a sponsor group
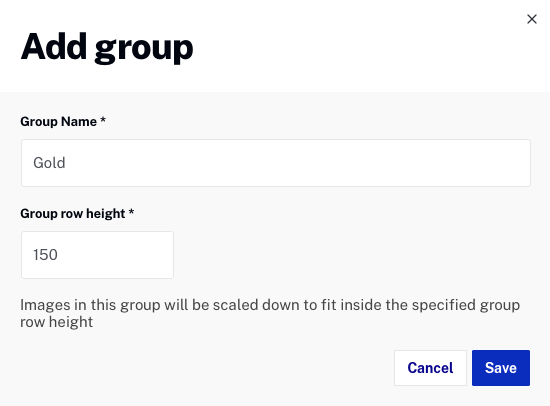
Sponsor groups are created to organize sponsors into levels. Creating a sponsor group allows you to group the sponsors by level and control the size of the sponsor logo image that will appear on the event homepage. To create a new sponsor group, follow these steps.
- Click .
- Enter the Group Name.
- Enter the Group row height (in pixels). The height must be between 1 and 300. The row height will control the image height of the sponsor logos in the group.
- Click .
Editing a sponsor group
To edit a sponsor group, follow these steps.
- Click on a sponsor group name to open the Group settings panel.
- Make any needed changes.
- Click .
Deleting a sponsor group
To delete a sponsor group, follow these steps.
- Click the checkbox next to the sponsor name to delete.
- Click
 .
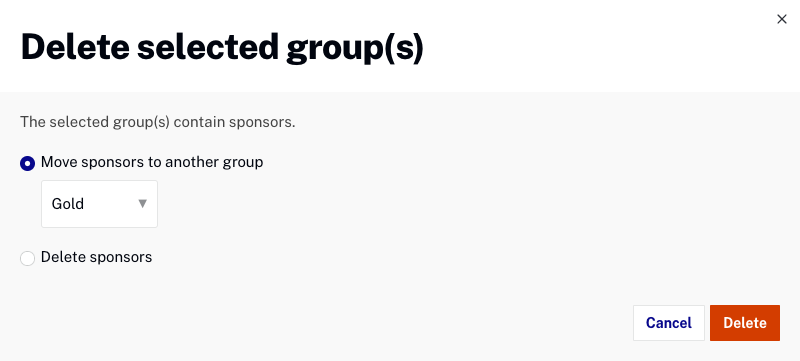
. - If there are no sponsors in the group, click to confirm the delete.
- If there are sponsors in the group, you can choose to move them to another group or delete them with the group. Click to confirm.
Changing the sponsor group order
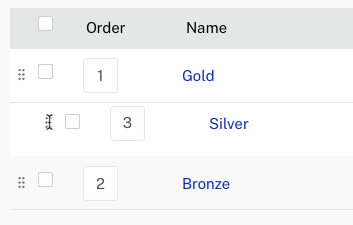
The order of the sponsors will control the order of how they are displayed on the event homepage. To change the order of the sponsor groups:
- Enter the sponsor order in the Order field OR
- Click on the grab handle for the sponsor group and drag the group to a new location
Creating a sponsor
To create a new sponsor, follow these steps.
- Click Site Features > Sponsors in the left navigation. A list of sponsor groups will appear.
- Click on the number in the Sponsors column for the group you want to add a sponsor to.
- Click .
- For the sponsor Image, click Upload image and browse and select a sponsor image.
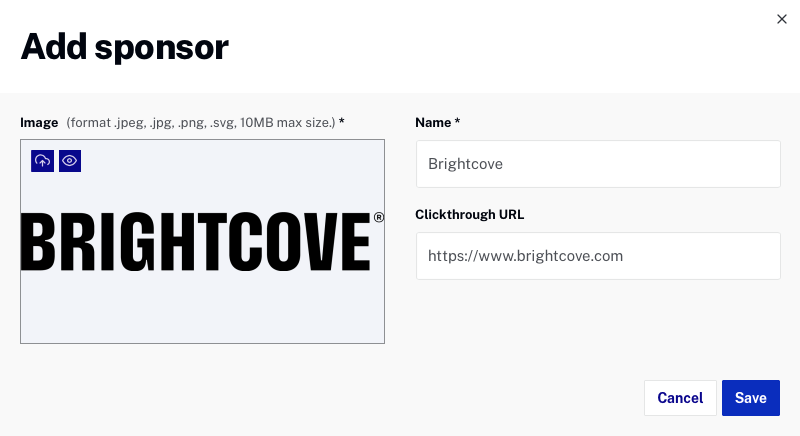
- Enter the sponsor Name and Clickthrough URL.
- Click .
Editing a sponsor
To edit a sponsor, follow these steps.
- Click on a sponsor Name.
- To upload a new image, click
 and browse and select a new image. Click
  to open the source image in a new browser tab.
 - Edit the Name and Clickthough URL as needed.
- The Group listbox can be used to assign the sponsor to a different group.
- Click .
Deleting a sponsor
To delete a sponsor, follow these steps.
- Click the checkbox next to the speaker to delete.
- Click .
- Click to confirm the deletion.