Creating Custom Themes for Embed Experiences
Themes provide a pre-defined set of colors and fonts which can be used to quickly style Embed Experiences. Gallery provides a set of default themes but you can also create your own, custom themes. Any custom themes that are created are shared across a Video Cloud account. Once a theme is applied to an Embed Experience, you can then use the styling options to further customize the appearance of the experience.
Creating a custom theme
To create a custom theme, follow these steps:
- Edit the experience.
- Click Style in the left navigation. The current theme is displayed at the top of the styling menu.
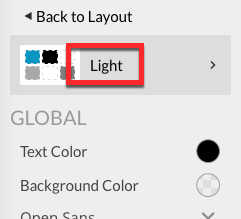
- Click on the theme. A list of all the themes will be displayed.
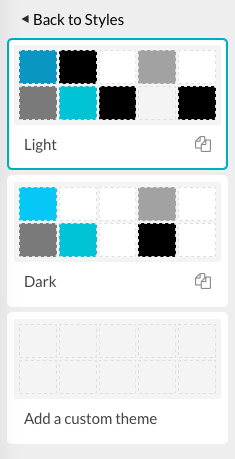
- Click the Add a custom theme link.
- Enter a Name for the theme.

- Edit the styles as appropriate. All changes made to the style settings will be saved automatically.
- When done, click < Back to Styles.
Applying a theme to an Embed Experience
To apply a theme to an Embed Experience, follow these steps:
- Edit the experience.
- Click Style in the left navigation. The current theme is displayed at the top of the styling menu.
- Click on the theme. A list of all the themes will be displayed. Click on a new theme to select it.
- When done, click < Back to Styles.
Editing a theme
When you edit a theme, any of the style changes will be applied to any existing Embed Experiences that the theme has been applied to unless a specific styling setting was changed in the experience. For example, a corporate theme is created, Corporate Theme, and the overlay text color is set to red. A new Embed Experience is created and the overlay text color is changed to blue. If someone applies the Corporate Theme to this new experience, all of the style changes will be replaced with the styles specified in the Corporate Theme except the overlay text color as that style was changed earlier.
To edit a theme, follow these steps:
- Edit the experience.
- Click Style in the left navigation. The current theme is displayed at the top of the styling menu.
- Click on the theme. A list of all the themes will be displayed.
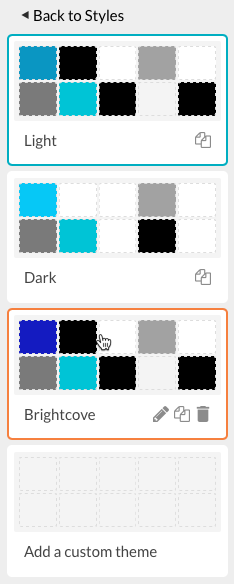
- Click the edit icon (
 ) for the theme you want to edit.
 - Edit the styles as appropriate. All changes made to the style settings will be saved automatically.
- When done, click < Back to Styles.
Duplicating a theme
To duplicate a theme, follow these steps:
- Edit the experience.
- Click Style in the left navigation. The current theme is displayed at the top of the styling menu.
- Click on the theme. A list of all the themes will be displayed.
- Click the duplicate icon (
 ) for the theme you want to duplicate.
 - Enter a new name for the theme and click Save.
- Edit the styles as appropriate. All changes made to the style settings will be saved automatically.
- When done, click < Back to Styles.
Deleting a theme
To delete a theme, follow these steps:
- Edit the experience.
- Click Style in the left navigation. The current theme is displayed at the top of the styling menu.
- Click on the theme. A list of all the themes will be displayed.
- Click the delete icon (
 ) for the theme you want to delete. You will be prompted to confirm the deletion.
 - When done, click < Back to Styles.