Using Custom Fonts in a Website Experience
The Gallery Site Editor lets you customize the style of a Website Experience by changing its theme, colors, and fonts. You can also apply your own custom fonts. In this example, the Acme font from the Google Fonts directory is used to demonstrate the process.
Getting a custom font
The Google Fonts directory provides open-source fonts you can embed in your web pages. After selecting a font, click Get Font to view the Get embed code option. This example uses the Acme font, referenced via the CSS @import rule.
Create a CSS file that imports the font, for example:
@import url('https://fonts.googleapis.com/css2?family=Acme&display=swap');
Creating CSS rules for custom fonts
Next, add CSS rules to the same file to apply your font to specific elements on the page.
Use your browser’s developer tools to identify the class names of the elements you want to style. These class names may vary depending on the template. In this example, the featured video title and video grid titles are updated to use the Acme font (screenshots taken in Chrome).
- Inspect the element you want to modify (for example, the featured video title) and locate its class name.
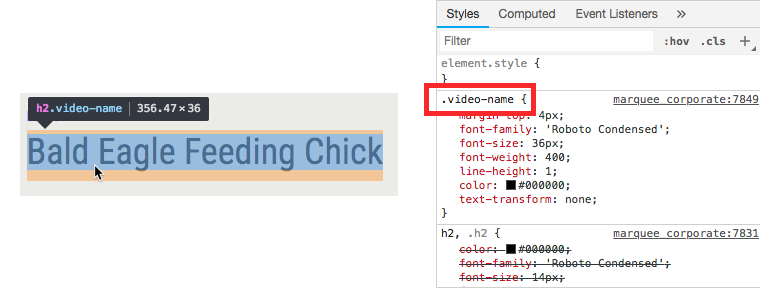
- Add a CSS rule to style the featured video title:
.video-name { font-family: 'Acme', sans-serif; } - Locate the class name for the video titles in the grid.
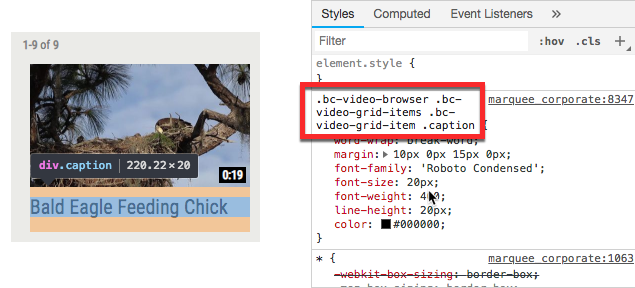
- Add a CSS rule to style the video titles in the grid:
.bc-video-browser .bc-video-grid-items .bc-video-grid-item .caption { font-family: 'Acme', sans-serif; } - Confirm that your CSS file contains all of the following:
@import url('https://fonts.googleapis.com/css2?family=Acme&display=swap'); .video-name { font-family: 'Acme', sans-serif; } .bc-video-browser .bc-video-grid-items .bc-video-grid-item .caption { font-family: 'Acme', sans-serif; } - Save your CSS file.
Associating your CSS file with your Website Experience
To associate the CSS file with your Website Experience:
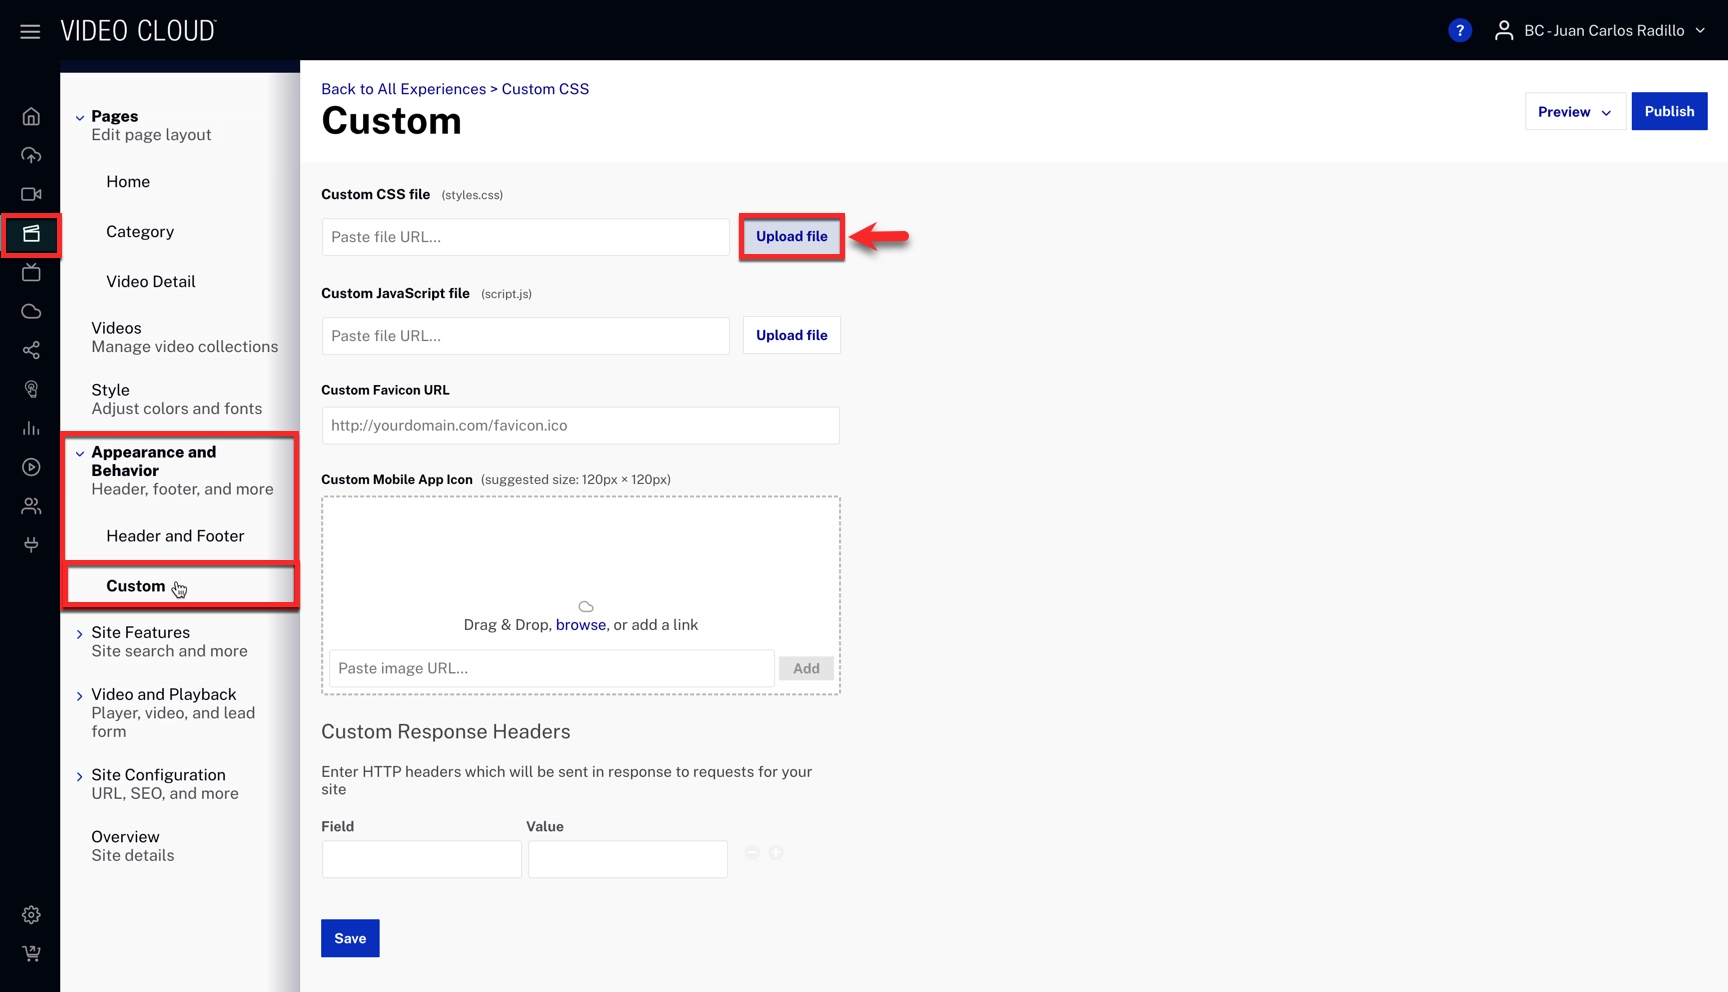
- Select your Experience.
- In the left navigation, select Appearance and Behavior > Custom.
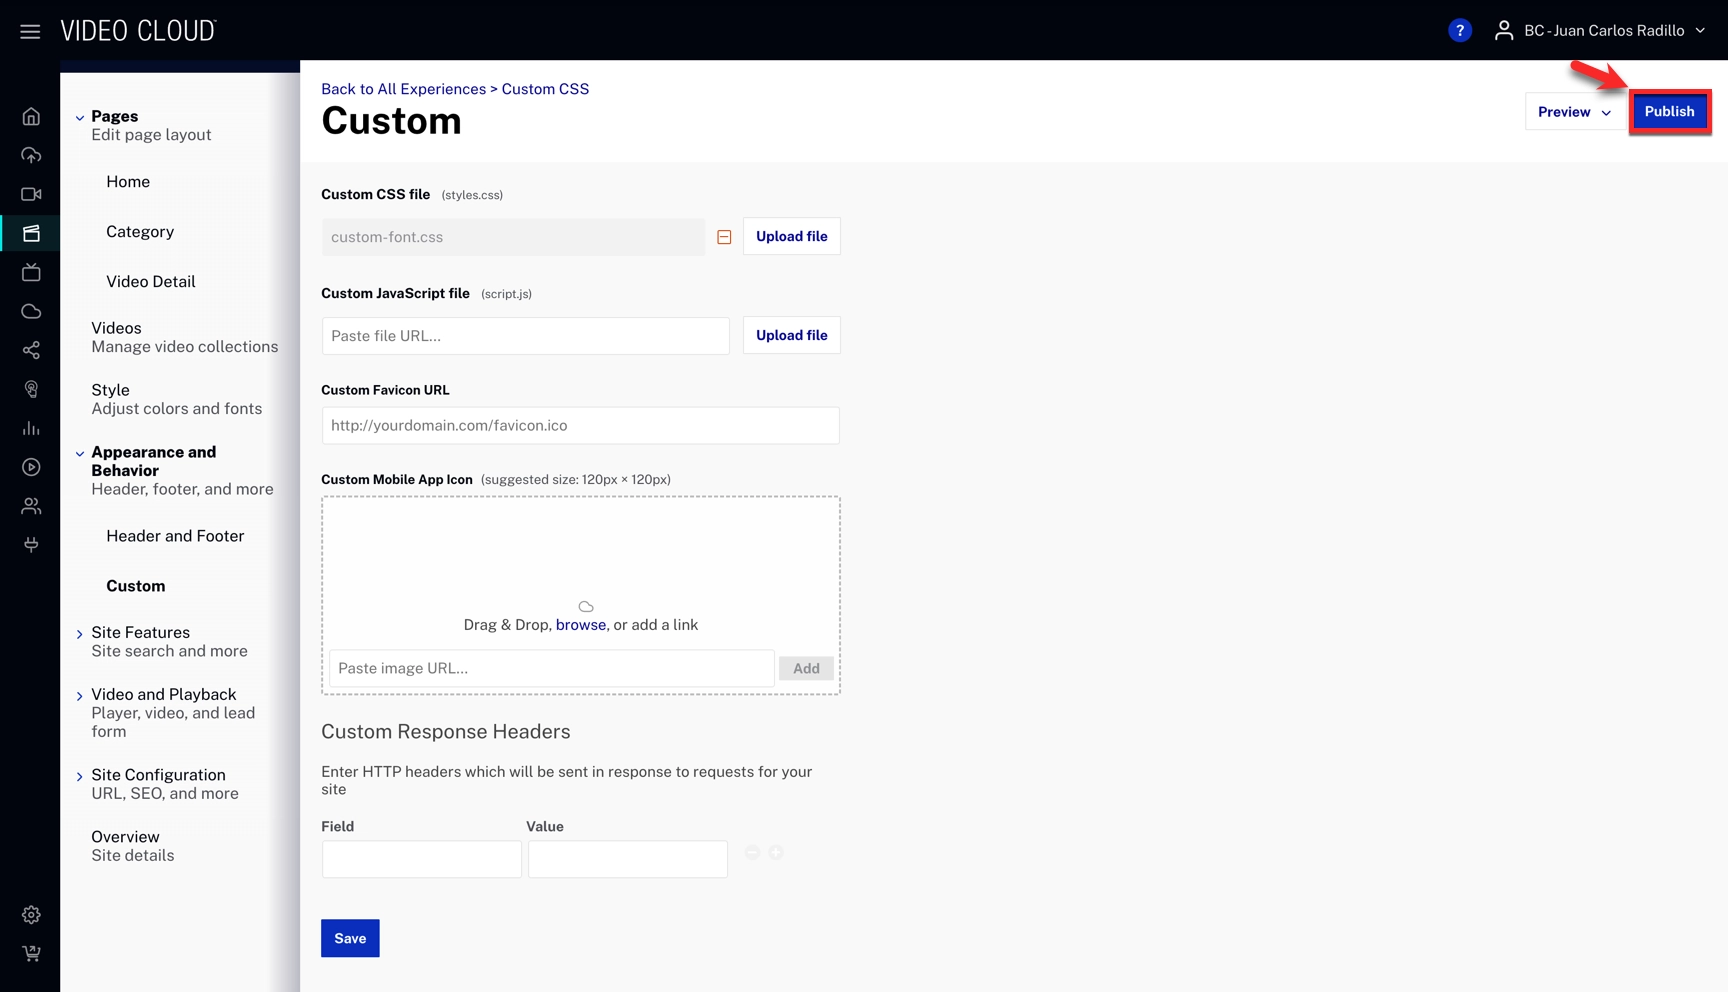
- In the Custom CSS file option, click to upload your file.
- Click
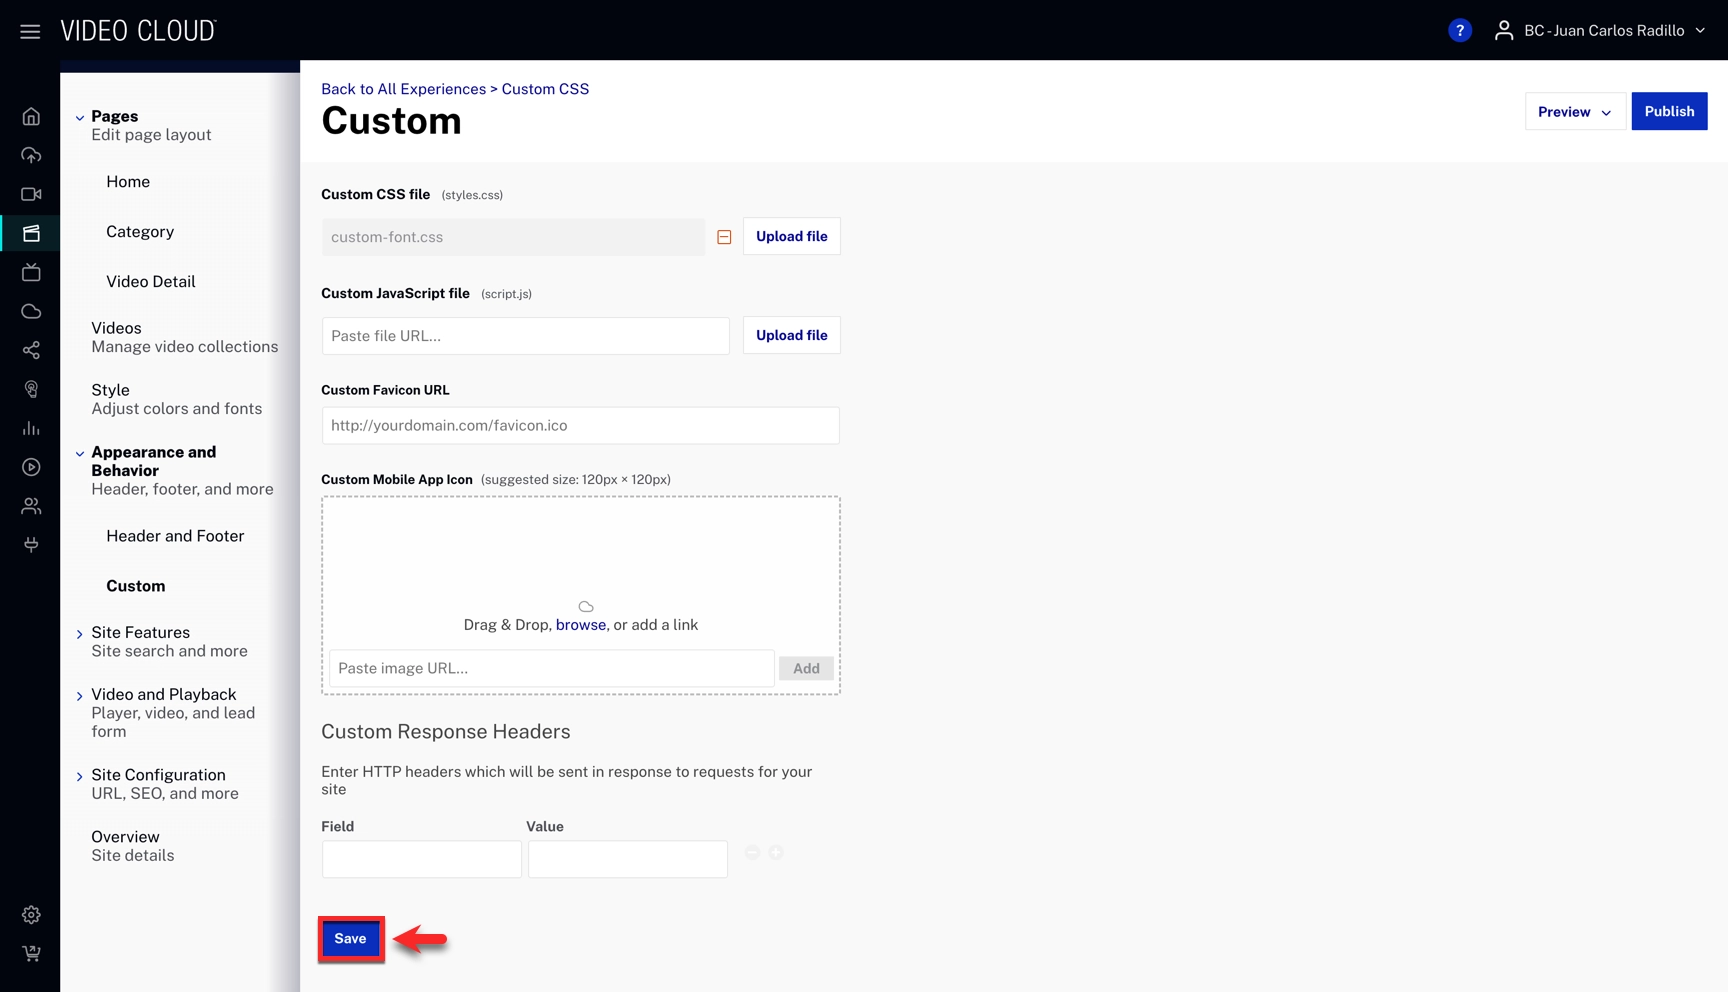
- Click to make your changes live.